WebApps BCC and Confirmation Options
Administrators can show or hide the Email copy as BCC (Blind Carbon Copy) recipient to option by using the Create Distribution > Options tab.
Hiding the BCC option
To hide the Email copy as BCC recipient to option
- Start the Server Administrator.
- Expand Configuration on the Server Administrator tree.
- Select WebApps. The profiles appear in the
- Select the appropriate profile; for example, Default. The Profile Properties dialog box appears.
- Select the Applications tab.
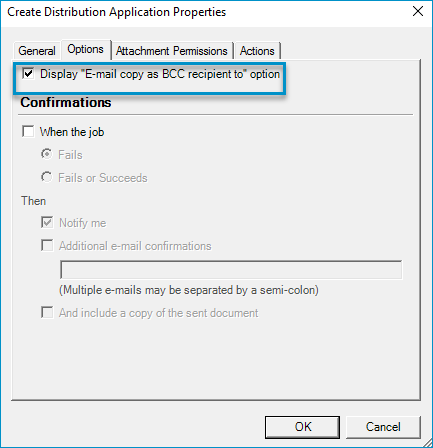
- Select Create Distributions. The Create Distribution Application Properties dialog box appears.
- Clear the Email copy as BCC recipient to check box.
- Click OK or continue with Confirmations.
See the Create Distribution Application Properties dialog box example below.
Managing confirmations
For Administrators
You can also determine how confirmations also known as notifications are managed by the server when a job fails and/or succeeds.
Note:
To manage confirmations
- Select any of the following options.
- When the job
- Fails
- Fails or Succeeds
- Then
- Notify me
- Additional email notifications - Specify the email addresses separated by a semi-colon in the box.
- And include a copy of the sent document
- Click OK.
For
To set confirmation preferences
- Start
- Create or open a saved distribution.
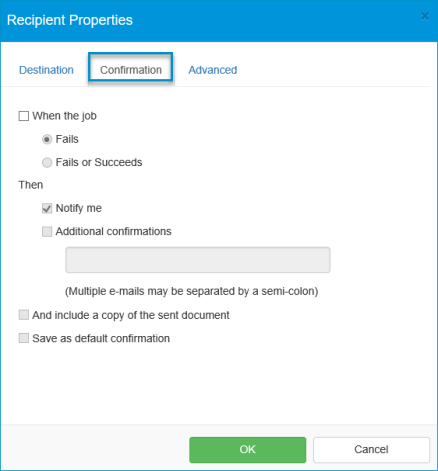
- Select a destination; for example, email address in the Destination box. The Recipient Properties dialog box appears.
- Select the Confirmations tab. The confirmation preferences appear.
Note: The confirmation preferences are no longer available by selecting the Advanced tab.
- Select any of the following options.
- When the job
- Fails
- Fails or Succeeds
- Then
- Notify me
- Additional email notifications - Specify the email addresses separated by a semi-colon in the box.
- And include a copy of the sent document
- Save as default confirmation.
- Click OK.
See the Create Distribution > Recipient Properties dialog box example below.