The
To add a network printer
-
Open
-
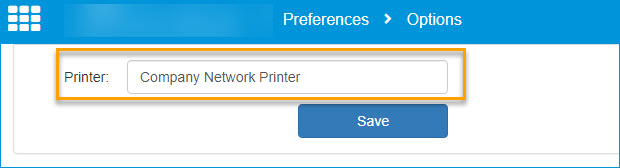
Click Preferences > Options. The Options page appears.
-
In the Printer box, type the Network printer name or IP address.
-
Click Save.
See the Preferences > Options dialog box example below.
Network Printer Name syntax: \\servername\printersharename
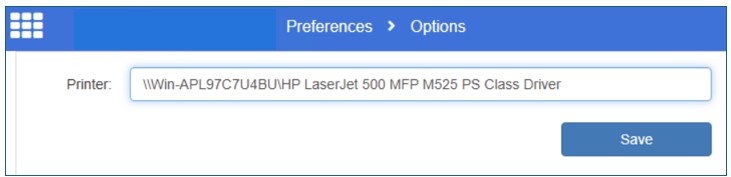
IP Address syntax: xxx.xxx.xxx.xxx

Note: Contact your Administrator for the Network printer name or IP address. The Server will use this printer for printing purposes. It must be accessible to the server. Only one printer can be specified for use in Options.
See also
About Subscribed Distributions
Creating a My Files Distribution