After installation you should also look at your page layouts. The app provides default layouts for Contacts, Leads, Campaigns and Campaign Members, which you can adjust to suit your purposes. However, if you have previously customized any of these layouts, then your existing layouts will need to be customized to include the Adestra functionality.
For information about page layouts in Salesforce Classic, see Salesforce Classic Page Layouts.
On this page:
Modify Page Layouts
To modify page layouts in Salesforce Lightning:
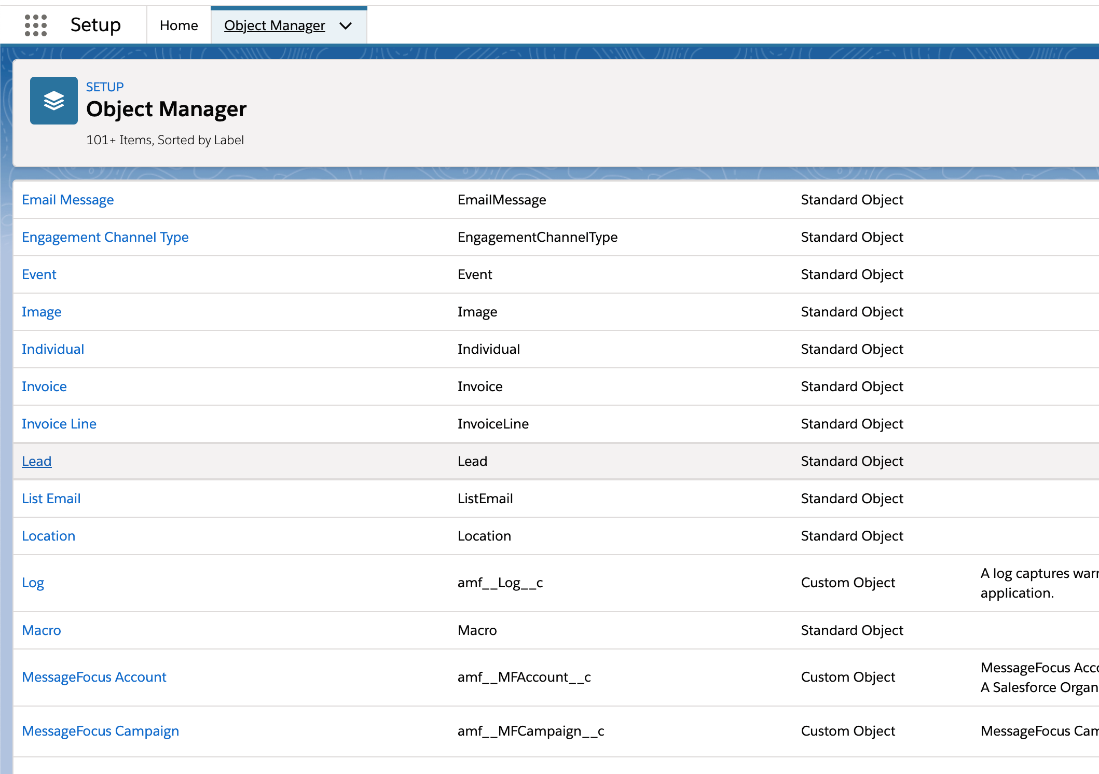
- Go to ‘Setup’ and then select ‘Object Manager’.
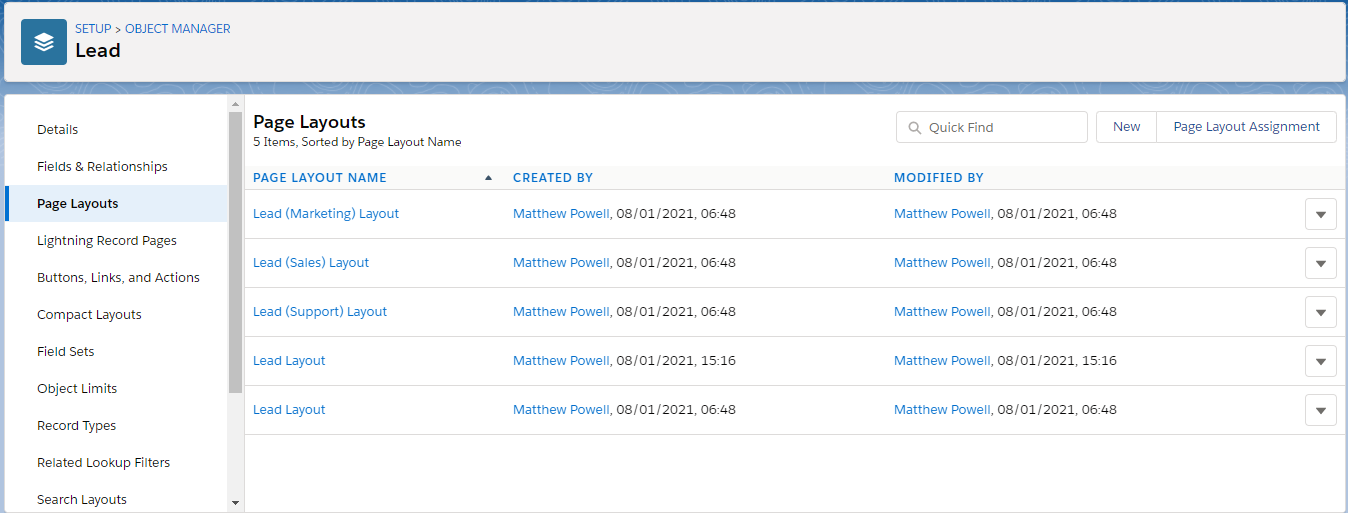
- Click the ‘Lead’ object, and then select ‘Page Layouts.’
Leads and Contacts
Adestra events are available when viewing a contact, lead or person account and the configuration for these all follow the same process.
Note: This process should be completed for both contacts and leads. Person accounts will use the layout provided for contacts.
Click the 'Edit' link for the layout you wish to modify.
At the top of the page is the layout panel, select 'Related Lists' on the left hand side and then locate 'Adestra Launch Events', and drag into your page layout—located below the panel.
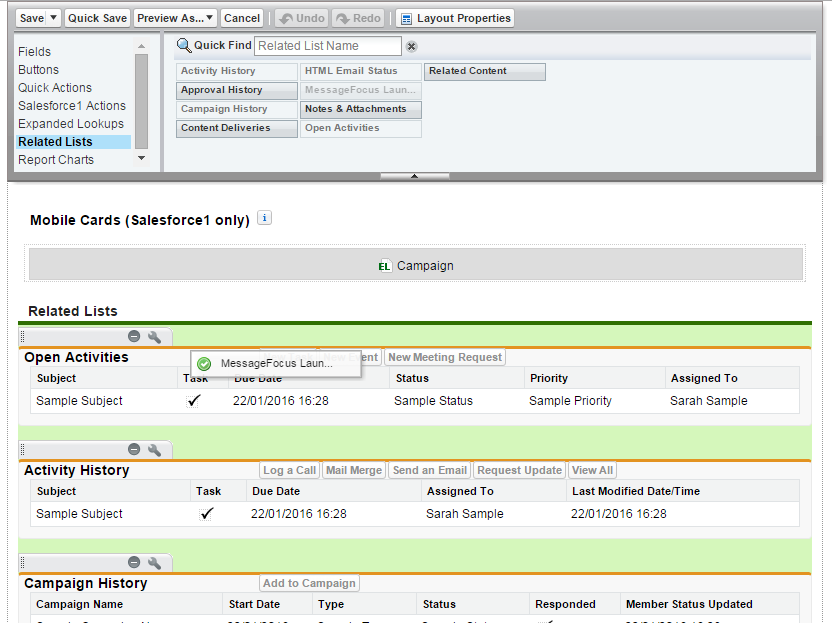
Next, you will need to add the event fields, which you can do by clicking the spanner icon.
Click the relevant fields in the 'Available Fields' section and add them to the 'Selected Fields' section. These include:
- MessageFocus Launch Event Name
- Adestra Launch
- MessageFocus Campaign
- Link
- Timestamp
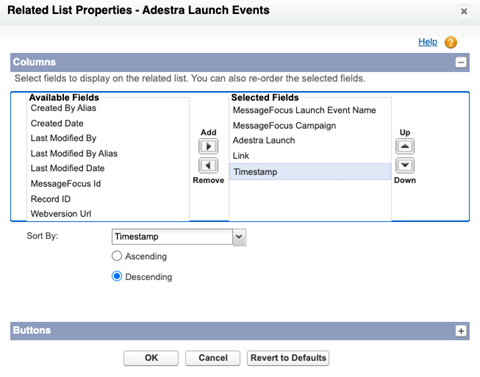
Tip: In order to see the latest events first, make the default sort by 'timestamp and descending'.
You will then need to expand the 'Buttons' section and deselect 'New'.
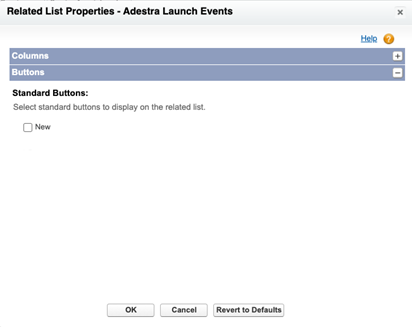
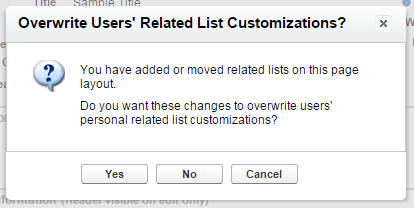
Click 'OK' and the fields will appear within the Adestra Launch Events section. Remember to click 'Save' in the top left corner of the layout panel, to save the input, and we recommend saying NO when asked about overwriting related list customizations, though this is up to you.
Campaign Members
Campaign members are those that are either contacts or leads which are set to receive campaigns. To add this to the layout, you need to edit the Campaign Member Page Layout.
-
Go to Setup, and then select ’Object Manager’.
- Click the ‘Campaign Member’ object, then select ‘Page Layouts’.

Create Section
Before adding 'Campaign Member Launch Events' you should create a section. In the layout panel select 'Visualforce Pages' and then drag 'Section' onto the page.
You should then edit this so that is only has one column and is named something like 'Adestra Launch Events'.
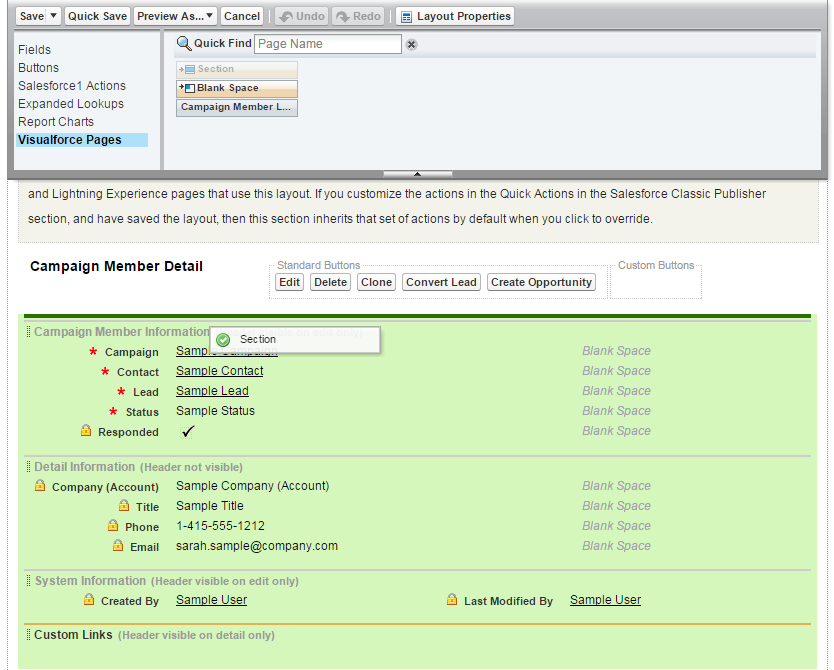
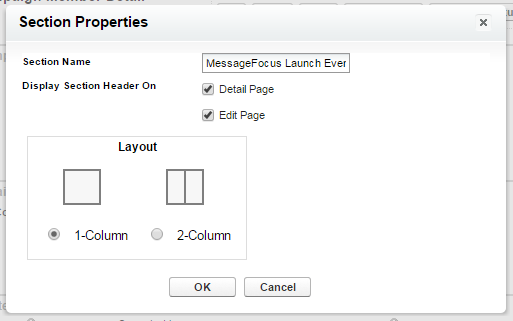
After this, locate 'Campaign Member Launch Events' (also within the Visualforces Pages' and drag this onto the 'Adestra Launch Events' section you just created.
Salesforce will bring in data using the integration you have already created, which will be visible in the Launch Events section created for each campaign member.

We would then recommend editing this once it is in place, which you can do by selecting the spanner that appears when the cursor is over the Campaign Member space.

When editing, we recommend that the height is set to 450 and that you check the 'Scrollbars' box, before clicking OK.

Then remember to click save in the page layout panel at the top, to complete the configuration.
Custom Tabs
You can create a custom header for your Salesforce page, which displays the tabs you need to hand quickly.
-
Go to Quick Find and search for ‘tabs’.
-
In the search results, open ‘Tabs’.
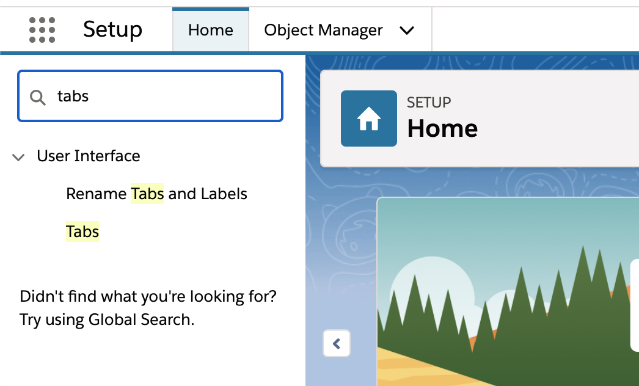
- To create a new custom tab, click ‘New’.
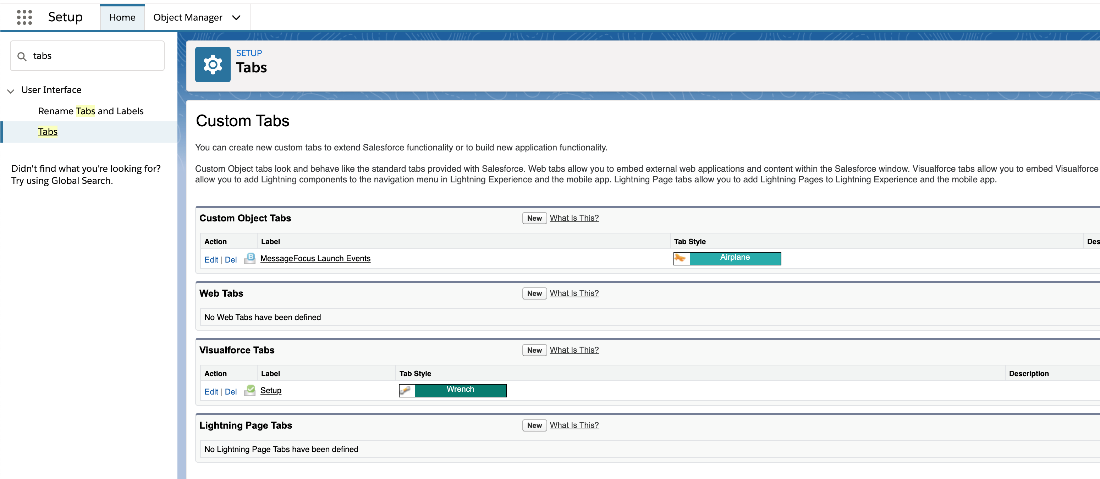
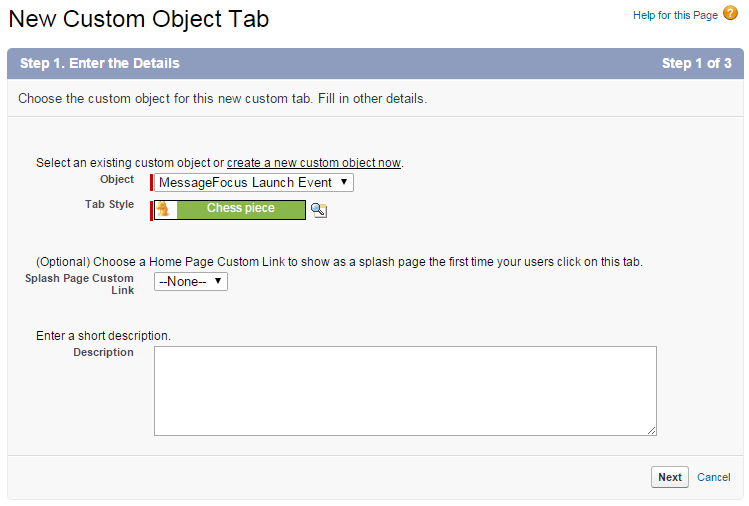
Step One
In step one you select an object, which will be the tab header, and its icon. You can also add an optional description, though this is not essential.
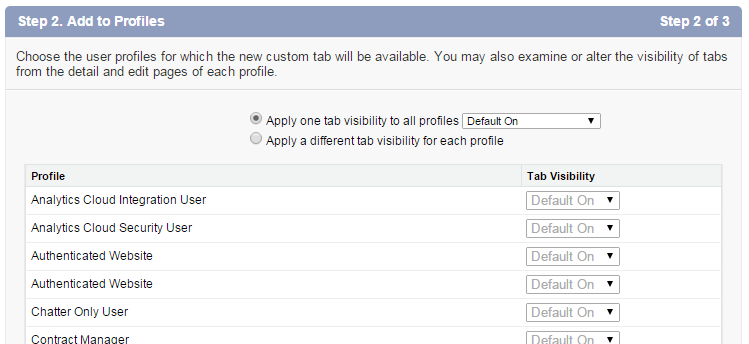
Step Two
Step two is where you can decide which profiles this tab will be visible for. The options here are up to the administrator, we have left them to the default so it is viewable to everyone.
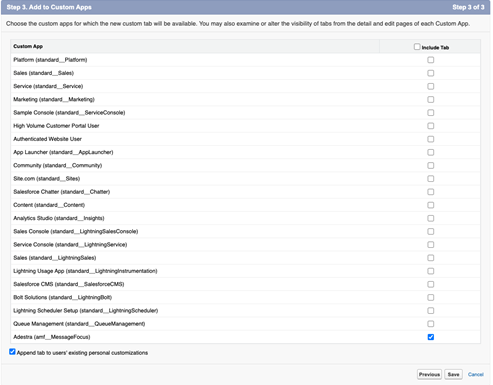
Step Three
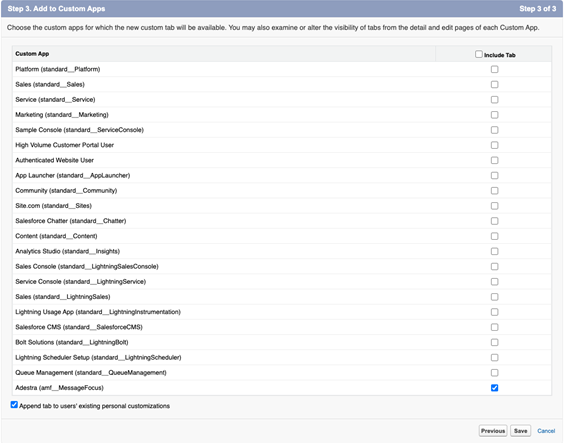
Step 3 is where you choose which app the tab is added to. Again this is optional and up to the administrator, here we have selected only the Adestra app for the tab to be visible on.
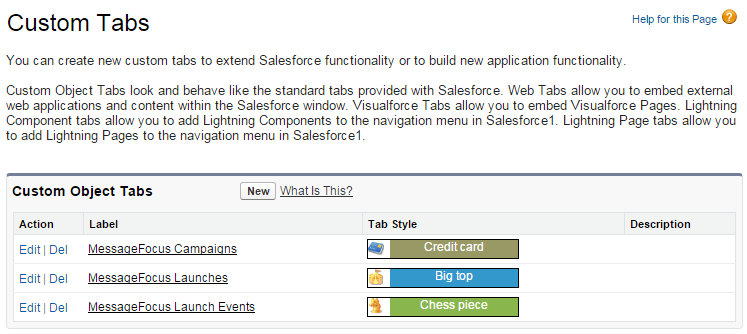
After clicking save you will be taken to the tab overview which lists the tabs that have been created. You are able to edit, delete or add new tabs from this page.
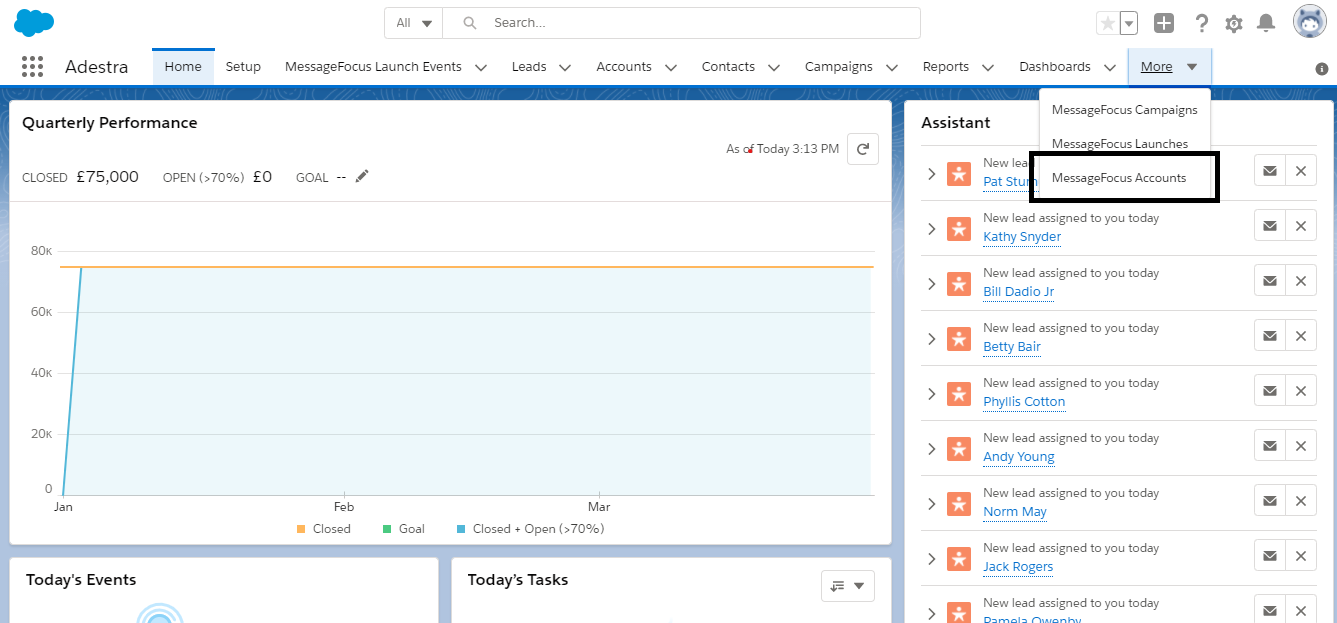
When you have completed your custom tabs, they will be viewable at the Salesforce Lightning homepage:

Adding Fields to Tabs
You can then add fields to your tabs, to provide additional information when viewed. This is done by selecting the tab and then clicking 'Edit' in the overview.
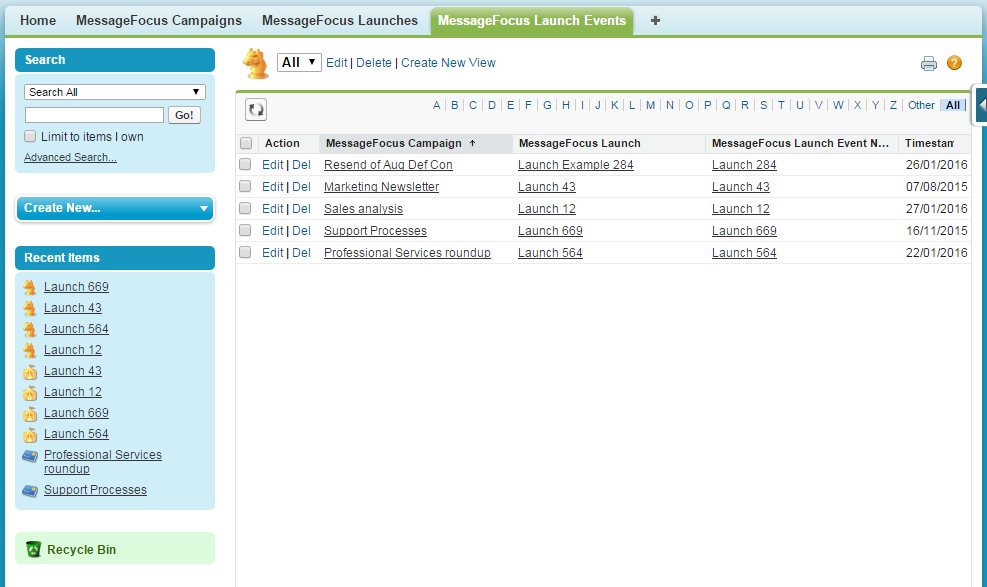
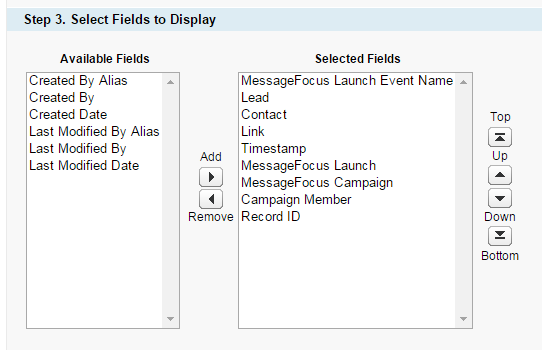
On Step 3 you can choose the fields you feel necessary for the tab. Other steps are up to the discretion of the administrator.
Creating a MessageFocus Accounts tab
If you are working with Salesforce Classic and Salesforce Lightning, set up the MessageFocus Accounts tab just once, in either view. It will be available in both views.
Step One
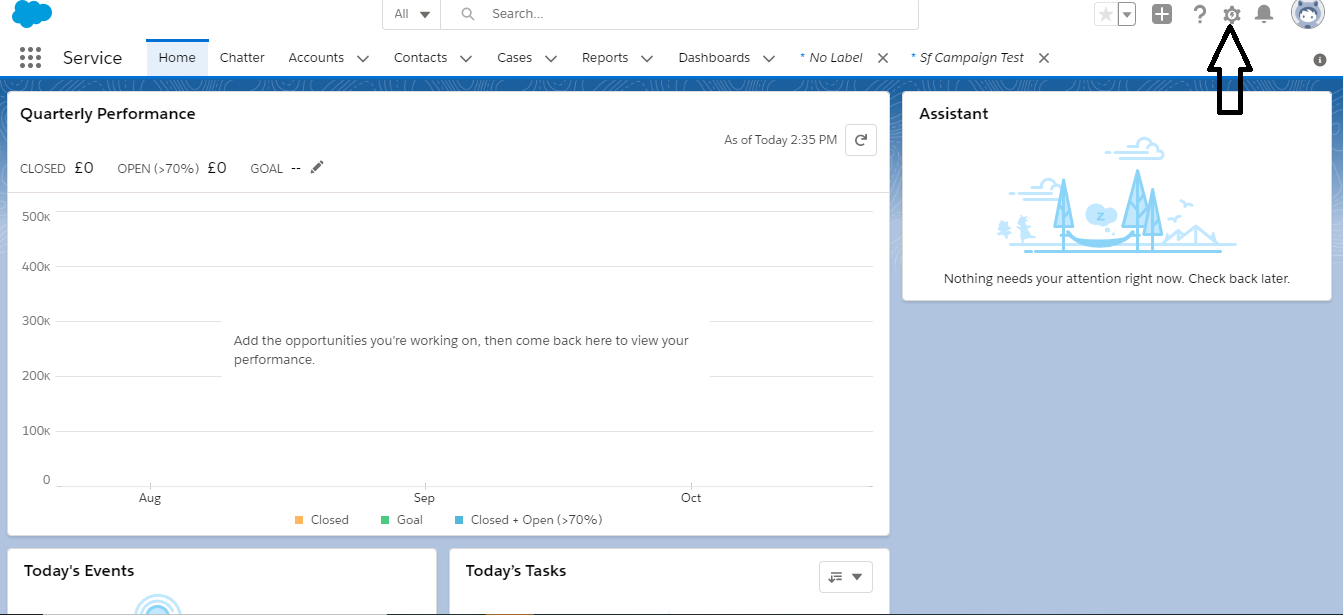
- In Salesforce Lightning, click the ‘Settings’ (cog) icon in the upper-right corner.
-
In the ‘Search’ field at the top of the page, enter ‘tabs’ and then click ‘tabs’ in the search results.
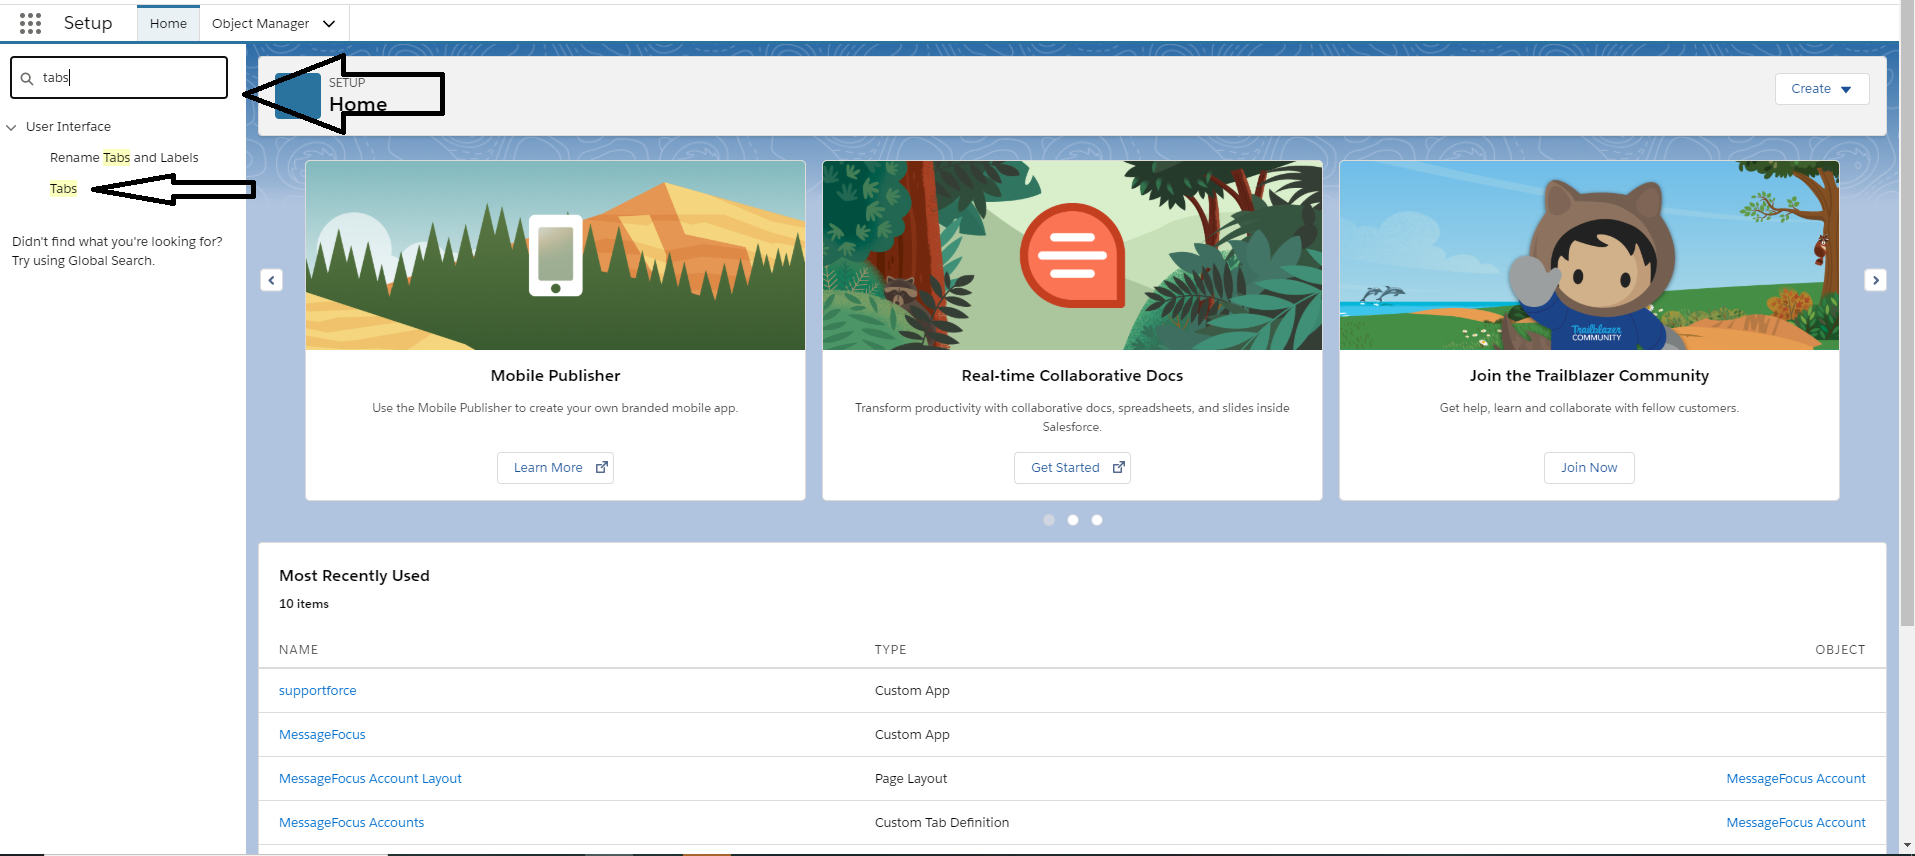
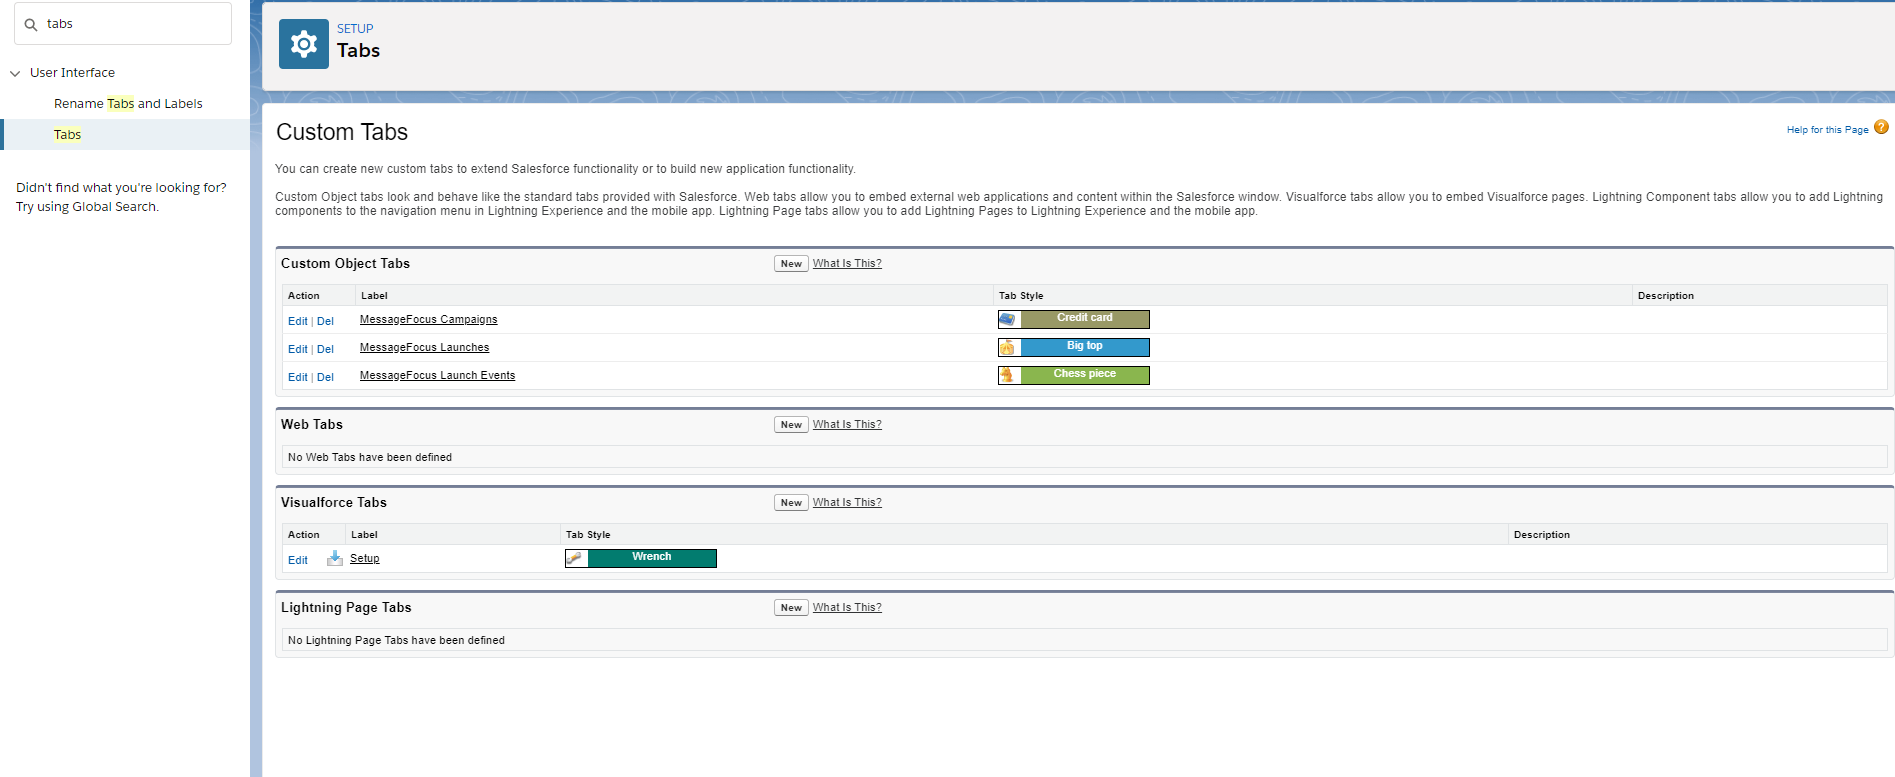
The ‘tabs’ page contains the three core tabs added as part of the Salesforce integration.
-
To add a new tab, click ‘New’.
-
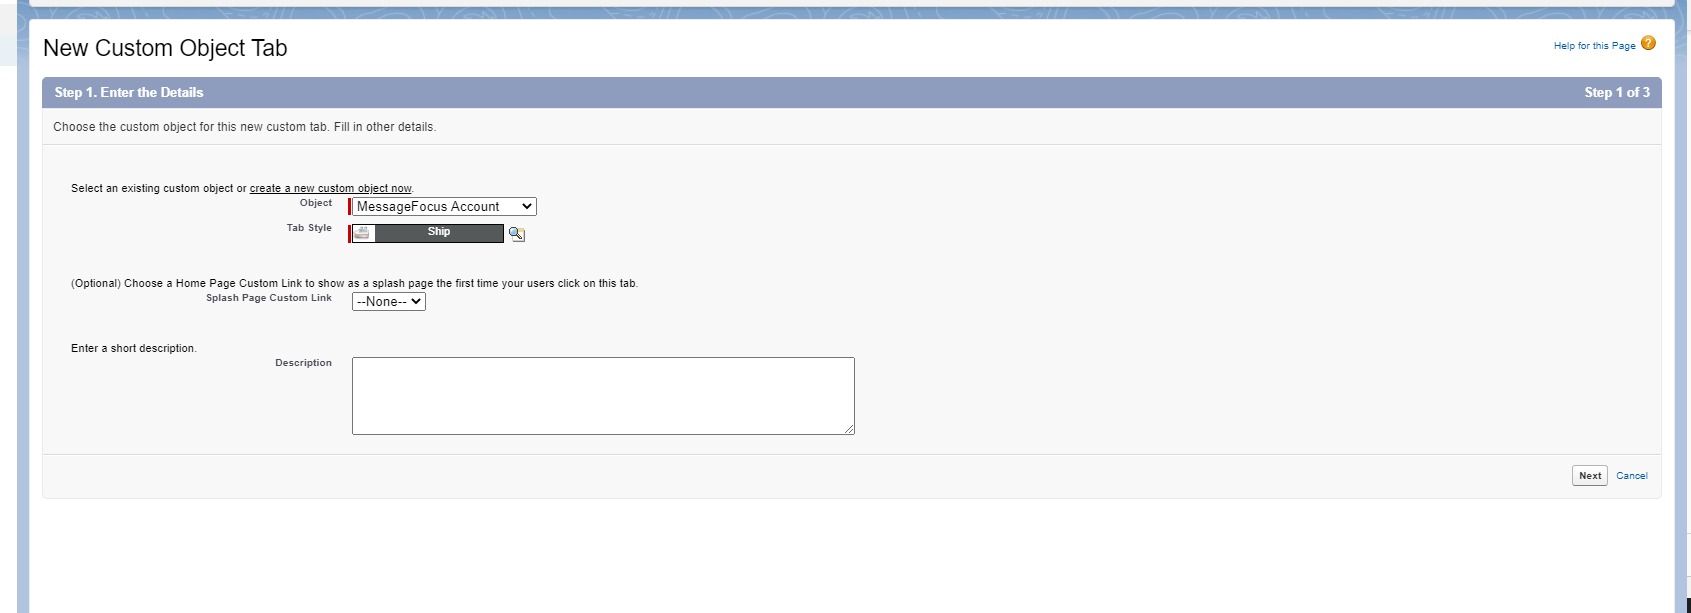
On the New Custom Object Tab page, select ‘MessageFocus Account’ from the ‘Object’ drop-down list and then select a style from the ‘Tab Style’ drop-down list..
-
Click ‘Next’.
-
Retain the default settings on the next page and then click ‘Next’.
-
Select the checkbox to the right of ‘Adestra (amf_MessageFocus)’ and then click ‘Save’.
Step Two
Next, you will set up and map the MessageFocus Accounts tab
-
To navigate to the newly created tab, click the ‘App Launcher” in the left pane and then select ‘MessageFocus’.
-
Click the ‘MessageFocus’ tab at the top of the page. The MessageFocus Accounts page opens.
-
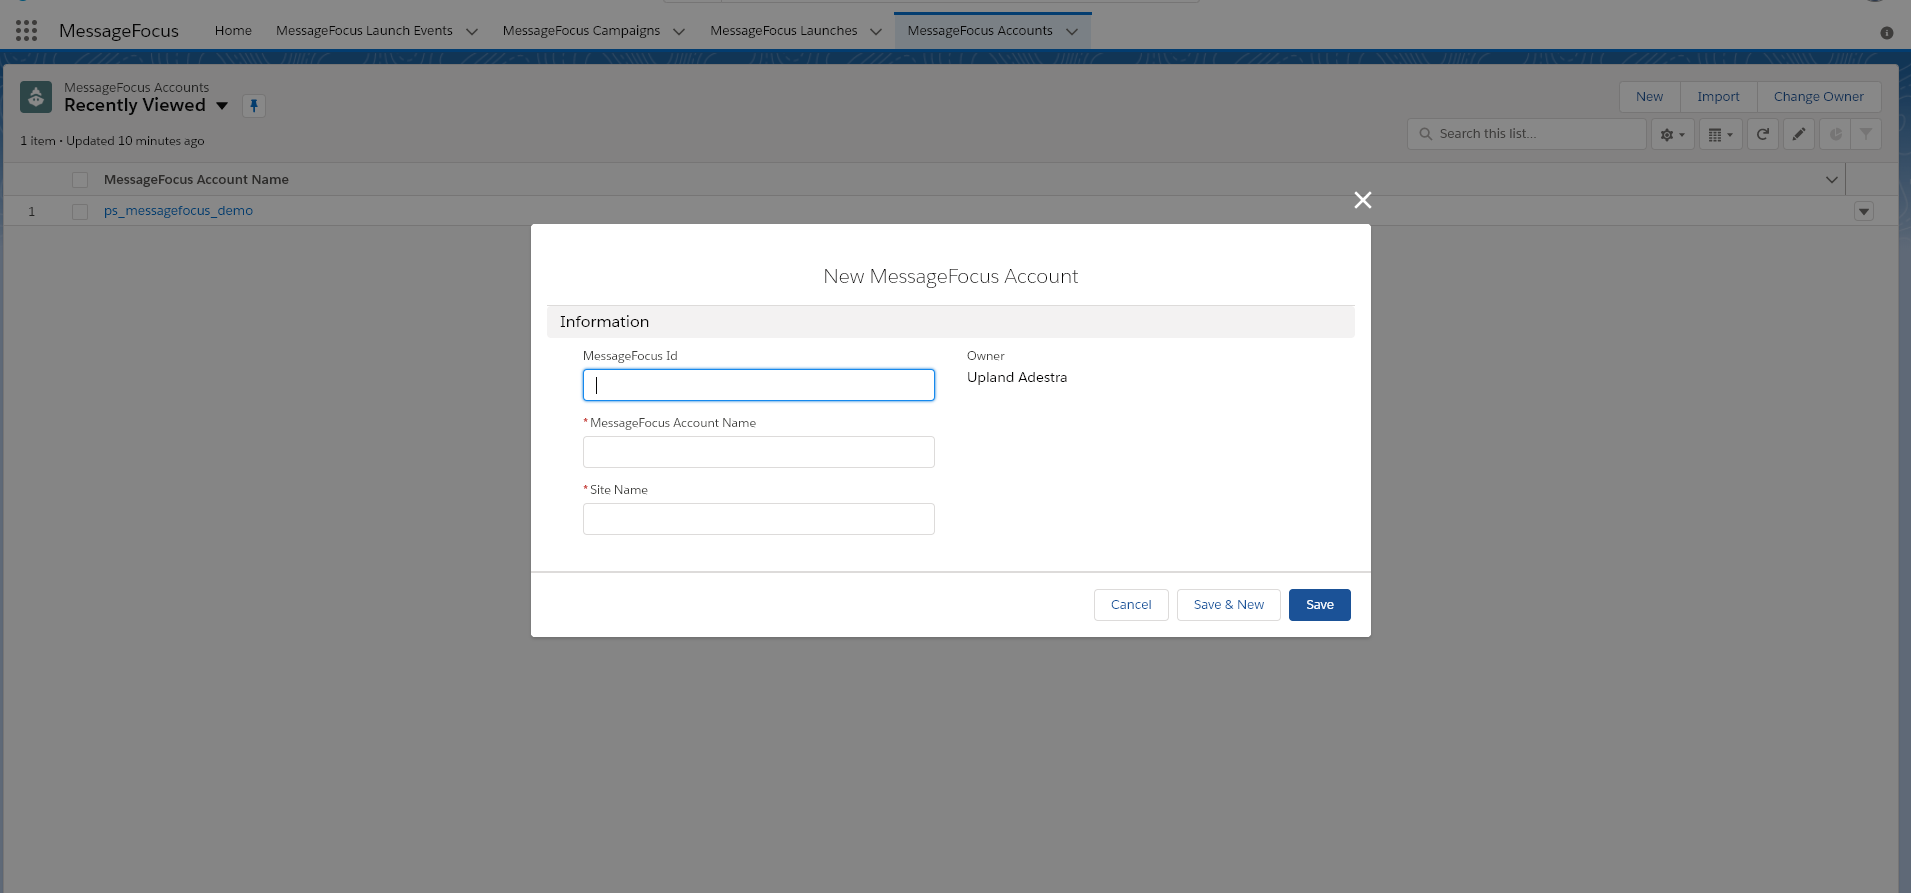
Click ‘New’.
-
Fill in the ‘New MessageFocus Account’ dialog box, as follows:
-
MessageFocus ID: MessageFocus-account-ID
-
MessageFocus Account Name: MessageFocus_Account
-
Site Name: MessageFocus-Account
-
-
When you are done, click 'Save'.
-
To map the ‘MessageFocus Account ID’ to the Account Page layout, click the ‘Settings’ icon in the upper-right corner and then click ‘Setup for current app’.

-
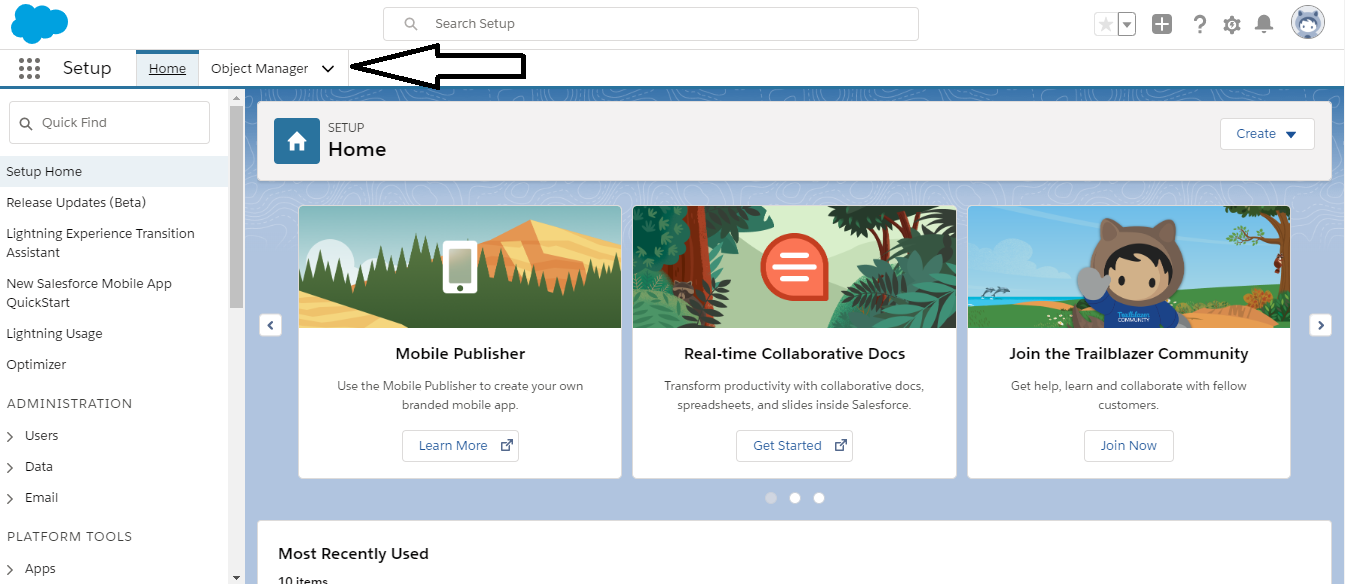
Click ‘Object Manager’ at the top of the Setup page.
-
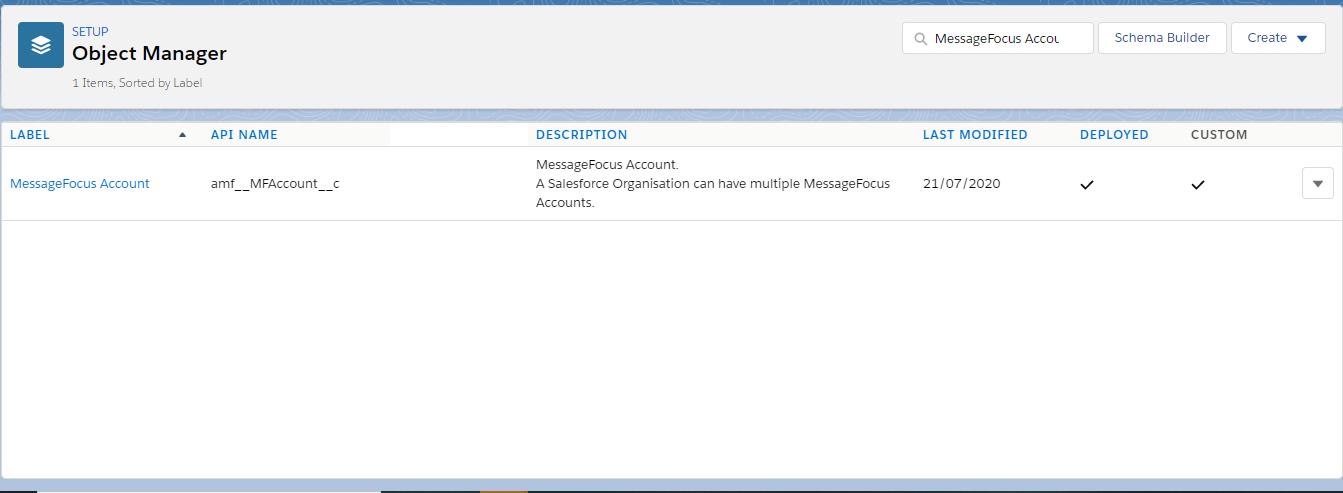
In the Search field, enter, ‘MessageFocus Account’ and then select the ‘MessageFocus Account’ label in the search results.
-
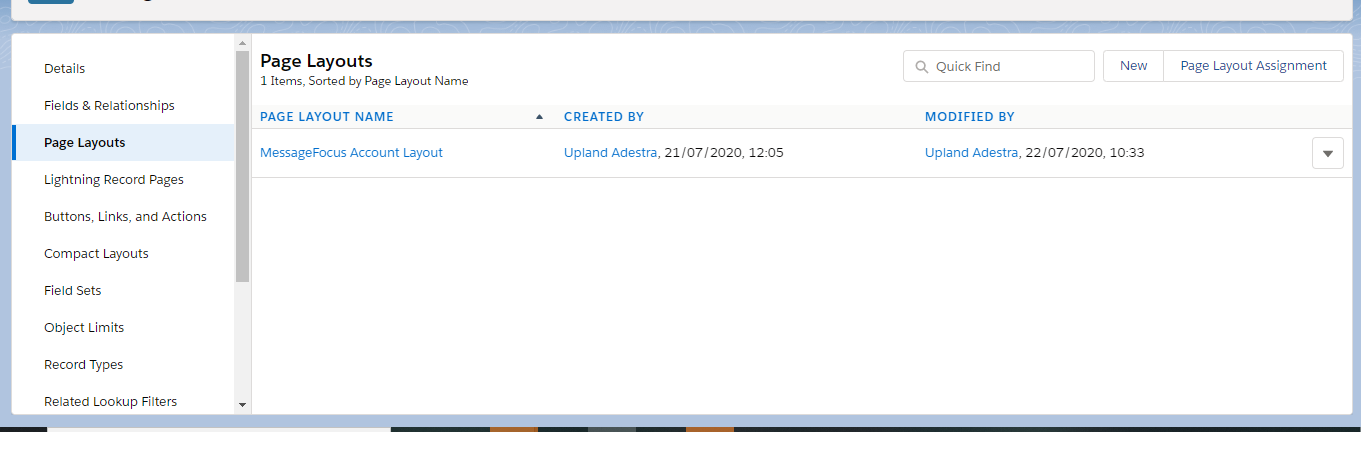
Select ‘Page Layouts” in the left pane.
-
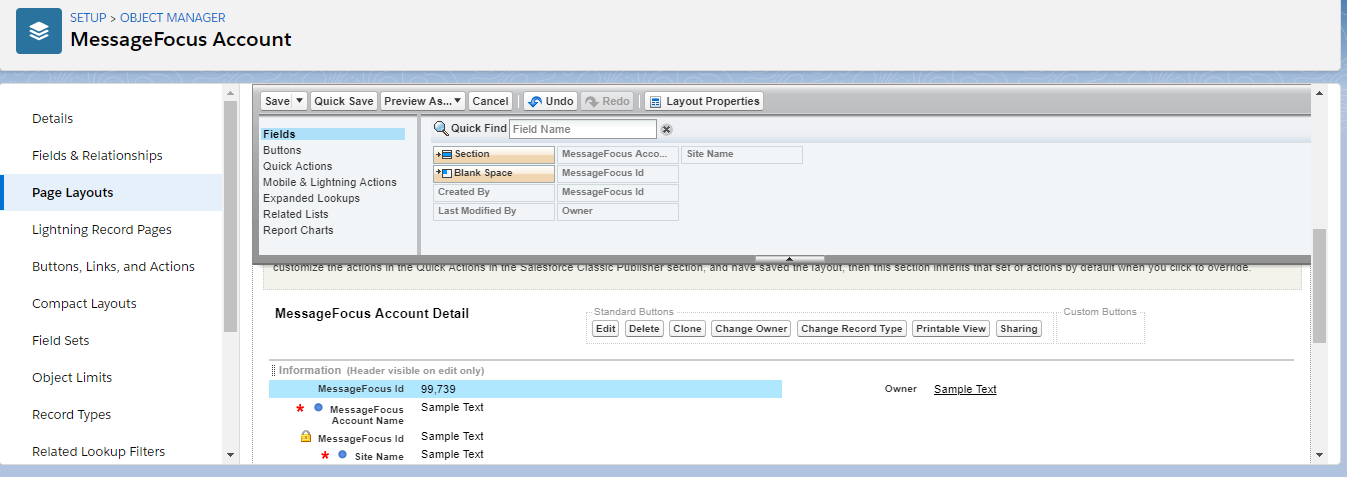
In the grey section at the top of the Page Layouts page, click ‘fields’ and then drag and drop the MessageFocus ID field into the MessageFocus Account Detail section, under the 'Information (header visible on edit only)’ heading.
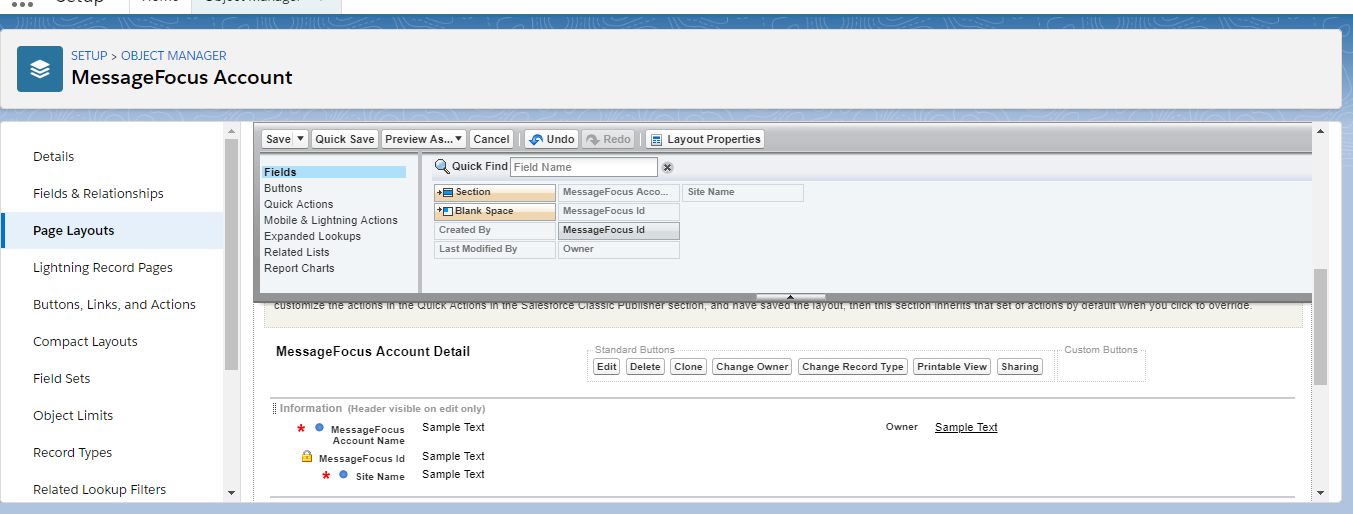
The option is added to the page layouts:
-
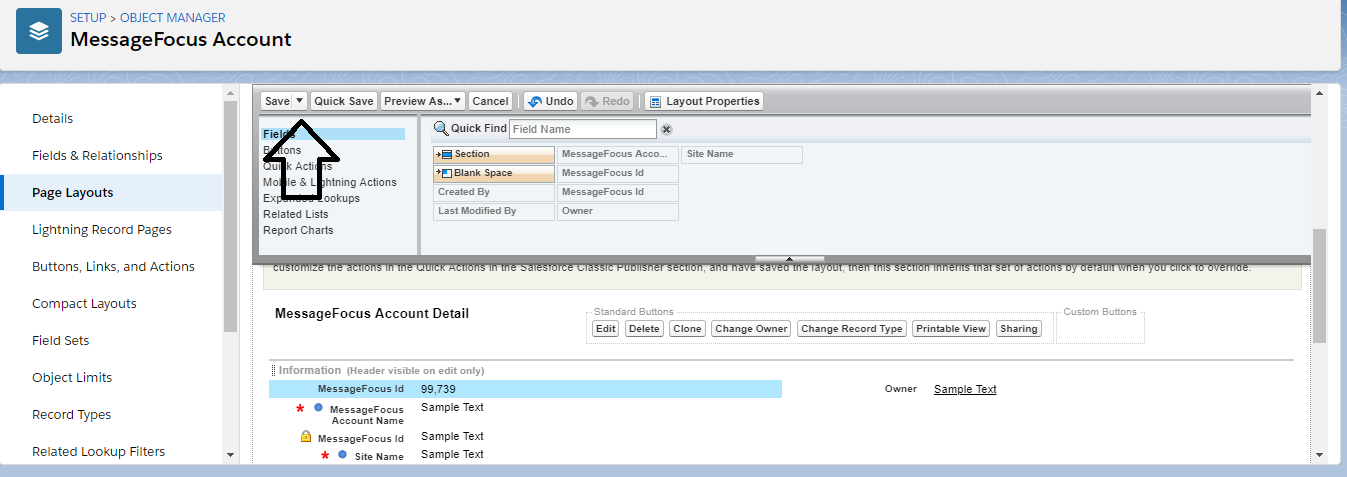
In the grey section at the top of the page, click ‘Save’.
Campaign Page Layout
There are two related lists that are recommended for your Salesforce campaigns. These are 'Adestra Campaigns', which displays Adestra campaigns that are associated with your Salesforce campaign, and 'Add to Campaign Report', which shows a list of Salesforce Reports related to the campaign being viewed.
Add Adestra Campaign
Related Adestra campaigns are available when viewing a Salesforce campaign.
-
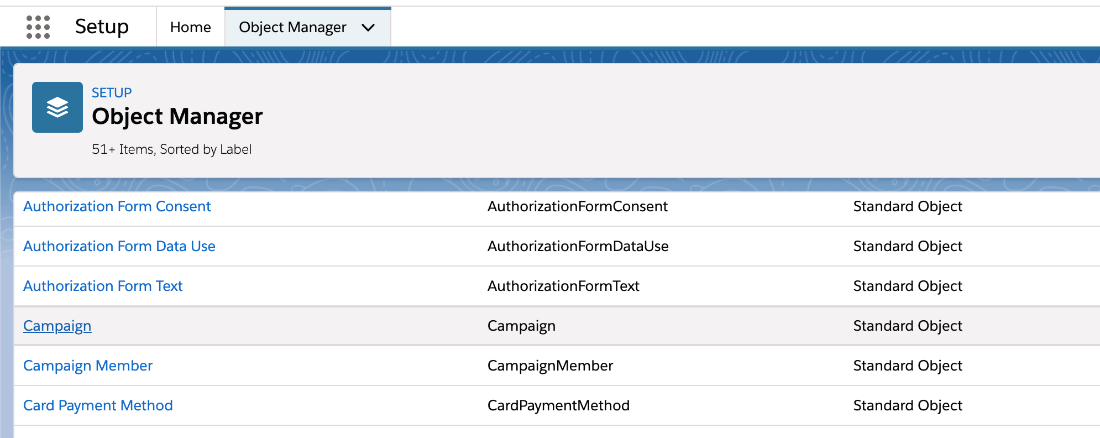
Go to ‘Setup’, and then select ’Object Manager’.
-
Select the ‘Campaign’ object.
-
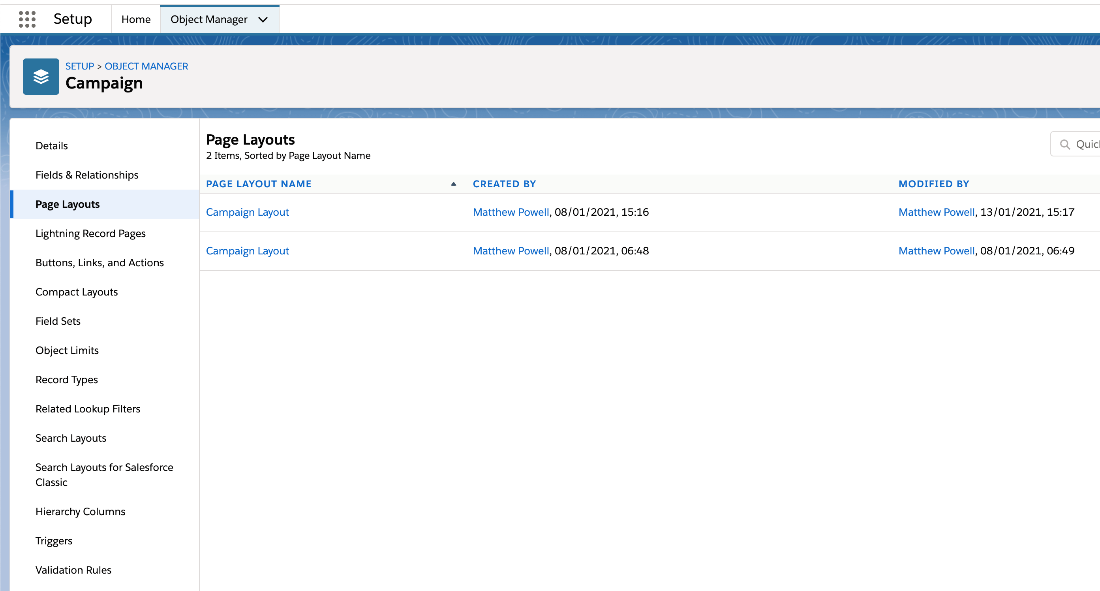
Select ‘Page Layouts’.
-
Next to a page layout, click ‘Edit’. The editing panel opens.
-
Click 'Related Lists'.
-
Select the Adestra campaign bar and it drag to the position where you would like to add it to your page layout.

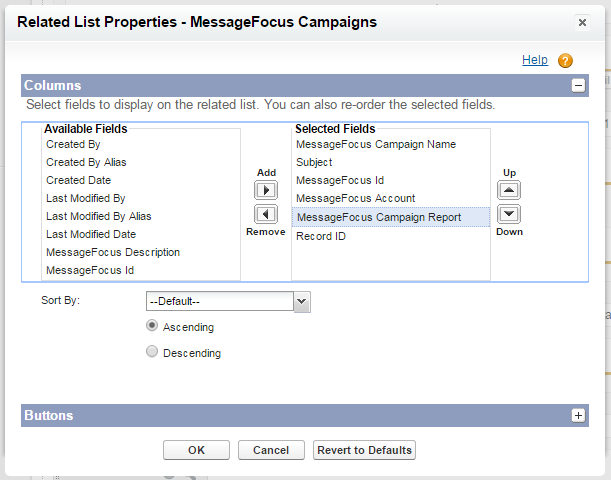
By clicking the spanner, visible by the title of the section, you can add fields that you see as appropriate for the campaigns.
Tip: We also recommend deselecting 'New' in the standard buttons section, before clicking ‘OK’.
-
When you are done, click ‘Save’ in the editing panel to save your layout.
Note: Adestra Campaign Name cannot be deleted and must be first.
Add to Campaign Report
Following the same process as above, or preferably at the same time, you can also add the 'Add to Campaign Report' related list.

You will then need to edit this, by clicking the spanner which is visible in the header. Add the required fields—'Report ID' and 'Report Name'—then click OK.
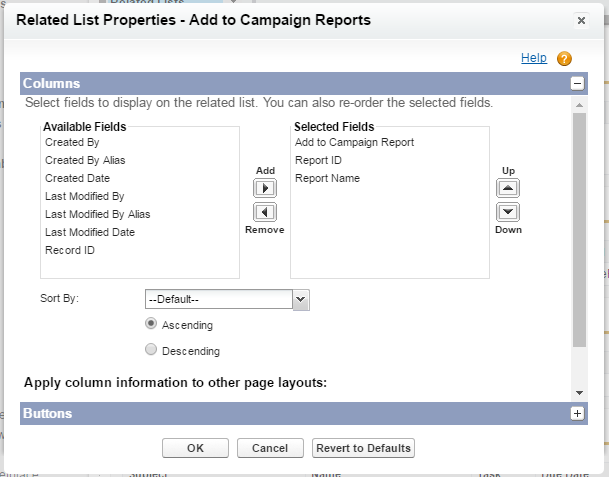
Remember to save your layout by clicking 'Save' in the editing p anel.
Campaign Lightning Record and Contact Pages
Next, edit the Campaign Lightning Record pages and Contact pages.
Note: This section describes editing Campaign pages. Follow the same process to edit Contact pages too.
-
Click the ‘Settings’ (cog) icon in the upper-right corner and then select ‘Setup’.
-
Click ‘Object Manager’.
-
Search for ‘Campaign’ and then click ‘Campaign’ in the search results.
-
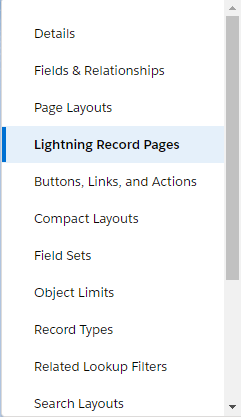
Go to ‘Lightning Record Pages’.
-
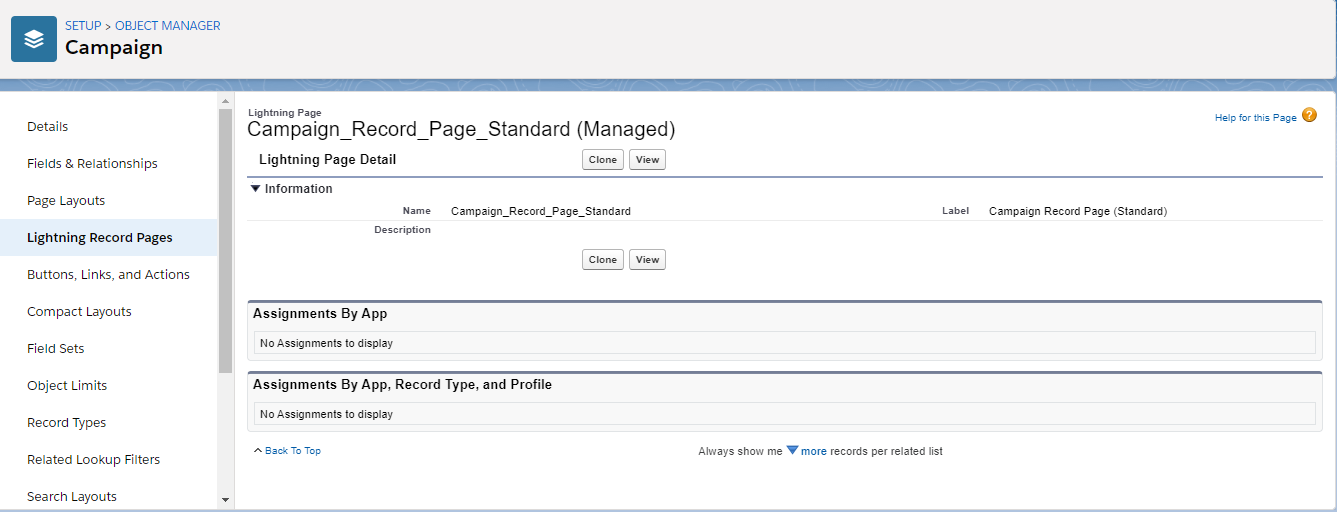
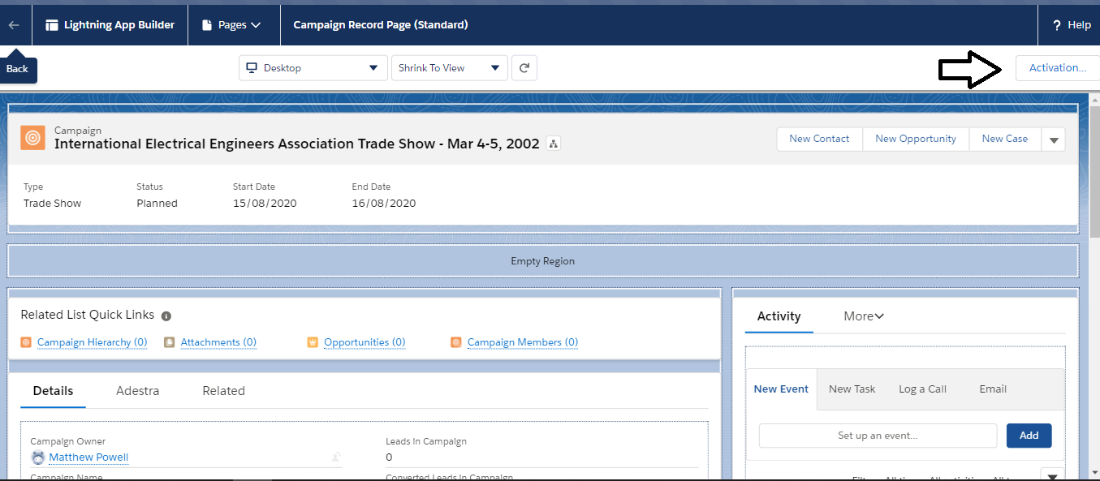
Click ‘Campaign Record Page (Standard)’.
-
Click ‘View’.
-
On the next page, click ‘Activation’ in the upper-right corner.
-
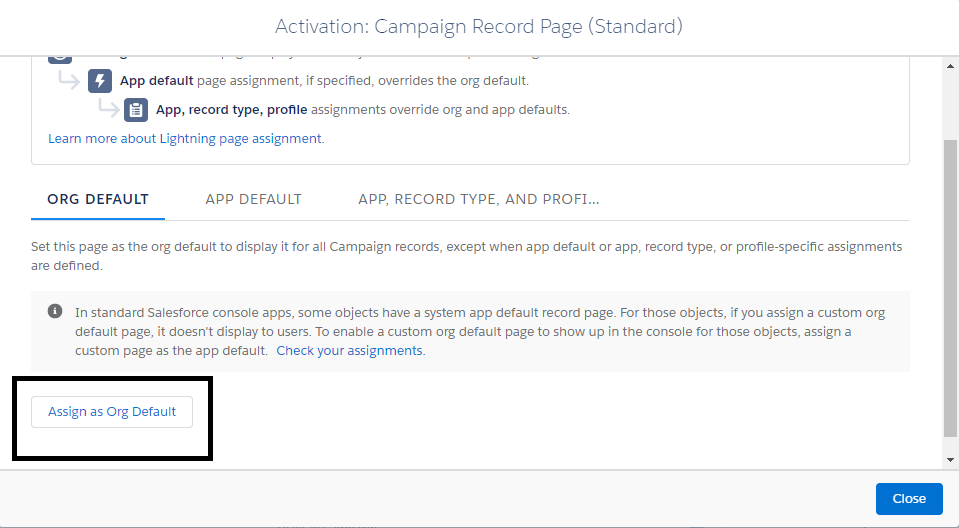
On the next screen, scroll down and click ‘Assign as Org Default’.
