Changing the Title Field
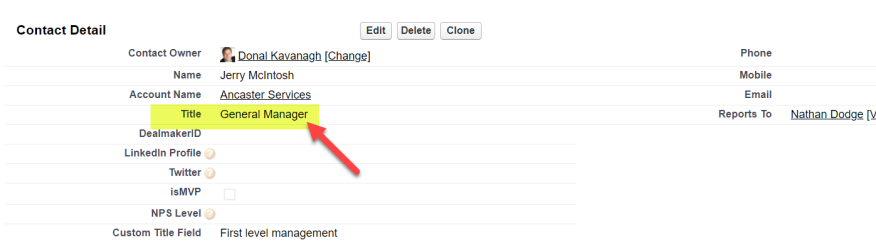
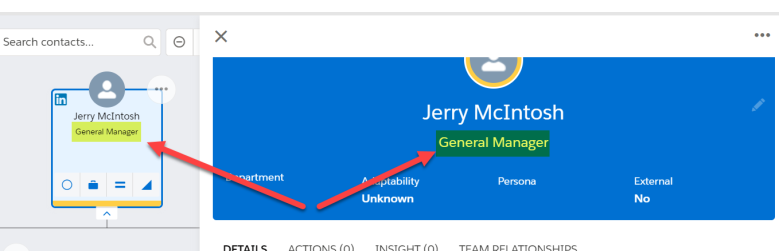
By the default, the Title field on the Salesforce Contact record (highlighted below) is displayed on a Relationship Map.
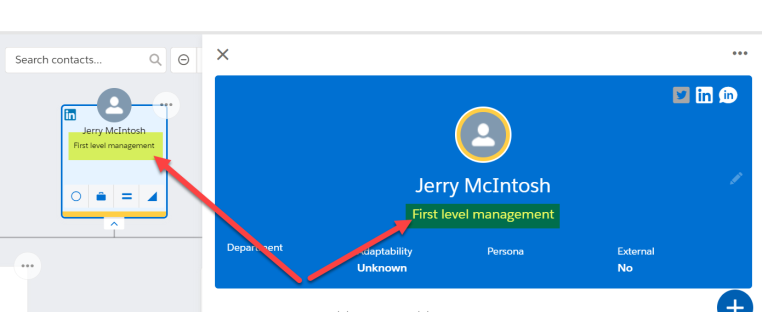
For example on the contact card and on the details panel (as highlighted below).
You can replace the Title field with a custom field on the Contact record.
-
In Setup, go to Object Manager and click the Contact object.
(In Classic mode, go to Contacts in Setup and click Fields.)
-
Click Fields and Relationships in the side menu and copy the Field Name of the field that you want to replace the Title field with in relationship maps.
(In Classic mode, scroll down to the Contact Custom Fields & Relationships section and copy the API Name of the relevant field.)
Note: Different types of field, such as a picklist and text, can be used.
-
Next, go to Custom Settings and click Manage for Altify Core Settings.
-
Click Edit and paste your field value into the setting Contact Title Field [TempStr3].
-
Click Save.
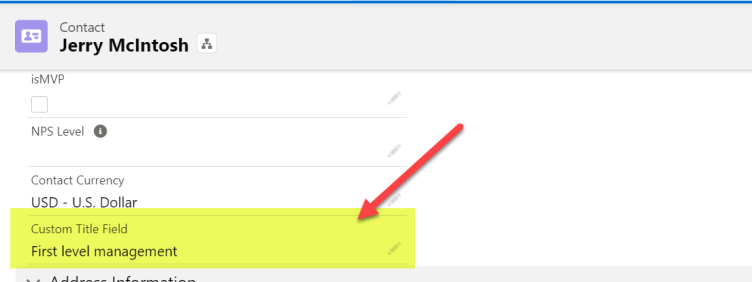
In the following example, a field called 'Custom Title Field' (highlighted below on the Contact record) is employed as the Contact Title Field.
We can see that the value for this field ('First level management') is now displayed for the relevant contact on relationship maps (as highlighted below).