Adding Details to an Insight
When you click an insight's card on the map, its details panel opens on the right - as shown in the example below.
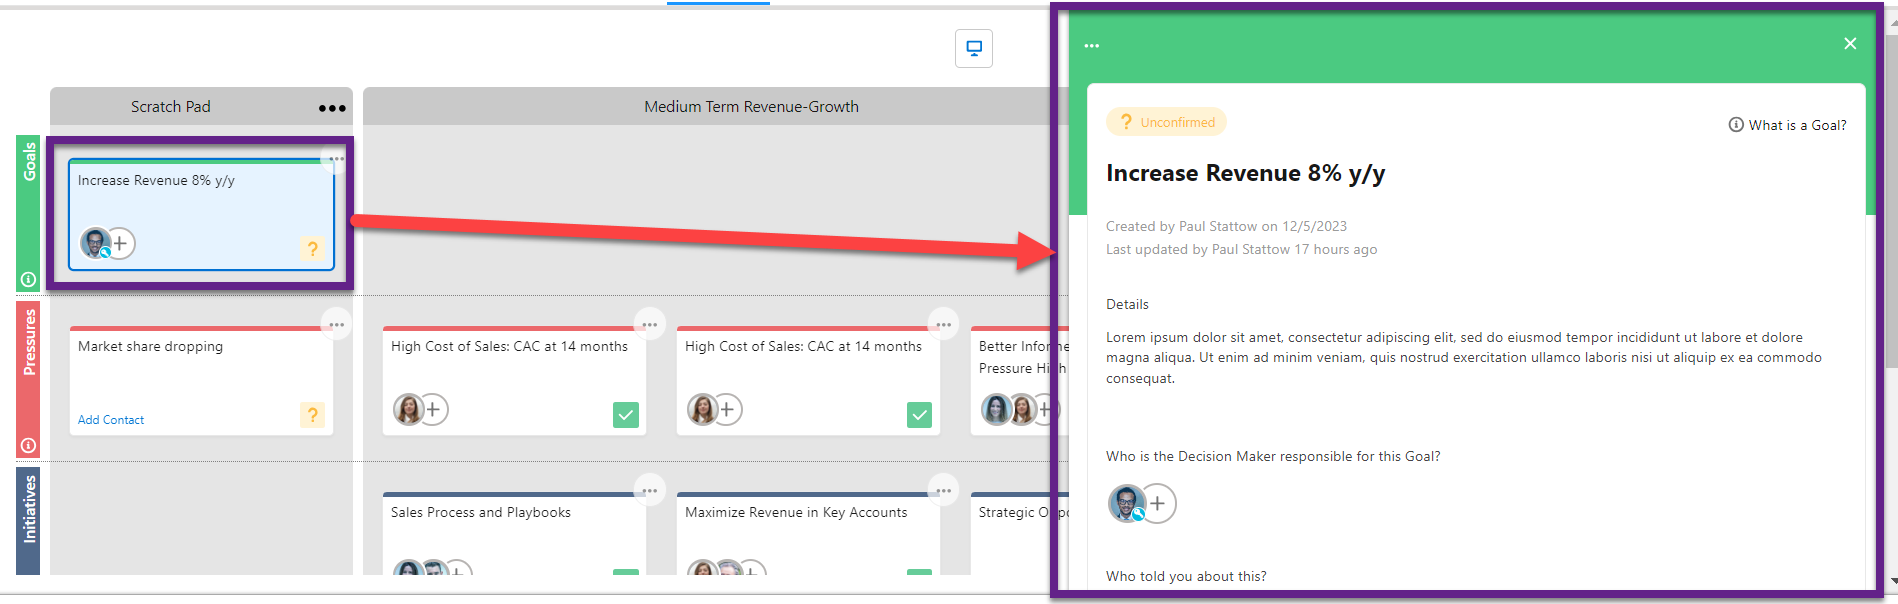
As your understanding of the customer's business issues matures, you can add information to insights using the details panel.
Enter a general description of the insight in the Details field.
Tip: try to include as much quantifiable information as you can: dates, amounts, percentages and so on.
Each type of insight (goal, initiative, etc.) also has its own particular set of details that you should capture.
On the details panel, you can also do the following:
-
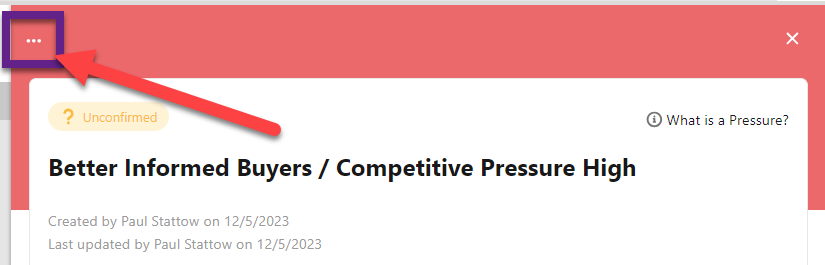
The options menu, indicated below, allows you change the insight's type or location, or delete it from the insight map.
-
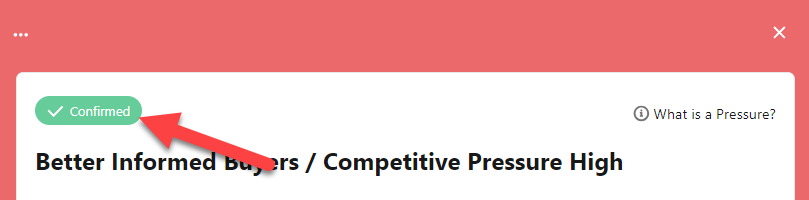
Mark the insight as Confirmed by the customer (by clicking the toggle indicated below).
-
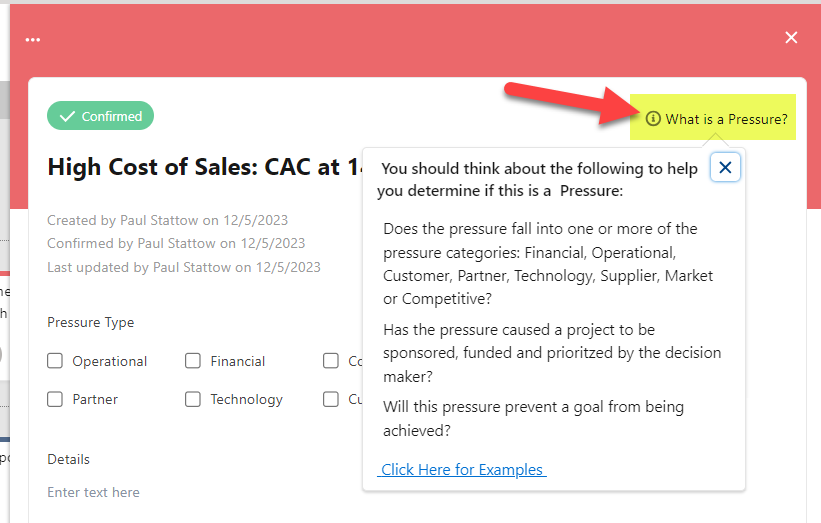
Access Altify's on-screen guidance and examples of the relevant insight type, as shown below. (This guidance can be removed by your administrator).
-
Upload helpful Attachments to provide additional information and context.
-
Set the Private toggle to 'Yes' to hide the insight when sharing your map with the customer in presentation mode. The insight will continue to be visible in normal viewing mode. (This toggle is not available for solution insights, but the solutions row can be hidden in its entirety).
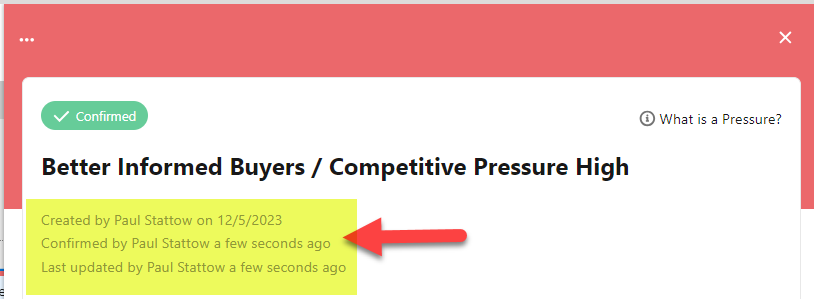
Audit information
Date stamps on the details panel ('Created by', 'Confirmed by' and 'Last Updated') are helpful indicators of the origin and relevance of the insight.