Create a data source
Caution: You must have a clear understanding of the database schema to be able to manage data sources and views. Database schemas are blueprints of how the data is organized in the database. Analytics allows for great flexibility in managing the data sources and views but it is only recommended for users with knowledge and understanding of the database schemas and its administration.
To create a data source:
-
Click Analytics Settings
 on the Analytics Menu and then click Data Sources.
The Data Sources page displays a list of all available data sources.
on the Analytics Menu and then click Data Sources.
The Data Sources page displays a list of all available data sources. -
Click New Data Source. The Create Data Source page displays.
-
In the Title field, type a name for the data source.
-
Select a database connection to connect to from the Database Connection dropdown menu. The status of the select database connection displays.
-
In the Description field, type a description for the data source.
-
Click one of the following:
-
Join Views Before Summarizing: Views used in the query will be joined before applying filters and summarizing. This is the default.
-
Summarize Views Before Joining: Views used in the query will be summarized and filtered individually before joining them.
-
In the Cached Enabled section click one of the following:
-
No: The cache will not automatically be cleared.
-
Yes: To enable the cache to clear automatically. Select the setting for the following fields:
-
Time to expire cache entry
-
Entries per source
-
Rows per entry
-
Cache Mode
-
- Click Next. A list of available data views display.
-
From the Available Views section, do one of the following to add the view to the building area:
-
Drag and drop the view to the building area.
-
Click See more
 and select Add to Building Area.
 -
From the View dropdown menu, select another view to join the views.
- From the Type of Join dropdown menu, select how the relationship should be connected:
- Inner: Data that have matching values in both views.
- Left: Data from the left view and the matching data from the right view.
- Right: Data from the right view and the matching data from the left view.
- Full: Data from the left and right view.
-
In the Joins Condition field, type the join function. You are connecting fields from one view to fields from another view using one of the following conditional operators:
-
Between
-
Equals
-
Greater Than
-
Greater Than or Equals
-
Less Than
-
Less Than or Equals
-
Not Equals
-
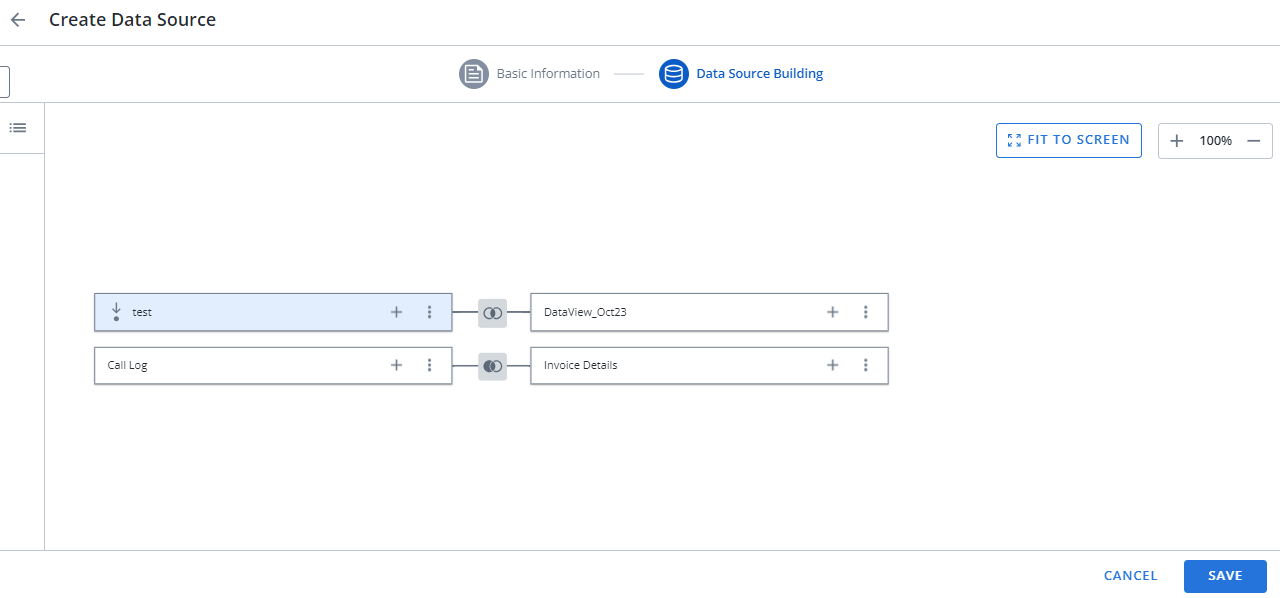
Click Create. The Building Area is populated with the view(s) you selected:
-
Optional:
-
Click Add
 on a view in the Building Area to add a view child. See steps 11 - 14 above.
 -
Click See more
on a view in the Building Area and select the following:-
Based on Permissions to base the selected view by the user's permissions.
-
Set Starting Point to set the selected the view as the starting point.
-
Preview Data View to see a preview of the records in the selected view.
-
Remove to remove the view fro the Building Area.
-
-
Click Save.
Note: Select Preview Data View to see a preview of the records in the selected view.
The Create Relationship form displays.