There are a range of options available at an Account level that can be personalized to suit your needs. Only Account Managers have access to Account Properties.
The following tabs are available under Account Properties:
General
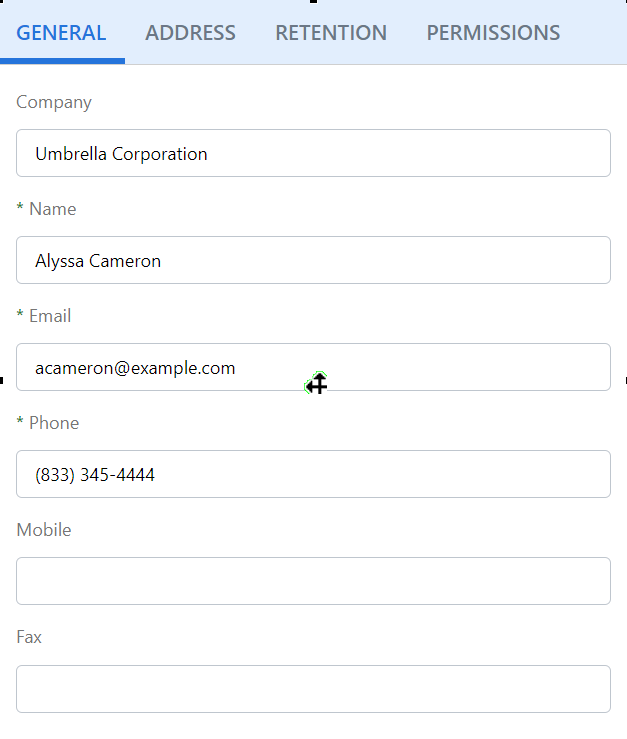
General account information, such as your company name and your name and email address, is stored on the General tab.
Address
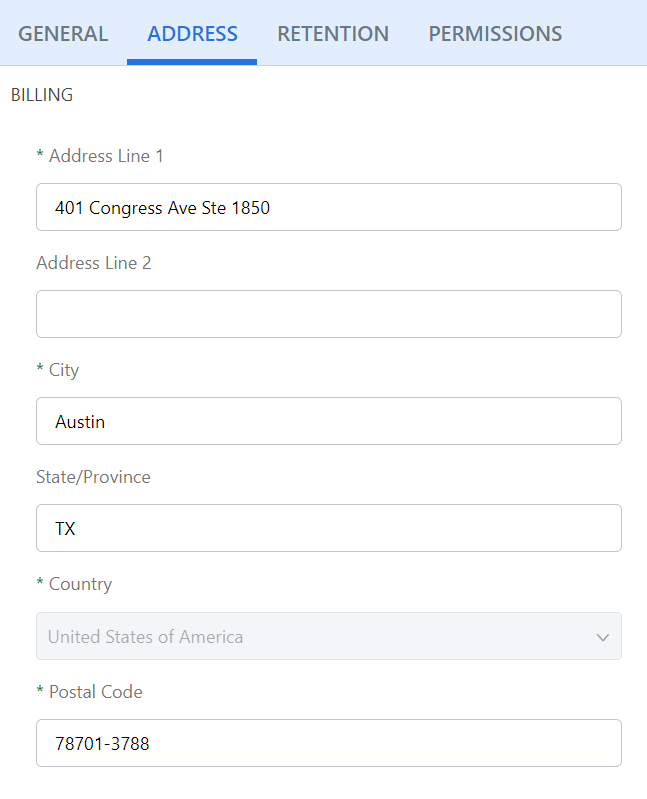
Your billing address and shipping address are located on the Address tab.
Retention
By default, inbound faxes are stored for 12 months. Account Managers can modify the retention policy on the Retention tab.
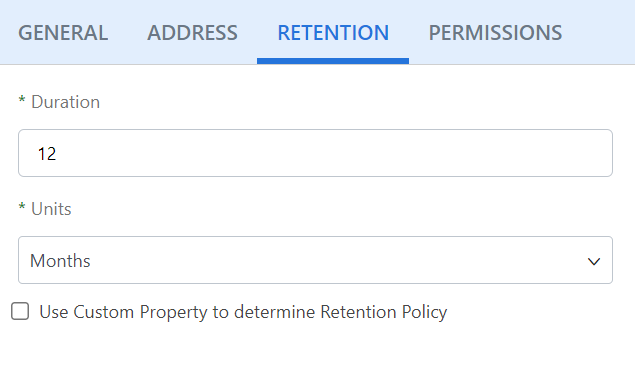
Use Custom Property to determine Retention Policy: This option allows you to enforce a retention policy based on a custom property.
Permissions
On the Permissions tab, Account Managers can enable or disable features for inbound faxes. All permissions are enabled by default.
| Permission | With this permission, all users on the account can... |
|---|---|
| Allow downloading of received documents | Download documents from the Inbox or Document Viewer. |
| Allow deleting of documents | Delete Documents from the Inbox or Document Viewer. |
| Allow redaction of content in documents | Redact document content in the Fax Preview Window and Document Viewer. |
| Allow automatic sharing of received documents | Access the Enable Auto Sharing option in My Settings > Inbound Settings. |
| Allow manual sharing of received documents | Share a document by accessing Document Properties from the Inbox or Document Viewer. |
| Allow automatic forwarding of received documents | Access the Enable Auto Forwarding option in My Settings > Inbound Settings. |
| Allow manual forwarding of received documents | Send documents from an inbound fax as a fax. |
| Allow user inbound email addresses | Edit the notification email address and attachment format in Inbound Settings. |
| Allow email notifications for received documents | Set notification emails for received faxes. |
| Include the sender email address in notification emails | View the sender email address of received emails in the Inbox “Sender” column, in the “More details” popup, and in the received email’s header. |
| Allow use of Contact Lists | Access the Contact Lists option in My Settings and select a contact list when sending a fax. This permission is not applicable for PCI users. |
Authentication
On the Authentication tab, Account Managers can select the authentication method used for the site. AccuRoute CloudFAX supports both application-based authentication and single sign-on (SSO). Enabling SSO allows users to access multiple applications with a single log in.
Requirements to work with AccuRoute CloudFAX SSO:
-
You MUST have an existing/configured SSO Identity Provider (IdP) that is OpenID Connect or SAML compliant.
-
You MUST have IT staff familiar with SSO/OpenID Connect/SAML with permissions to make changes to your identity provider. AccuRoute CloudFAX does not configure your identity provider. All documentation and configuration information should come from the identity provider.

Select an authentication method from the Type drop-down menu. The following options are available:
-
Application Based: Users will use a standard AccuRoute CloudFAX username and password to sign in.
-
OIDC Single Sign-on (SSO): Users will use OpenID Connect SSO to sign in. OpenID Connect is an identity layer built on top of the OAuth 2.0 protocol. It allows users to authenticate and authorize access to applications using existing provider accounts. OpenID Connect provides a secure and standardized way of exchanging user authentication information between identity providers and service providers. It uses JSON Web Tokens to provide lightweight and stateless identity tokens.
 Configure OIDC SSO
-
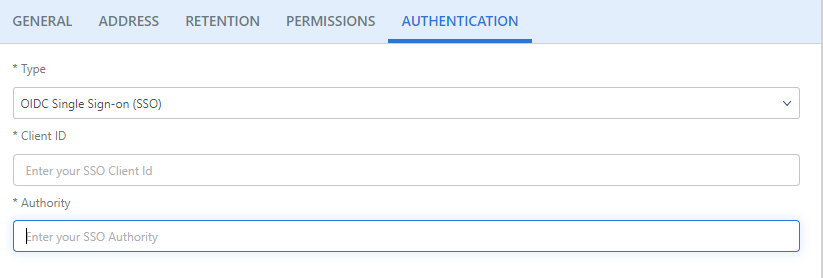
Select OIDC Single Sing-on (SSO) from the Type drop-down menu.
-
Enter the Client ID and the Authority. These settings are provided by your SSO identity provider.
-
Click Save.
-
-
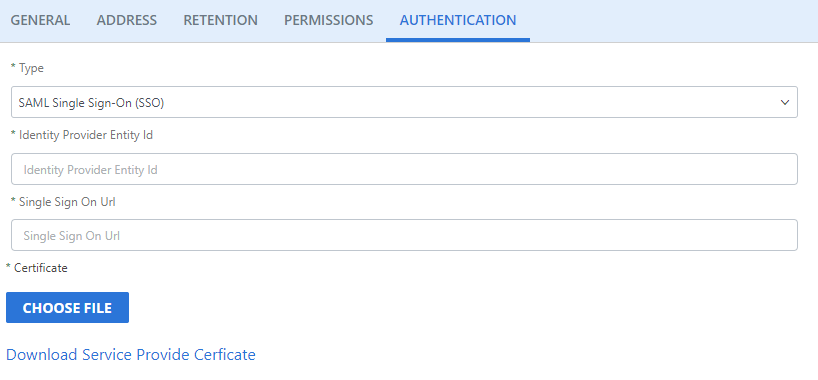
SAML Single Sign-On (SSO): Users will use SAML SSO to sign in. SAML (Security Assertion Markup Language) is an XML-based protocol used for exchanging authentication and authorization data between identity providers and service providers. It allows users to log into one system and then access multiple applications without needing to re-enter credentials. SAML tokens encapsulate user attributes and authentication assertions, ensuring secure transmission between identity providers and services providers.
 Configure SAML SSO
-
Select SAML Single Sign-on (SSO) from the Type drop-down menu.
-
Enter the Identity Provider Entity Id and the Single Sign On Url. These settings are provided by your SSO identity provider.
-
Click Choose File to upload an existing SAML certificate.
-
Click Download Service Provide Certificate to download a certificate. Your SSO identity provider will use this certificate in their configuration to properly sign requests.
-
Click Save.
-