Create a Self-Signed Certificate
If you are using a X.509 Certificate from a Certificate Authority skip to the next section: Configure Your Site to Use Certificates.
To use the Self-Signed High Trust Certificate Generation Page the Site App Pool Account must be a local Admin to allow access to the Certificate Store. Once created the requirement can be removed.
Note: Issued To
When using the Server Name as the Issued To value you will often recieve a Certificate Name mis-match warning in the Web Browers even if the Add-In Site has been Added as a Trusted Site. This warning does NOT impact functionality.
If a DNS record can be added depending on company policy, this mis-match warning can be avoided by using the Add-In Web Site Host Name.
Example: Add-In Web Site Host Name: Issued To: addin.mydomain.local
Add a DNS entry addin.mydomain.local pointing to the server ip adress.
Procedure:
- Navigate to the Self-Signed High Trust Certificate Generation page.
Example:http://localhost:5062/Pages/Certificate.aspx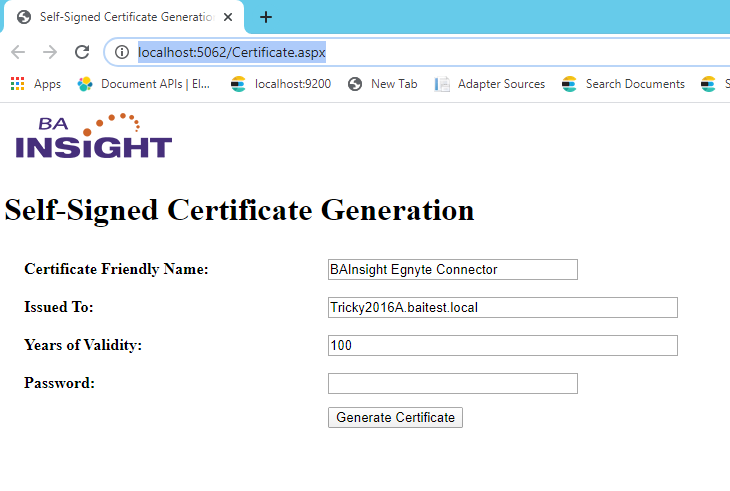
- Enter the following fields
- Certificate Friendly Name: Enter a friendly name for the Certificate. Default: BAInsight AutoClassifier AddIn
- Issued To: Enter Issued To. Default: The default value is set to the server FDQN.
See Note below regarding using Issued To. - Years of Validity: Enter number of years in which the certificate will expire.
- Password: Enter the certificate password. **AutoClassifier does not store this password therefore store the password in a safe location for future use.
- Certificate Friendly Name: Enter a friendly name for the Certificate. Default: BAInsight AutoClassifier AddIn
- Click the Generate Certificate button.
A certicate is generated and loaded to both the Personal and Trusted Root Certification Authorities certificate stores. - Once generated, the same certificate can NOT be regenerated without first being removed from the Certificate Store.
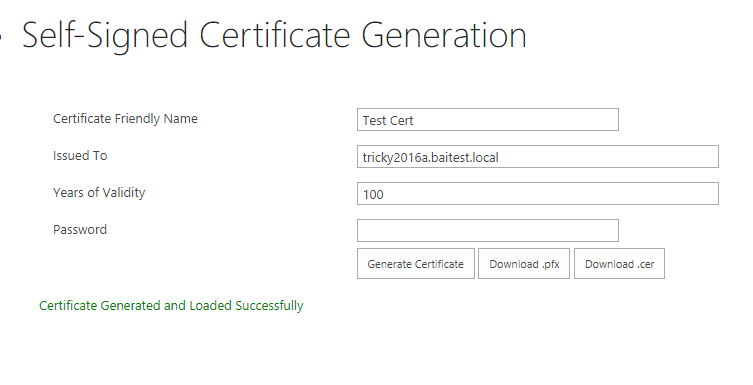
- Download both the .pfx and .cer file to a folder on the Server. Example: C:\Certs
- Close the web browser when finished.