How to Set Up and Configure the Microsoft Exchange Connector
All BA Insight connectors can be downloaded from Right Answers under Knowledge > BA Insight > Product Downloads > Connectors.
This connector is installed with the same generic steps as any BA Insight connector.
Satisfy the Prerequisites for your connector before installing.
Configuration specifics are detailed below.
Connection Configuration Specifics
The following steps add a connection to the Connectivity Hub.
- Navigate to the Connectivity Hub. On the “Connections” page, select “Web Service Connection” from the “New...” drop-down list.
- Add the Web Service URL of the Exchange Connector.
- Click Connect.
- From the new drop-down menu that appears, select the connector version you need (Online or On-Premise).
- Click Connect again.
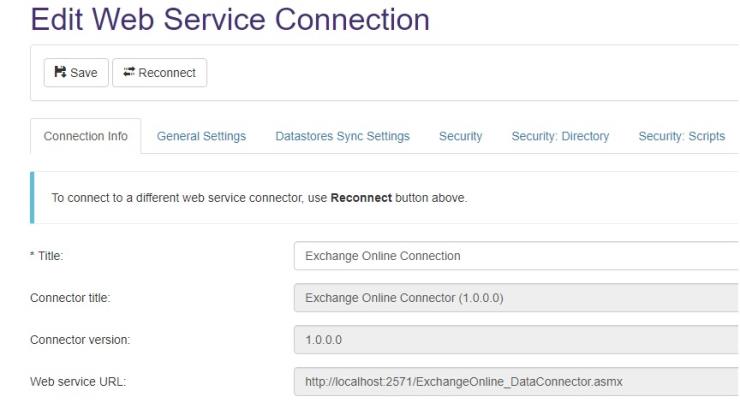
Connection Information
- Enter a unique descriptive title for your connection in the "Title" field.
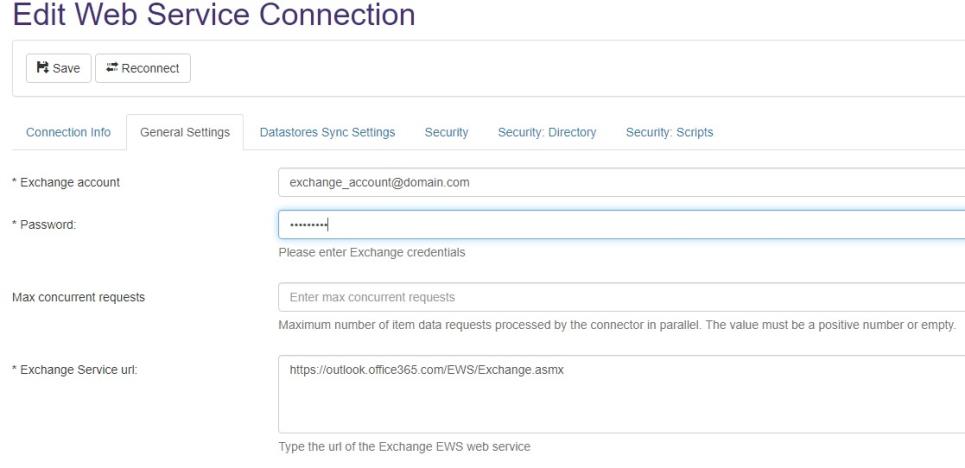
General Settings
The General Settings tab contains the information required to connect to the Exchange EWS web service.
Enter values for the following fields:
- Exchange Account: Enter the Office 365 Login. The login you use must have impersonation and full Read rights in Exchange Online.
- Password: Enter the Exchange Web Services Password for Office 365.
- Max concurrent requests: Enter the maximum number of item data requests processed by the connector in parallel.
- Exchange Service url: Enter the URL of the Exchange EWS web service
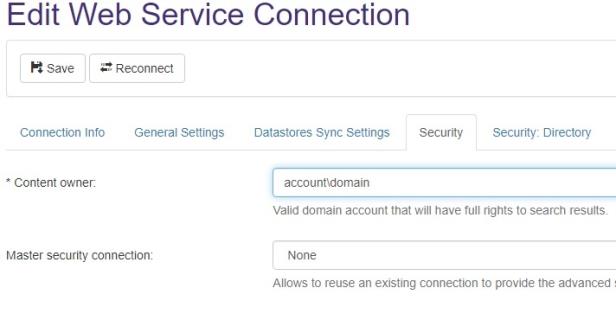
Security
Use the Security tab to specify a content owner account.
- In the Content owner field, enter a valid domain account in the format "account\domain" that has FULL rights to search results.
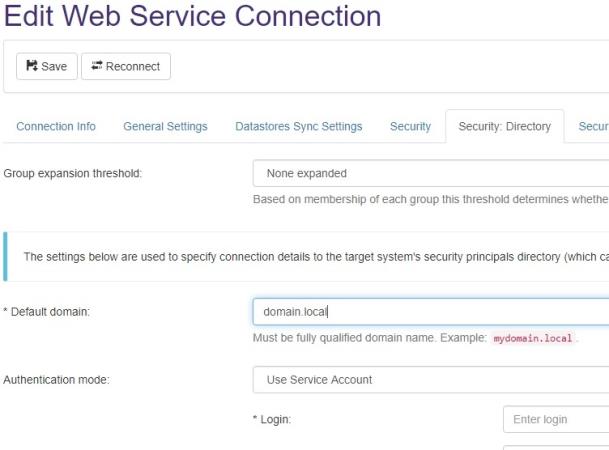
Security: Directory
In the Security: Directory tab, a domain is required for the target system's security principals directory.
- Enter a domain name for the target system's securityprincipals directory in the Default domain field.
- Save the connection.
How to Configure Your Exchange Connector's Datastores
Use the following steps to configure your exchange connector's datastores.
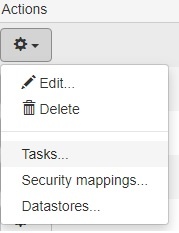
- From the Connections page, click the "Actions" button of your Exchange connector and select the Tasks... option.
- In the Timer Jobs page, click the New... button.
-
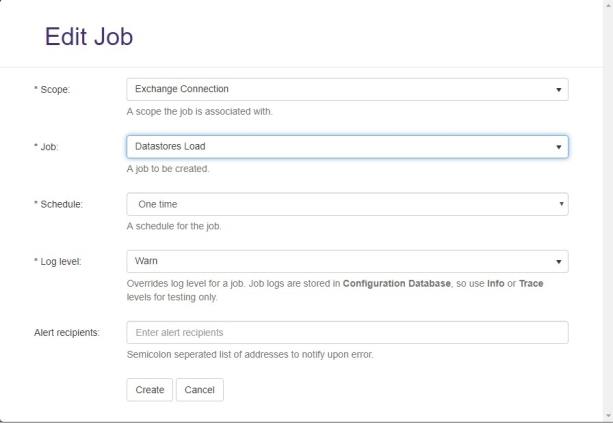
Complete the fields shown with the following information:
Parameter Description Scope The connection, target or content for which the job will run.
Make sure your Exchange connection is selected.
Job The job that will run for the selected scope.
For this case, select the Datastores Load job.
Schedule Specify if the job should run only once, or schedule a recurrent job.
For this case, leave it as One time.
Log Level The level of logging that is saved and displayed in the logs page.
The Default value is Warn.
Alert recipients Addresses which will receive a message upon error. -
Click the Create button and wait for the job to finish.
-
You can check the progress on the Active jobs tab, on the Timer jobs page.
-
-
When a job is finished, you can see the result on the Jobs History tab.
-
After the job finished, go to the Connections page, click on the "Actions" button for you Exchange connection and select the Datastores... option.
-
On the Datastores page, you see all the mailboxes which are available for crawling.

-
To activate one or more mailboxes, click on the "Actions" button for each mailbox, and then select Activate.
How to Configure Exchange Connector's Security
Exchange Online
- For Exchange Online, the Security Sync job is needed to map the Security Principals from the target system.
- Go to the Connections page, click the Actions button of your Exchange connection, and select the Tasks... option.
- On the Timer Jobs page, click New and once the "Edit job" page appears, select Security Sync from the Job dropdown and then click Create.
- Once the job finishes running, you can see all the users and groups retrieved from the target system by going to the Connections page, clicking the "Actions" button of your Exchange Connection, and selecting Security mappings....
Exchange On-Premise
- No job is required for Exchange On-Premise.
- Once a Full Crawl is completed, the Security Principals that secure the items are added in the ASM AD Principals tab on the Security mappings page.
Content Configuration Specifics
Running the Datastore Types Load job
Before creating an Exchange content source, run the Datastore Types Load job.
- From the Connections page, click the Actions button of the Exchange connection previously created and select the Tasks... option.
- In the Timer Jobs page, click New, select the Datastore Types Load job from the Job dropdown and click Create.
Create the Content Source
- Once the job finishes running, go to the Content Sources page.
- Select Web service content from the New... dropdown.
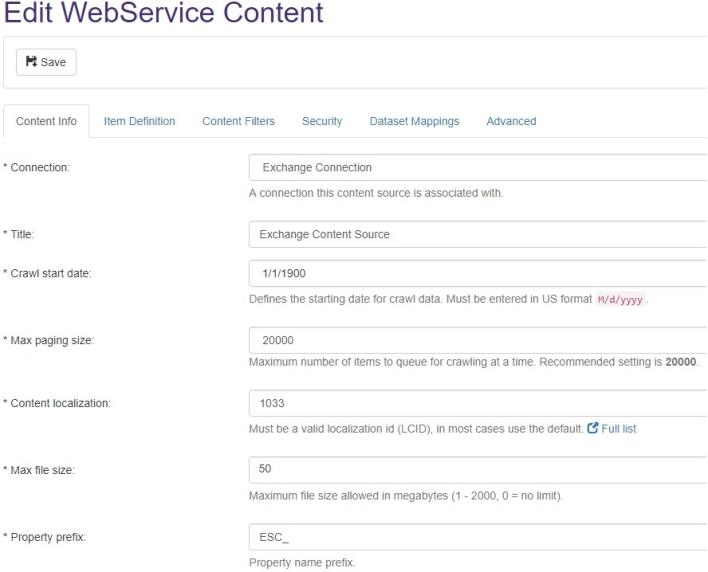
Content Info
On the "Content Info" tab, enter values for the following fields:
- Connection: Select the Exchange connection you have previously created.
- Title: Enter a unique name for your Exchange content source.
- Crawl start date: Select the starting date for crawling data.
Content Filters
Save the Content.
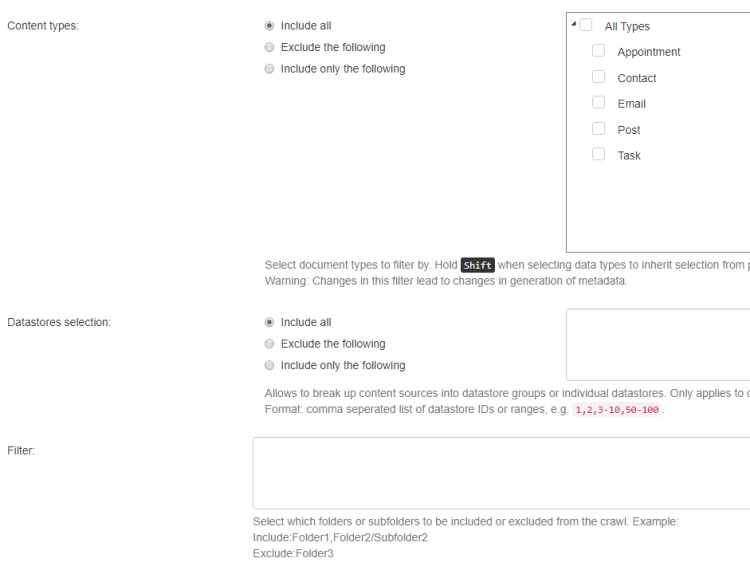
Enter values for the following fields:
- Content Types: Select one of the following
- Index all content types
- Include only one, or more
- Exclude one, or more.
- Datastore Selection: Select which enabled datastores you want to index. Leave empty to index all.
- Filter: Enter a custom filter to select which folders or sub-folders to include or exclude.
How to Generate the Metadata
- To generate the metadata, go to the Content Sources page,
- Click the "Actions" button of the Exchange Content Source and select the Metadata... option.
- On the Metadata page, click the Generate button and wait for the grid to be populated.
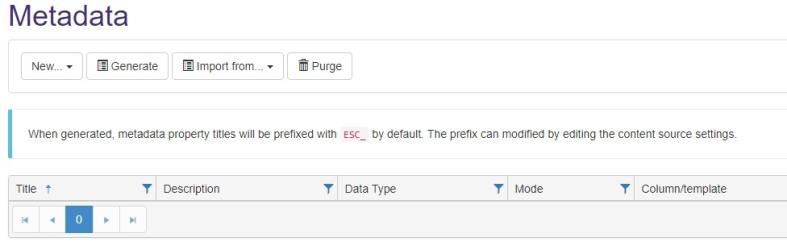
Note: The properties are generated only if the Datastores Types Load job ran previous to trying to generate them.
Preview with Exchange: Launch Options in Connector Framework
- Within Connector Framework, select Content from the top horizontal navigation.
- Select the Launch Options tab.
- Enter the URL of your Connector Framework in the field Portal Site Path.
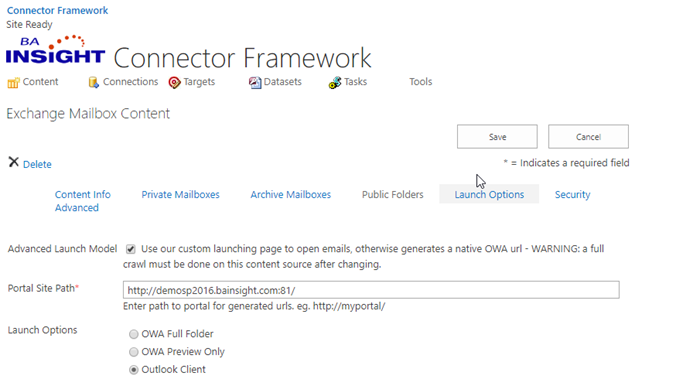
- Set the "Launch Options" field to “Outlook Client”.
- Run a full crawl.