How to Add TypeAhead to a Web Page Outside of SmartHub
Use the information on this page to add TypeAhead to a custom HTML page outside of SmartHub, such as a:
- SharePoint page
- Internal corporate home page
Procedure:
- Navigate to the directory where SmartHub is installed.
- Under /integrations/typeAheadForSPO copy the following files:
- NewCustomSettingsTemplate.js
- NewResultsPageSettings.js
- Paste the files to the directory where you keep your customizations.
- For example: <SmartHubInstallDirectory>/MyCustomerCustomization.
Note: BA Insight recommends you copy and rename the directory <SmartHubInstallDirectory>/CustomerCustomization before changing the files in it, so that your modifications are not overwritten when SmartHub is upgraded. - For more information about customizing SmartHub see How to Create Custom Pages.
- For example: <SmartHubInstallDirectory>/MyCustomerCustomization.
- Edit your custom page to inject the SmartHub loader:
Add the following code block in the
<script>element of your page.
SmartHub loader code- Copy
<script>        {
              var bodyElem = document.body;
              bodyElem.className += ' ' + 'BAInsightCustom';

            const customSettingsFile = "https://smarthub.contoso.com/customer/TypeAheadForSPO/NewCustomSettingsTemplate.js"            const neverCachedJS = [
                "https://smarthub.contoso.com/customer/TypeAheadForSPO/NewResultsPageSettings.js",
                customSettingsFile,
                "https://smarthub.contoso.com/modules/SmartHubResourceLoader/SmartHubResourceLoader.js"            ]

            const now = new Date().getTime()

            neverCachedJS.forEach(function (src) {
                const script = document.createElement('script')
                script.src = src + '?' + now
                script.async = false
                document.head.appendChild(script)
            });

            document.addEventListener("shLoaderReady", function() { SH.ResourceLoader.loadResources(); });
        }
</script>
Replace https://smarthub.contoso.com/ with your SmartHub address.
Ensure the paths to the files NewResultsPageSettings.js and NewCustomSettingsTemplate.js point to your own folder structure where you keep your modified settings files.
For example: <SmartHub_root>\"MyCustomerCustomization"\CustomerCustomization\settings\
-
Add the following
<div>code to the<body>section of your page:Copy<div id="search" class="CoveoSearchInterface" data-enable-debug-info="false" data-auto-trigger-query="false" data-hide-until-first-query="false" data-enable-duplicate-filtering="true" data-enable-history="true" data-design="new"></div> - If you have not already done so, make a copy of the file NewCustomSettingsTemplate.js, located at <SmartHub root>\integrations\typeAheadForSPO.
- Open the new file.
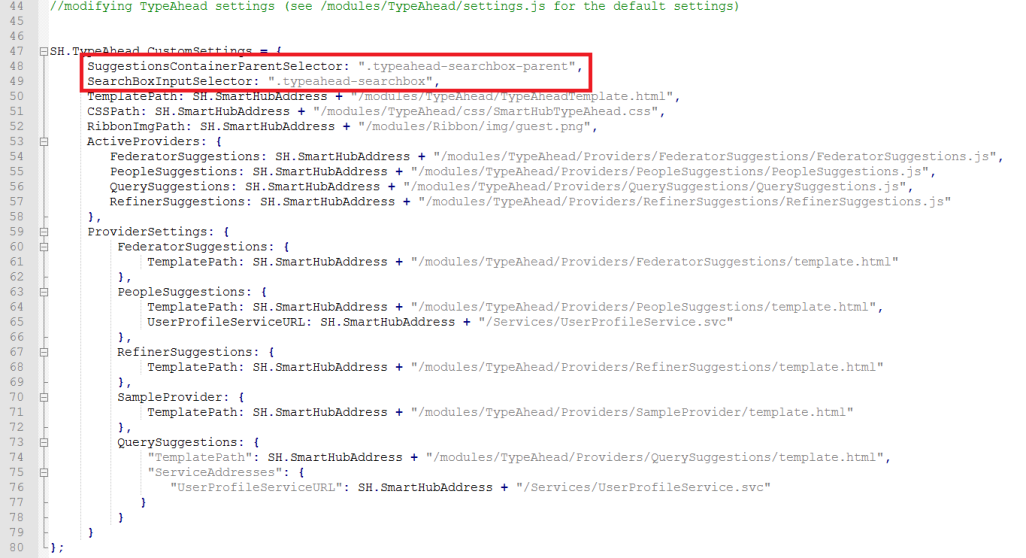
- Locate the section
SH.TypeAhead.CustomSettingsand editSuggestionsContainerParentSelectorandSearchBoxInputSelectorproperties to match your selectors.
- Copy the Login.aspx file from the SmartHub installation directory to your customizations folder.
- Edit your copy of Login.aspx page and replace https://smarthub.contoso.com/ with your SmartHub address.
- Delete all of the characters in the first line at the top of the Login.aspx file between
<%and%>.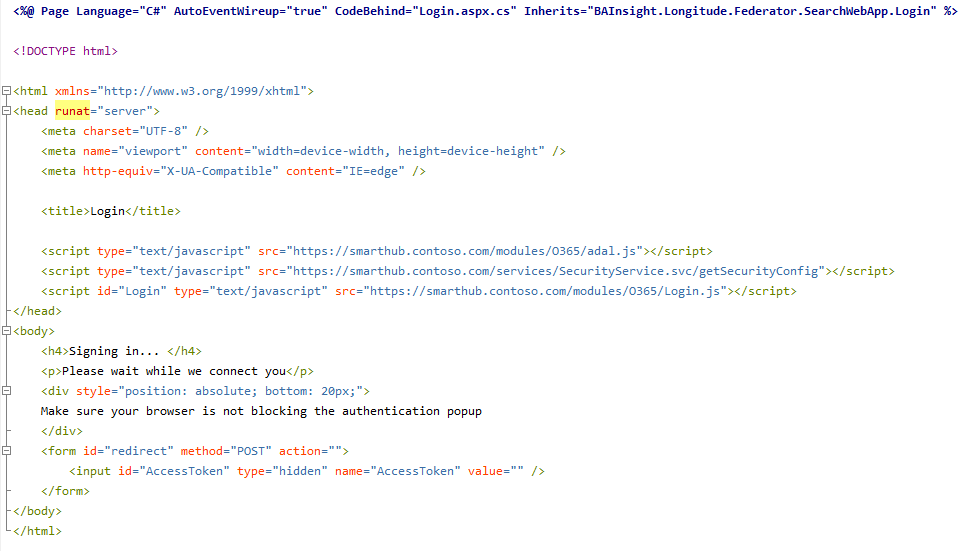
- In the redirect URL section, around line 37, add the full path to the Azure application directory where you uploaded your custom Login.aspx file.
- Upload the custom Login.aspx file to your SharePoint asset library.
- Open your copy of the settings file NewResultsPageSettings.js:
- Replace https:// smarthub.contoso.com at the top of the page with your SmartHub address.

- In the section
SH.Loader.JSFilesToLoad, locate https://smarthub.contoso.com /modules/O365/SPOAuth.js and change the propertydata-login-redirect-urito match the full path where you uploaded your custom Login.aspx file.
See the example below: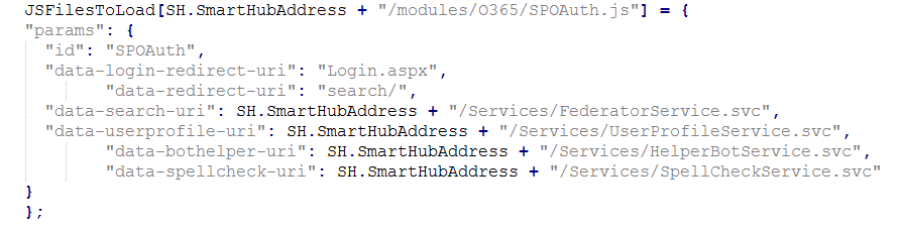
- Replace https:// smarthub.contoso.com at the top of the page with your SmartHub address.
- Open the web.config file from SmartHub:
- Uncomment the
<httpProtocol>section for cross-domain requests. - Modify the value of the "
Access-Control-Allow-Origin" key to match your site URL.
- Uncomment the
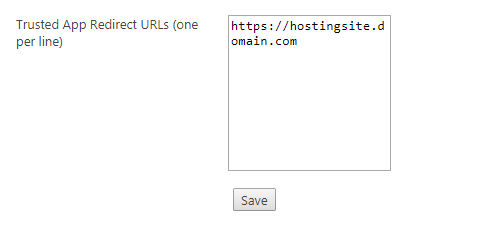
- Next, add your URL to SmartHub's Trusted App Redirect URLs.
- Navigate to the SmartHub Administration page.
- Go to the Security Settings section.
- Add your URL to the Trusted App Redirect URLs field.
- Click Save.
- When the page loads, you are prompted to login using the authentication mode specified in SmartHub.
This mode was set when you configured SmartHub.
Caution: The authentication mode in SmartHub must be set to Azure Active Directory.