Add Triggers to Determine When Your Pipelines Run
About Triggers
Triggers control component activation based on the incoming request (caller plus the input data).
-
Triggers can be specified for any/all of the AutoClassifier components.
-
By default, all of the triggers that are listed in the UI are called.
-
You can choose to select one or more filters within the features that you add.

Specify Trigger Settings
Use the following steps to specify your Component trigger settings.
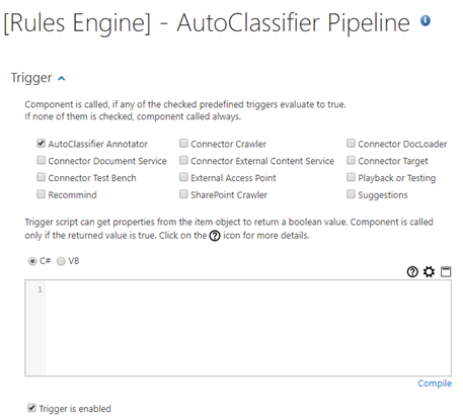
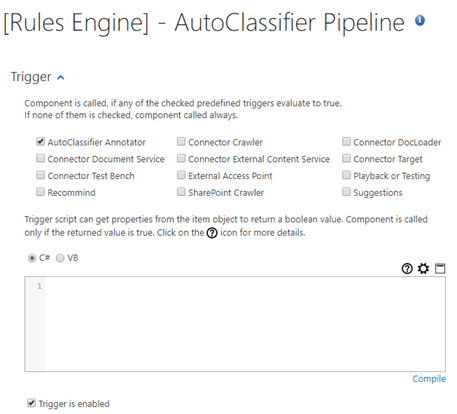
- <selected component/component> - AutoClassifier page > Trigger: Expand:

- Trigger is enabled:
- You must enable this setting before you can select any specific Triggers.
- Click the check box if you want to select one or more specific triggers.
- If not enabled, the Pipeline is always called.
- Triggers
- Optional
- If no specific triggers are selected, the Pipeline is always called.
- Select one or more specific triggers and if the trigger evaluates to True, the pipeline is called:
- AutoClassifier Annotator
- Connector Document Service
- Connector Test Bench
- Recommend
- Connector Crawler
- Connector External Content Service
- External Access Point
- SharePoint Crawler
- Connector Railroader
- Connector DocLoader:
- Connector Target:
- Playback or Testing:
- Suggestions:
- Trigger Script (optional):
- Enter a C# or a VB script.
- Return True in the trigger script to run the pipeline stage.
- Return False to skip running the pipeline stage.
Configure Your Triggers Using Scripts
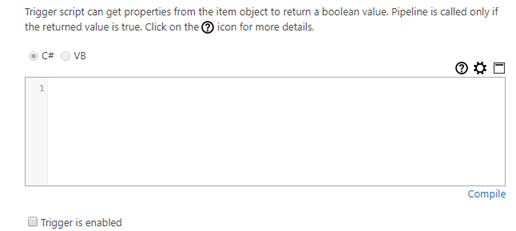
- <selected component/component> - AutoClassifier page > Trigger: Expand to see the scripting section:

- Trigger is enabled: Click. You must select Trigger is enabled before you can make any selections/entries.
- C# or VB.NET: Select the script language.
- Type in the script.
- Compile: Click to verify the validity of the script.
See the following scripting examples:
Example: Retrieving an Item Property
To get an item property, use the generic GET method on item object:
string propertyValue = item.Get<string>("propertyName");
Dim propertyValue As String = item.[Get](Of String)("propertyName")
Example: Property Values
Property values can be changed in a similar way by the generic SET method:
item.Set<string>("propertyName", "propertyValue");
item.[Set](Of String)("propertyName", "propertyValue")
Example: Item Raw Data
Raw data can be retrieved as a byte buffer using the RawData property.
byte[] content = item.RawData;
Dim content As Byte() = item.RawData
Example: Logging
Use static methods to write entries into the log at different levels:
Log.Debug("Debug message");
Log.Info("Info message");
Log.Warning("Warning message");
Log.Error("Error message");
Log.Debug("Debug message");
Log.Info("Info message");
Log.Warning("Warning message");
Log.[Error]("Error message");- Assemblies and namespaces: Click
 to define the assemblies and namespaces to import.