How to Add Components to Pipelines
Add or Select a Pipeline
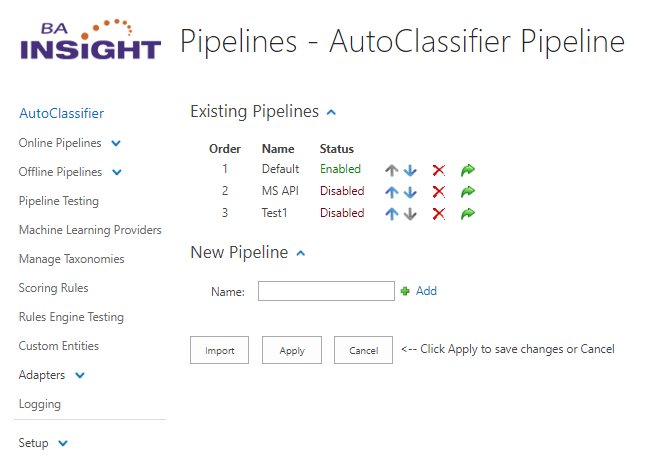
- First, click the Pipelines link from the menu on the left side of the page.
- Select a Pipeline or create a new one:
- To create a pipeline expand the "New Pipeline" heading shown in the screenshot below.
- Enter your pipeline name.
- Click the "+ Add" link. Your pipeline appears in the list of exiting pipelines, but is NOT linked.
- Click Apply.
- Your new pipeline appears in the list of exiting pipelines, and is linked.

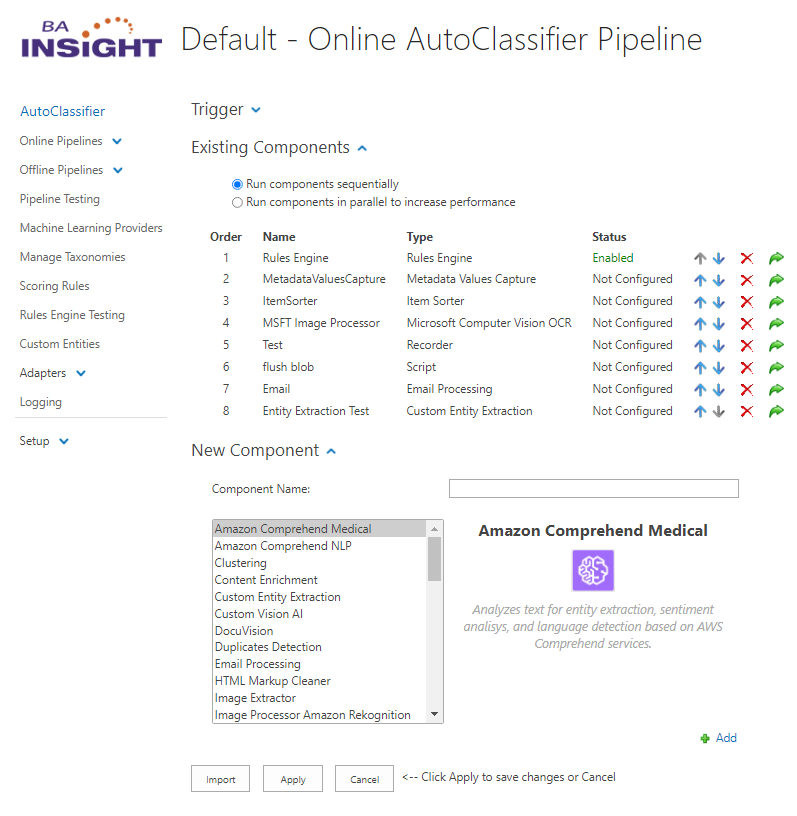
- Select your pipeline.
- The <selected component/type> - AutoClassifier Pipeline page appears.
- The "Default" pipeline is shown in the example below:

How to Add a Component
Use the following steps to add a component to your pipeline:
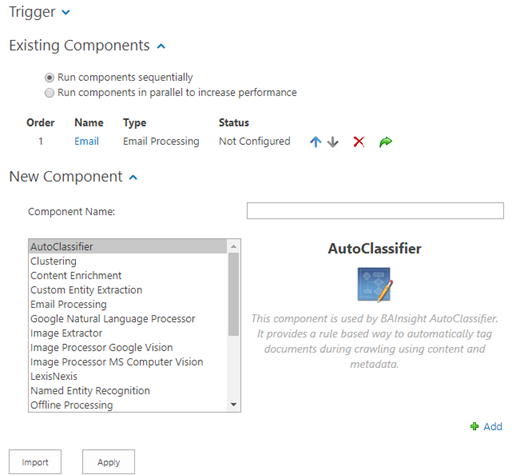
- Under New Component, click the
 icon to expand the section. See the graphic above.
- Component Name: Enter a name such as
CustomEntity. - Select the type of component from the list shown. Each component type in the list is described when it is selected.
- Click the Add link to see the component added under Existing Components.
- Click Apply to save your changes.

Configure the Component
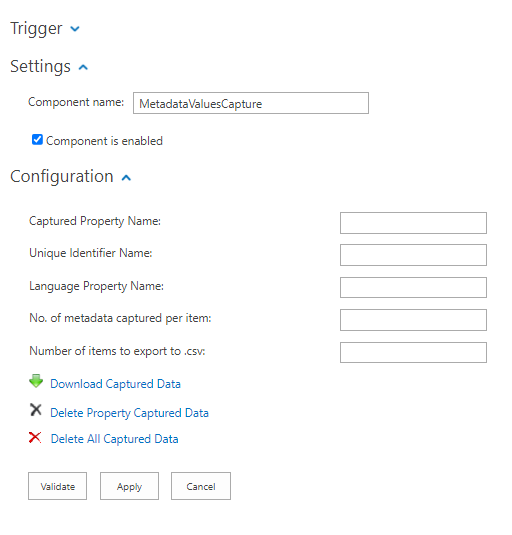
- Click the name of your new component in the list of Existing Components.
- The configuration screen appears.

- Set the Trigger, Settings, and Configuration of your component by expanding each of those respective sections and completing the fields shown.
Note: The "Component is enabled" check-box MUST be checked for your component to operate.