Installing the SharePoint Online Web Application
If the AutoClassifier Engine has not been installed STOP and install and configure the AutoClassifier Engine before proceeding.
Unblock any files downloaded from BA Insight by checking the "unblock" check-box in the file's properties dialogue box.
Procedure
- On the Microsoft IIS Server machine, locate the file BA Insight MSI installation file (for example, BA Insight AutoClassifier SharePoint Addin6.3.3.0-5bd2e1e.msi) and double-click it to launch the installation wizard.
- The installation wizard appears. Read and accept the End User License Agreement.
- Click the Next button to continue.
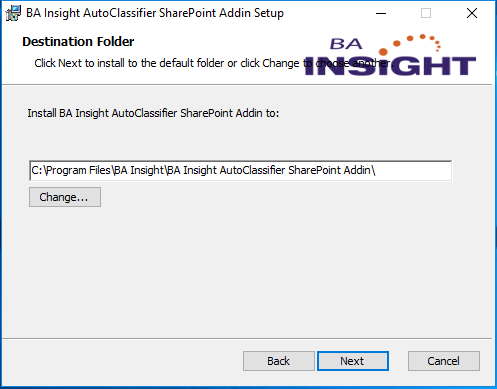
- Select the desired installation directory and click Next.
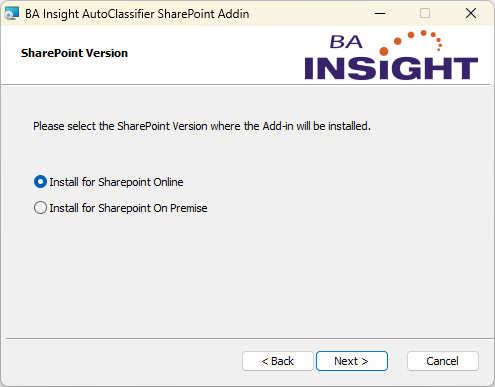
- Select "Install for Sharepoint Online"
-
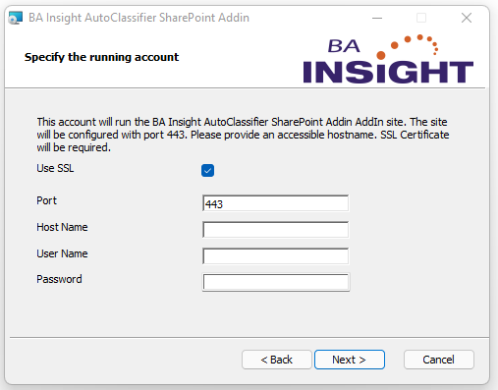
Specify the IIS Host Name, use the App Domain Name and Windows domain user account for the Application Pool.
- Use SSL: Do not change this option; It should always be checked for SPO Installations
- Port: Do not change this option; It should always be 443 for SPO Installations
-
Host Name:The name used to access the Add-In website. This name is later used to register the Add-In App with SharePoint
-
Example: addin.yourdomain.local
-
-
User Account:This account is used to run Application Pools and Windows services.
-
Example:
-
domain\user
-
If using a Server not attached to a domain use ComputerName\user
-
-
-
Password: Enter the password for the user account
- Enter the URL of the BAInsight AutoClassifier Engine website
- AutoClassifier Engine Service Url
- Example:
- http://autoclassifier.domain.local
or - https://autoclassifier.domain.local

- http://autoclassifier.domain.local
- Example:
- AutoClassifier Engine Service Url
-
Click Next to see the Ready to install BA Insight AutoClassifier SharePoint Addin dialog.
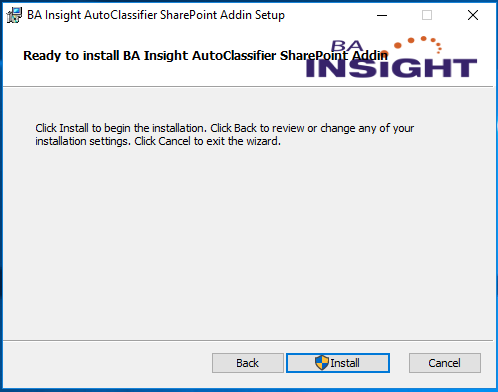
- Click Install.
After the installation process is complete, the Completed the BA Insight AutoClassifier SharePoint AddIn Setup Wizard dialog appears: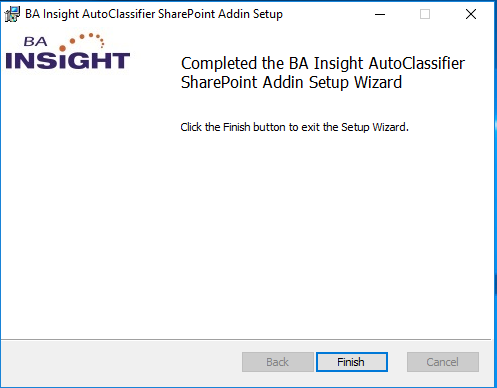
- Click Finish to close the installation wizard.