How to Configure Your Amazon Credentials File Elasticsearch Service
The following topics describe how to create an AWS-hosted Elasticsearch Target with credentials file in Connectivity Hub.
For more information about Targets, see What is a Target?
Caution:
Elasticsearch Support
ConnectivityHub v2.0 supports only v7.x of Elasticsearch.
Caution: Ensure you have the Ingest-AttachmentsElastic plug-in installed before proceeding.
More information here.
Add the Target and Configure the Search Schema
Before you can add your target, you must install BA Insight Connectivity Hub.
- You can add multiple targets, one for each BA Insight Connector content source.
- More than one target can point to the same index.
To add the Elasticsearch Integration target, follow these steps:
- Go to the Connectivity Hub Target page.
- Click the New Target button.
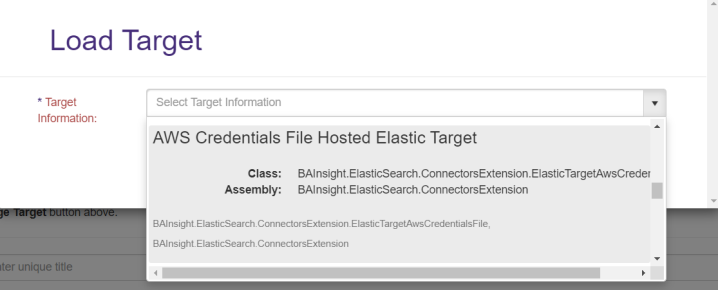
- The Load Target dialogue appears. Select the following target from the drop-down menu:
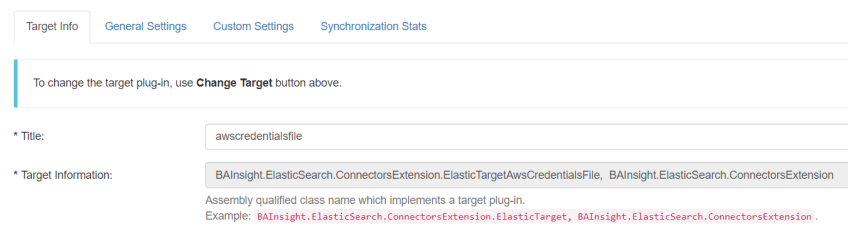
- Select the Target Info tab. Enter the following information:
- Title
- Required
- Specify a name
- Target Information:
- Required
- This field is pre-populated: BAInsight.ElasticSearch.ConnectorsExtension.ElasticTargetAwsCredentialsFile, BAInsight.ElasticSearch.ConnectorsExtension.
- Title
-
Select the Custom Settings tab.
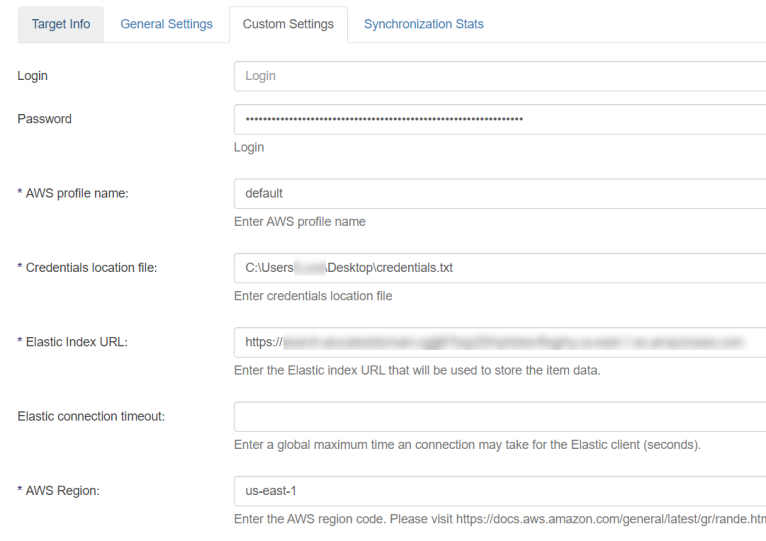
- Login
- Password:
-
Elastic index URL
-
Required
-
Enter your AWS Elasticsearch service URL
-
- AWS profile name (required)
- Enter your AWS profile name
- Example: default
- AWS Credentials file location (required):
- Enter the location of AWS Credential file.
- Example: C:\Users\Luca\Desktop\credentials.txt
Example AWS Credentials File
[{default}]aws_access_key_id = {accessKey}aws_secret_access_key = {secretKey}
- AWS Region
- Required
- Required
- Click Save.