How to Improve Document Previews using Custom Fonts
About
This feature is useful when documents viewed via Smart Previews use custom fonts.
-
Custom fonts ensure documents accessed via Smart Previews are viewed with accurate text styles, ensuring complete user satisfaction and understanding.
-
If the majority of your documents do not benefit from the addition of custom fonts, this feature does not ultimately better the experience of your users.
-
Install supported custom font files (TTF, OTF) by inserting them into a Smart Previews directory, and configuring a .css file to display your custom fonts. Details below.
Prerequisites
- Supported custom font types:
- TTF
- OTF
- Smart Previews for SmartHub must be installed and configured
- Custom font files must be installed on the same server as the applications:
- Smart Previews Import Server
- Smart Previews Hybrid Component
How to Configure Custom Fonts
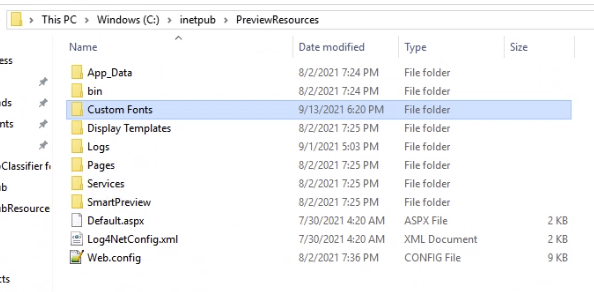
Custom fonts are stored in the "Custom Fonts" directory. Use the following instructions to configure your custom fonts.
- Navigate to the Smart Previews Web Resources installation directory
- Custom fonts are stored in the "Custom Fonts" directory.
- This is empty by default (other than a .txt file).
- This is empty by default (other than a .txt file).
- Open the file Web.config for editing.
- Locate the section appsettings/CustomDirectoryPath around line 76 and change the existing path (if needed) to your custom folder's path.
- By default, it is mapped to <Smart Previews Web Resources installation directory>/Custom Fonts/

- By default, it is mapped to <Smart Previews Web Resources installation directory>/Custom Fonts/
- Next, complete the configuration either by:
-
- Adding a CSS file into the custom directory
- Adding a set of font files into the custom directory
How to Use a Custom CSS File
- Navigate to the <Smart Previews Web Resources installation directory>/<custom directory>
-
Add a new CSS file that should have a structure similar to the following code:
Custom CSS File ExampleCopy@font-face {
font-family: "custom font family name";
src: url("<custom_font_path>");
/* other properties */
}
@font-face {
font-family: "other custom font family name";
src: url("<other_custom_font_path>");
/* other properties */
}
/* another @font-face declaration */
/* ... */
Font Files
See the code example above when using the following steps:
-
For each custom font, add a @font-face containing the following information:
-
font-family is the font name
- For TTF and OTF type font files:
- Open the file and copy the Font name
- For TTF and OTF type font files:
- src:
- Indicates the path (URL) to the custom font.
- See the code example above.
-
How to Use a Font Set
- Navigate to the <Smart Previews Web Resources installation directory>/Custom Fonts
- Copy the font files into the directory.
The directory must not contain any CSS extension files