Configure AutoClassifier On-Premise Add-In Web Site IIS Certificate
- Open the IIS Manager and confirm that a new HTTPS site appears, such as the following:

- Bind your web server certificate to the newly-created site:
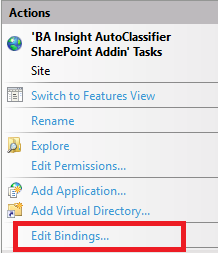
- Locate the entry BA Insight AutoClassifier SharePoint Add-In site in the left-side pane.
- Right-click this site and select Edit Bindings from the sub-menu that appears.
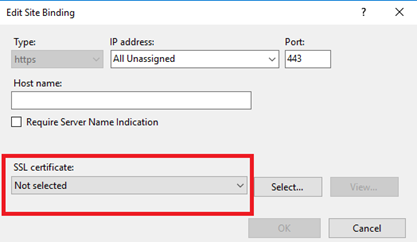
- A new configuration windows opens.
Port: Ensure that the Port (443) has been populated by the installer. See the graphic below. - SSL certificate: Click the drop-down menu to select your previously installed certificate.
- If running on a specific hostname or running multiple Certificates on port 443 specify or select the:
- Host name
- Require Server Name Indication
- SSL certificate
- Access to this example site would be "https://autoclassifier.domain.local"
Example: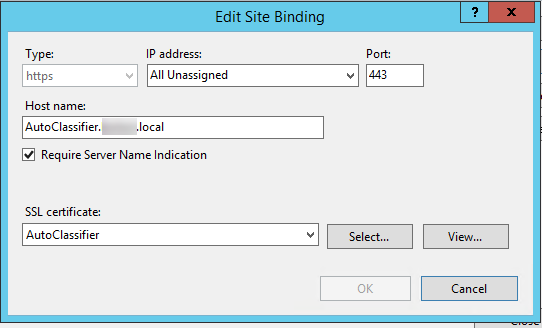
- Click OK to complete the configuration process.
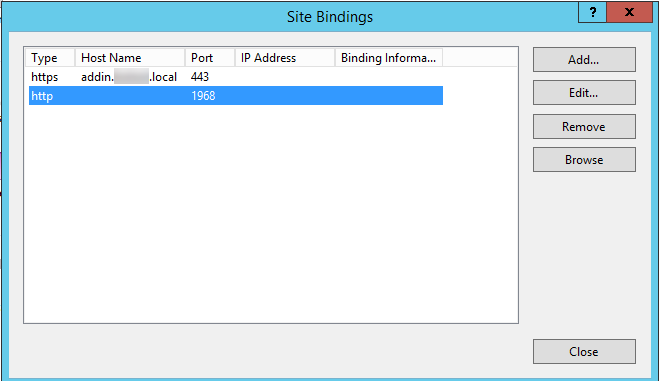
- Optional:
- If the Configuration binding is no longer used, it can be removed.
- Select the configuration binding and click "Remove."
How to Validate Your IIS Site Configuration
- Open a browser window.
- Enter the DNS address (name) in your browser address field in the following format:
- https://DNSname/pages/Test.aspx
- Example: myconnectivityhub.bainsight.test or myserver.mydomain.local
- If the configuration is correct, a new blank browser window opens displaying the following message:
"BAInsight AutoClassifier Test Page."