How to Configure Federated Impersonation
-
How to Enable Federated Impersonation Section in Personalization
-
User Personalization - Enable or Disable Remote Content Sources
About
Remote Content Sources are search engines which require log-in to the source system in order for users to get back results.
-
The user is prompted to log in to the source system whenever the current search page is configured to show results from a Remote Content Source.
-
You must enable and configure the Federated Impersonation Onboarding Module for the prompt to appear.
-
More information about the Onboarding Modules here.
How to Enable Federated Impersonation Section in Personalization
Use the following steps to configure:
UI Editor
-
The easiest and fastest way to insert and customize Federated Impersonation is via the SmartHub UI Editor.
-
For more information, see How to Use the UI Editor.
-
SmartHub administrators can simply click the UI Editor link from the SmartHub Administration page.
-
Click the Select a page link from the top menu.
-
Select (double-click) an HTML page such as Results.html page.
-
Below, the Results.html page is shown for sample purposes.
-
BA Insight recommends you use page and folder to modify. Leave the default files as templates.
-
Example: Customizations/CustomResults.html. Default Results.html is under the top most SmartHub directory.
-
-
-
Select the Advanced mode from the top right of the page.
-
Select Advanced settings edit.
-
Scroll down to line 103 (this may vary), which contains the text
SH.UserPreferences.CustomSettings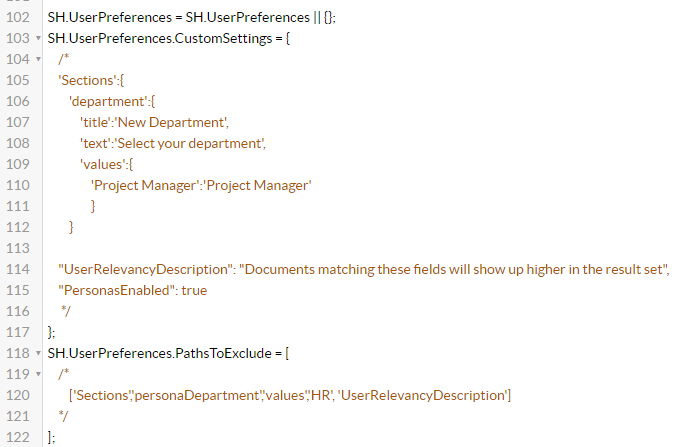
-
Change the section
SH.UserPreferences.CustomSettingsto resemble the code snippet below.Federated ImpersonationSH.UserPreferences.CustomSettings = {
'PersonalizationTabsDefinitions': {
'FederatedImpersonation': {
'label': 'Remote Content Sources'.toLocaleString(),
'enabled': true
}
}
}
How Users Authenticate
After Federated Impersonation Onboarding Module is configured, user authentication flow starts as described below.
- The user is prompted to authenticate to the Remote Content Source.
- The user is then redirected to the authentication page.
- After consent is granted, the user is redirected back to the search result page and the query is performed again, this time including the recently approved search engines.
- For the authentication message see "FederatedImpersonationAuthenticationMessage".
- For the access denied message see "FederatedImpersonationAccessDeniedMessage".
Changing the label can be done from the value field, but note that {BackendName} is used to display the search engine name configured in Admin UI.
User Personalization - Enable or Disable Remote Content Sources
Go to Personalization → Remote Content Sources.
A user can:
- Choose if he wants to see results from a specific Remote Content Source.
- Reset the current authentication token
Available options:
- Show results from this Content Source
- The "authentication required" message is displayed in search results and user is prompted for log in (via the Onboarding Module).
- Ignore results from this Content Source
- The "authentication required" info result is not displayed in search results and users are not prompted to log in
- Reset Authentication
- The reset option resets the authorization token and will make the SmartHub page prompt you to re-authenticate
Admin Management for Remote Content Sources
To see and manage access to Remote Content Sources, go to SmartHub Admin Page > Federated Impersonation.
The administrator can do the following:
-
View the User Authorization status
-
View the account user names that have take impersonation actions
-
View the consent that the user gave regarding authentication
-
Reset consent for users
In the table that appears, various information can be reviewed and actions taken.
-
User Name
-
Name of user who made the action
-
-
Backend Name
-
Name of the backend name were the user authenticate or not
-
-
Authorization status:
-
Unauthenticated – The user did not authenticate (yet), the authentication results are returned in search results
-
Access Allowed – The user accepted authentication
-
Access Denied – The user denied authentication
-
-
Action:
-
Reset status:
-
Return the authentication results in search results
-
Unblock authentication results if it’s blocked by user
-
-
-
Reset all selected
-
The same action as Reset status, but for multiple values selected
-