Campaign Wizards allow you to define criteria and have Engage pre-populate the campaign steps based on your inputs.
The overall process for using a campaign wizard is the same, regardless of which wizard you choose, with each wizard having variations in options according to the template used. The following steps use the Welcome Campaign Wizard as an example.
Using a wizard to build a welcome campaign
-
Open the Create menu and select Campaign... to open show campaign build options.
-
Select a wizard to build from a template; in this case, New Welcome Campaign.
-
The first page is a description of the Wizard. Click Next to go to the Setup page.
-
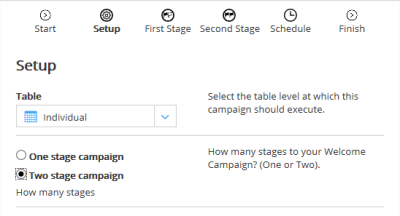
Select a table, e.g. Individual, and the number of stages to the campaign, e.g. a two-phase campaign.
-
Click Next to go to the First Stage page.
-
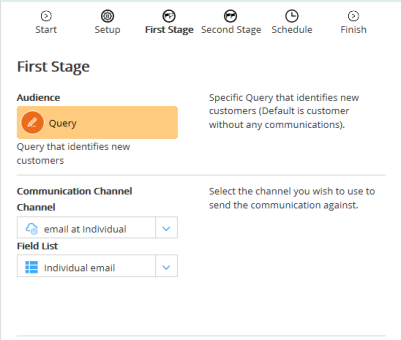
Specify the query that defines a new Individual. You can write your own or use the default definition of Individuals without previous communications.
-
Choose the Channel and Field List to be used, e.g. email as the communication method and field list.
-
Click Next to go to the Second Stage page.
-
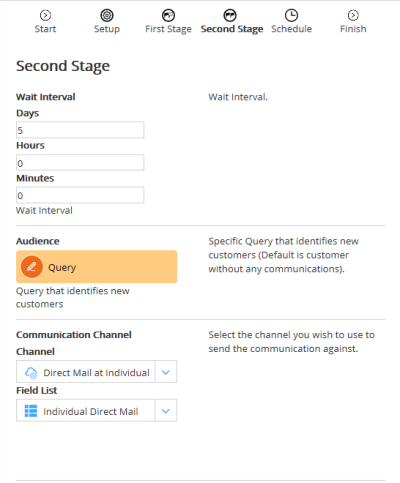
The Wait Interval is the amount of time you want to elapse between the 2 phases of the campaign, e.g. wait for 5 days before sending the second communication. You can define your own query but the default is those Individuals who were sent the first communication but did not open the email.
-
Select a communication channel. As you are now looking at Individuals who did not open your email, it makes sense to switch to a different method of contact for the second stage, e.g. Direct Mail.
-
Click Next to go to the Schedule page.
-
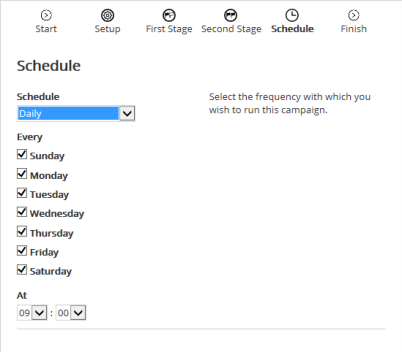
As this campaign is a welcome campaign, it makes sense to run it every day to capture anyone who joined the mailing list in the last 24 hours.
-
Click Next to go to the Finish page.
-
Give the campaign a name (and a description if required) and tell the wizard where to save it.
-
Click Next to finish. You will be taken to the Campaign Window and presented with a campaign similar to the following example.
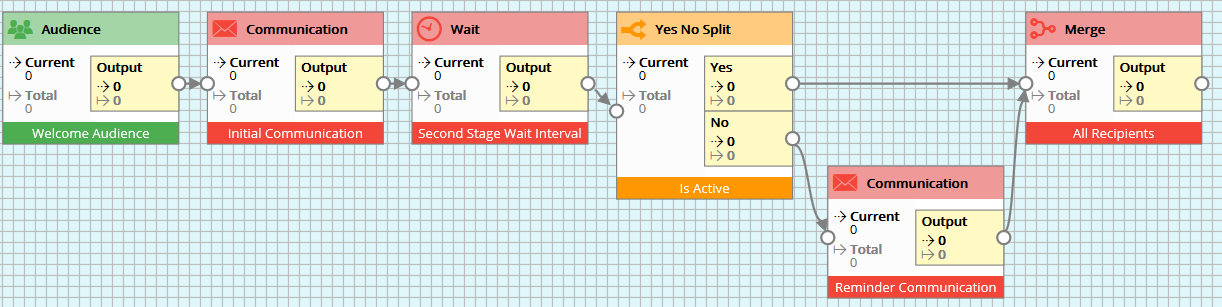
If you want, you could now add exclusions, etc. to customize the campaign in the same way as if building a campaign from a blank canvas.