Engage has its own creative design interface which allows you to build your own email creatives within the platform. You can also use this function to create a suite of ready-made, bespoke templates for other people to use within your organization. Alternatively, you may wish to add your own HTML creative.
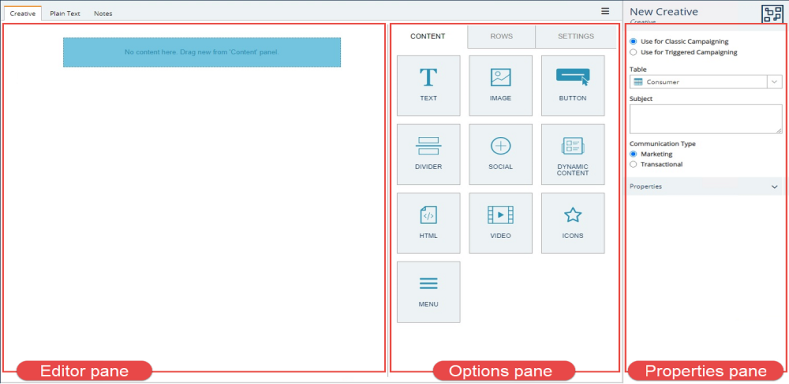
The creative design page is made up of three panes:
-
The editor pane is where you can build your emails and templates using the various content types.
-
The options pane is where you will find content types that can be dragged onto the editor pane. You can also configure row properties and the column structure, via the rows tab, and dictate the settings of the template using the settings tab.
-
The properties pane is where you can set your campaign properties and provide your creative with an appropriate subject line. This must be populated before the template can be used.
Creating an email creative from a template
To start building your creative:
-
Open the create menu and select the creative option - if this does not show, then you will need to obtain a license.
-
Select a template from the list:
-
Blank Creative – opens a creative design page with no content or formatting.
-
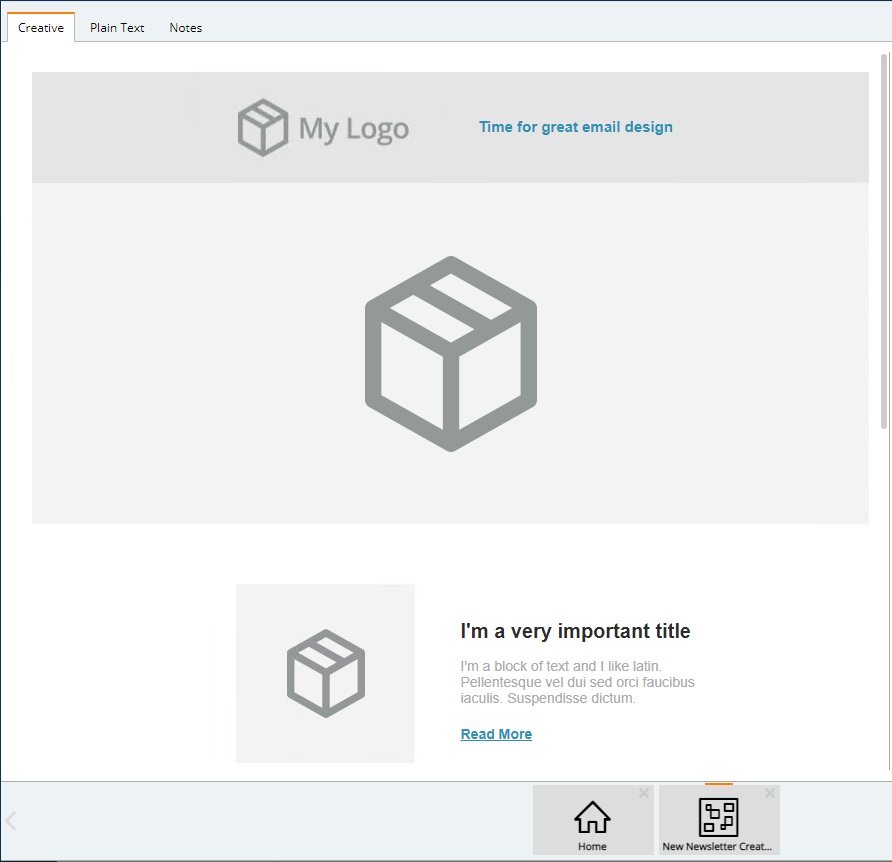
Newsletter Creative – opens a creative design page preformatted with columns and image blocks in a typical newsletter layout.
-
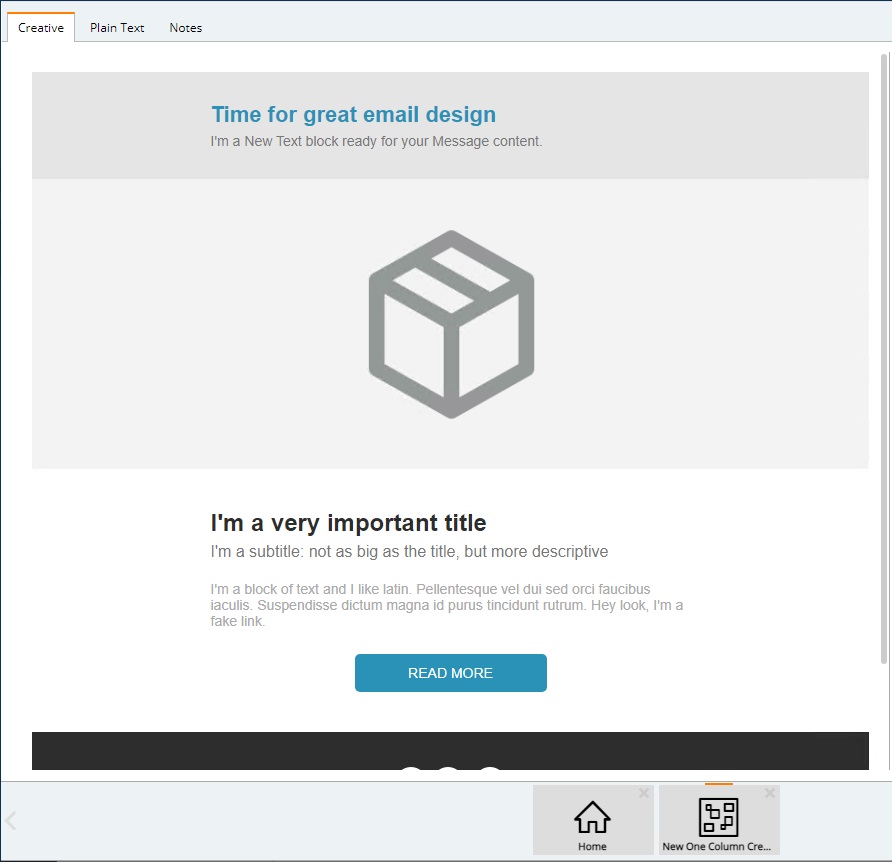
One Column Creative – opens a creative design page preformatted with a single column layout for all rows.
-
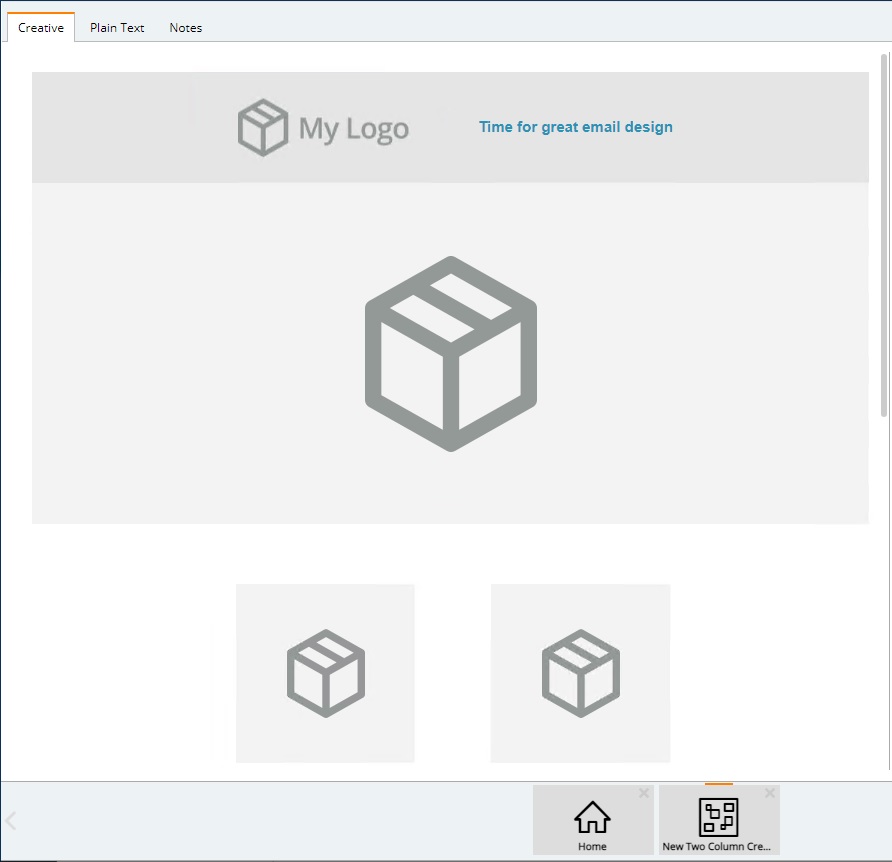
Two Column Creative – opens a creative design page preformatted with a two column layout for all rows.
-
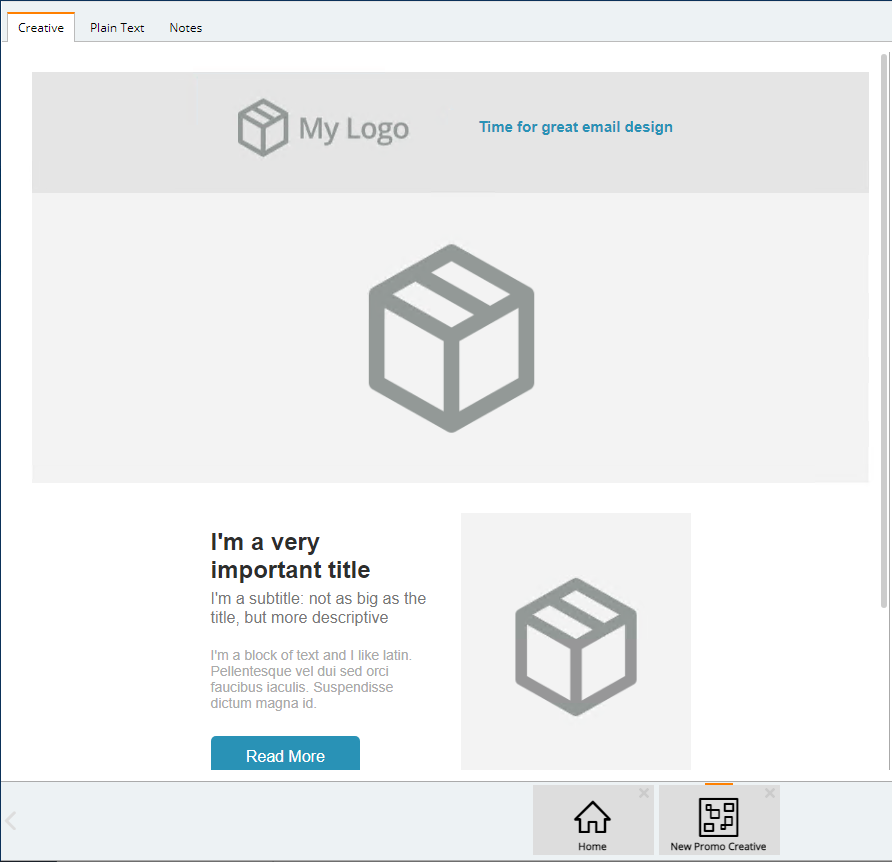
Promo Creative – opens a creative design page preformatted with columns and image blocks in a typical promotional email layout.
-
Custom Creatives – any bespoke templates that you may have created will be displayed in this menu alongside the default templates.
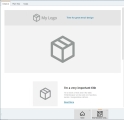
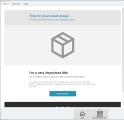
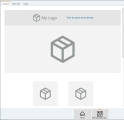
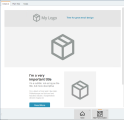
Note: The templates are starting points. You can modify and add to any of the templates within the editor, e.g. insert two columns into a newsletter creative.
-
-
Use the settings tab within the options pane to establish your creative's general design rules:
-
content width.
-
background color.
-
default fonts.
-
link color.
-
-
Add content to your creative by dragging and dropping items from the content menu.
-
Add an unsubscribe link to your email creative.
-
Go to the properties pane and give the creative a subject.
-
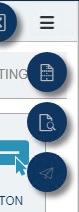
Open the hamburger menu and save your creative. The save options are (from left to right):

-
Save as template - to save your creative so it can be used as a template for future communications. You can add a title, an optional description and specify the save location. Once saved, your new template will appear within the template selection menu.
-
Save - to save changes to an existing creative.
-
Save As - to either save a newly created creative or to save an existing creative under a new name.
-
Close - allows you to exit without saving.
The hamburger menu also contains options for (from top to bottom):
-
Toggle structure visibility - allows you to see the guidelines which frame your design, making it easier to see the layout of your email by defining the borders of the various included content types and the associated row formatting. The guidelines will not be displayed on the finished email.
-
Preview - displays your creative as a recipient would see it so you can check your design. You can toggle between a desktop view and mobile.
-
Send test email - allows you to send a test email to yourself or a colleague. You can then check that the email works visually, make sure that all the links work correctly, and verify all the images/text render in the correct way.
-
HTML creative
The HTML creative lets you load your own HTML directly into Engage without the need to use the creative editor tool.
To create a new HTML creative:
-
Open the create menu (+ icon), navigate to the campaigns category, and select HTML creative.
-
Paste your HTML into the textbox on the HTML tab.
Note: For searching for particular parts of your HTML, the search function (shortcut Ctrl+F) will let you search for specific keywords within your HTML.
-
In the properties pane, add your subject line. You won't be able to save the creative without a subject line.
-
Insert an unsubscribe link by adding one of the following as a placeholder (using an <a href=""> tag):
-
Unsubscribe from this mailing list - {{link:unsubscribe-list}}
-
Unsubscribe from all mailing lists - {{link:unsubscribe-all}}
-
Manage your preference - {{link:manage-subscriptions}}
Example: You can change your <a href="{{link:manage-subscriptions}}" target="_blank">email preferences</a> or <a href="{{link:unsubscribe-list}}" target="_blank">unsubscribe</a> at any time.
Engage will generate personalized links per email address/person when it sends your email.
-
-
Save your creative.
Inserting custom data into a HTML Creative
One of the benefits of building creatives directly in Engage is being able to include your customer's data within the creative without having to manually pre-determine what columns your email provider can store. This means you are able to call data directly from your database using simple tags.
This is done by including a format of "{{ [Table].[Fieldname] }}" into your creative, e.g.

When the email is sent, any fields added to your creative are also included in the export, which means your creative will be instantly populated with your desired field, e.g.

Note: This feature only works for data that exists within your Engage database and when sending within an Engage campaign. Using the send test email sends an agnostic one-time email to your address of choice, so is unable to populate with any data from your database.