When using Unify alongside Upland BlueVenn’s omnichannel marketing hub, Engage, you can further leverage your customer data by pushing Person Data and Transaction Data held within Unify to Engage.
The Engage Connector allows you to setup a connection to the Engage API and select Person, Person Profile, Person Address and Transaction data columns to send to your designated Engage system. Any new people or transactions created in Unify are picked up by the connector and inserted into an Engage External Table.
Adding an Engage API connection
As the Engage Connector uses an API call to push data to Engage, you must first add the Engage instance details to Unify. To do this:
-
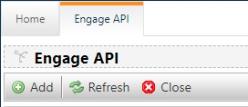
Open the Super User menu and select Engage API.
-
Click Add.
-
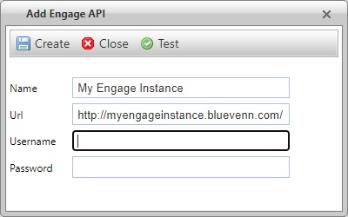
Enter the Name and URL for the Engage service to sync with Unify.
-
Enter the username and password associated with the Engage service. This is the account Unify will use to log into the Engage API.
-
Use the test button to verify the connection.
-
Click create to add the Engage API connection details to Unify.
Configuring the Engage Connector
-
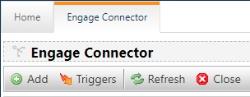
Open the Super User menu and select Engage Connector.
-
Click Add.
-
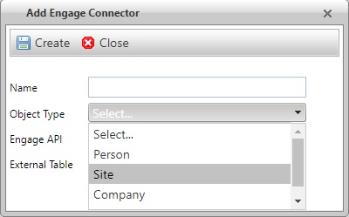
Give the connection a name and select an object type.
-
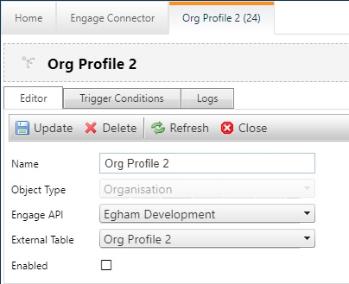
Select the Engage API created above and an External Table to hold the data pushed by Unify.
-
Click Create to add the connector.
-
Open the connector by clicking on the name in the Engage Connector table.
-
Check the enable button to enable the connector.
-
Select the Trigger Conditions tab to add or change trigger conditions for pushing data.
-
Return to the Engage API and map the Engage fields to the Unify fields.
-
Open the Super User menu and select Engage API.
-
Click the External Tables tab.
-
Select the external table you want to map.
-
Map all the Engage fields to Unify fields.
-