Add and Manage Issue Impacts
Impact is a user pick list value which identifies where the effects of an Issue have occurred.
To add a new impact
- On the left icon bar, click the Administration icon
 .
.
The Administration page is displayed.
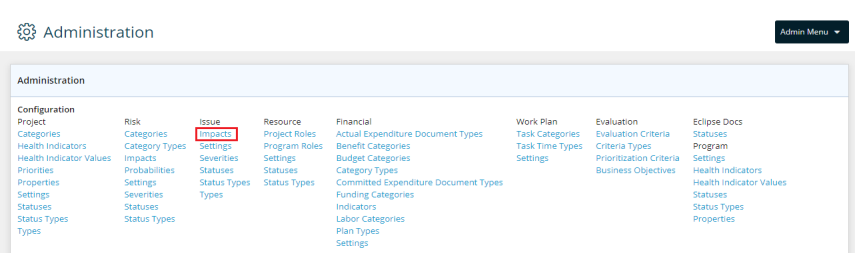
- On the top of the Administration page, under Issue, click Impacts.
The Issue Impacts page is displayed.

- Click Edit.

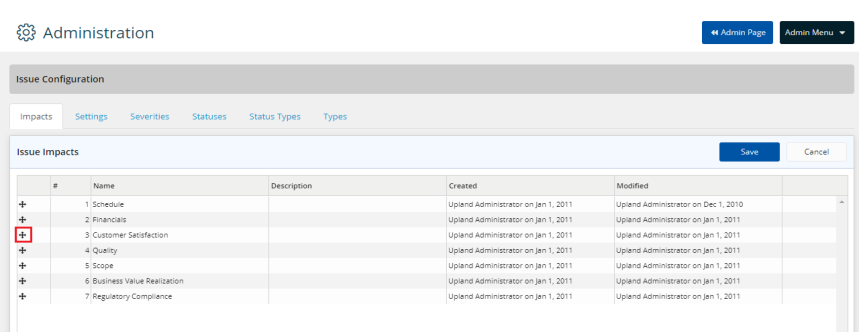
- Click Add New.
A new row is displayed below.

- In the Name field, type the name for the new Impact.
- In the Description field, type the description if required.
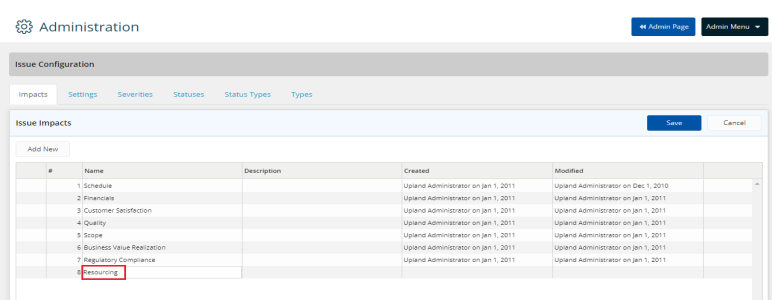
- Click Save.
To edit an impact
- On the left icon bar, click the Administration icon .
The Administration page is displayed.

- On the top of the Administration page, under Issue, click Impacts.
The Issue Impacts page is displayed.
- Click Edit.
- Double-click in the required Name field to edit the impact required.
- Double-click in the Description field to edit the description if needed.
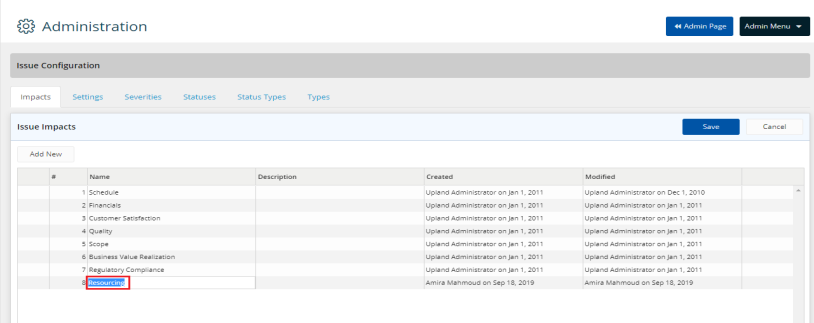
- Click Save.
To delete an impact
-
On the left icon bar, click the Administration icon
. 
The Administration page is displayed. - On the top of the Administration page, under Issue, click Impacts.
The Issue Impacts page is displayed.
- Click the Delete icon
 in front of the required impact to delete it.
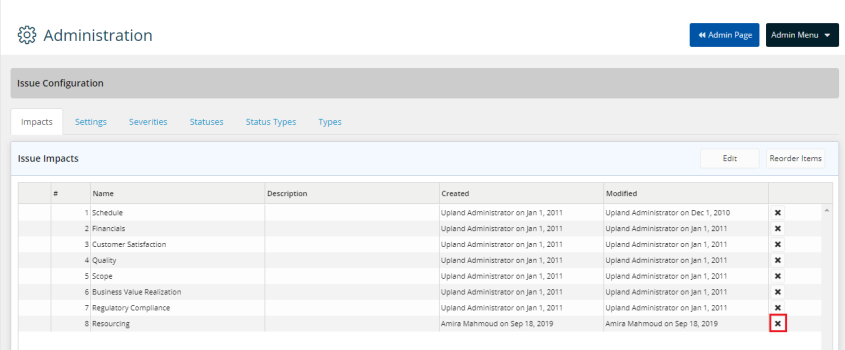
- Click Yes to confirm deleting the impact.

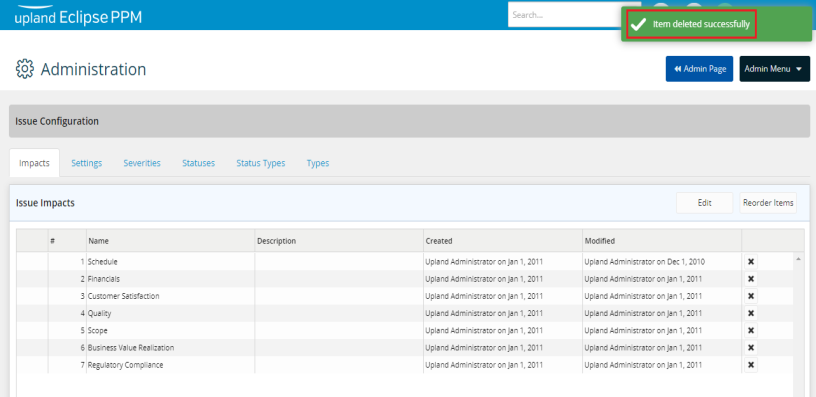
- The impact is deleted successfully.
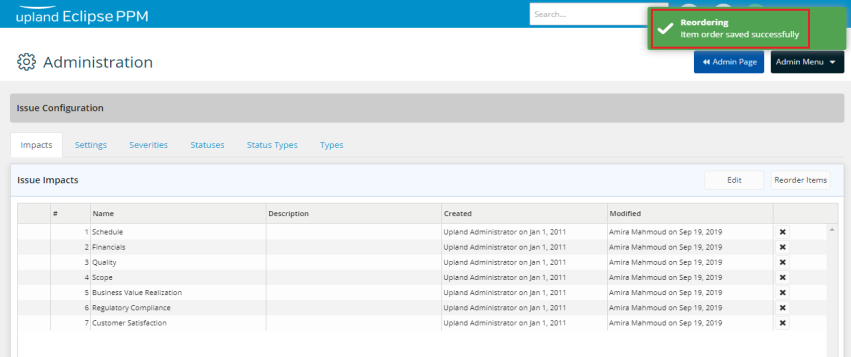
To reorder impacts
- On the left icon bar, click the Administration icon .
The Administration page is displayed.
- On the top of the Administration page, under Issue, click Impacts.
The Issue Impacts page is displayed.
- Click Reorder Items.

- Press and hold the Drag and Drop icon
 to move the impacts up and down to reorder them as required.
- Click Save.
Impacts are reordered successfully.