Add and Manage Task Categories
Task Category is a user pick list value. In a project schedule, at the individual task level, it provides a manner in which tasks can be distinguished based on the nature of the work being carried out.
To add a new task category
- Click the Administration icon
 from the Icon Bar.
-
Click Task Categories under the "Work Plan" menu.

- Click the Edit button.
-
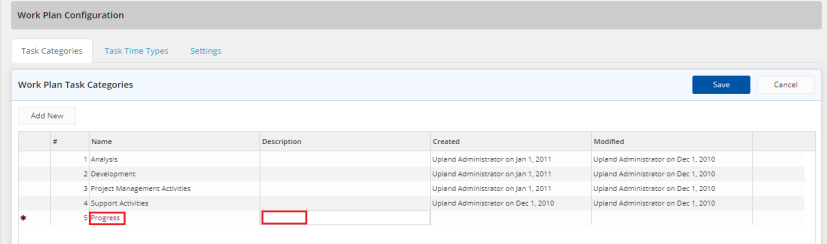
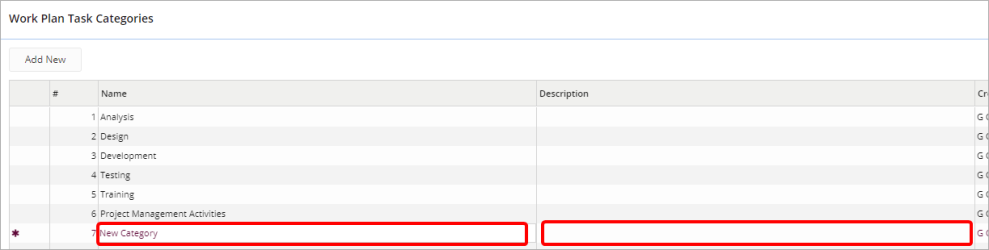
Click the Add New button to display a new row.
Note: The new row will appear at the bottom of the table. If you cannot see it right away, scroll down.
- In the Name field, type the new task category name.
- In the Description field, type the new task category description if needed.
- Click the Save button.
To edit task categories
- Click the Administration icon from the Icon Bar.
-
Click Task Categories under the "Work Plan" menu.
- Click theEdit button.
-
Double-click the required Name field to edit
OR
Double-click the required Description field to edit.
Note: The purple asterisk indicates that unsaved changes have been made to a Task Category. It will disappear upon saving.
- Click the Save button.
To delete a task category
- Click the Administration icon from the Icon Bar.
-
Click Task Categories under the "Work Plan" menu.
-
Click the Delete icon
 in front of the required category to delete it.
- Click Yes to confirm deleting the category.
Note: To reorder task categories on the Work Plan Task Categories page, click Reorder Items, then click and hold the Drag & Drop  icon before the required category to move it up or down as required. Click Save.