Manage Approval Templates
Approval Templates represent the first step with implementing the Workflow Approvals component of Eclipse PPM. Approval Templates provide a structured way of managing: Project Status changes, Financial Baseline changes, Schedule Baseline changes, and Eclipse Docs changes.
To edit an approval template
- On the left icon bar, click the Administration icon
 .
.
The Administration page is displayed.
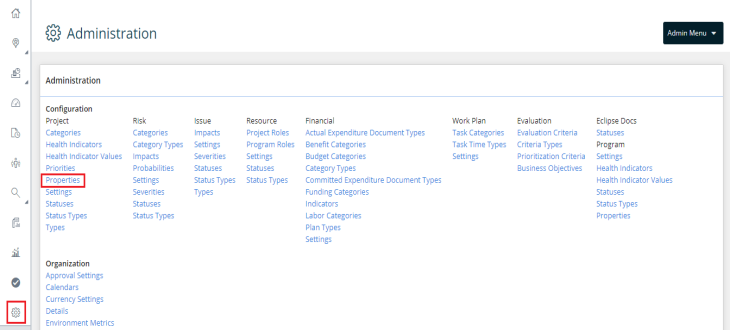
- At the lower left corner of the Administration page, under Templates, click Approval.
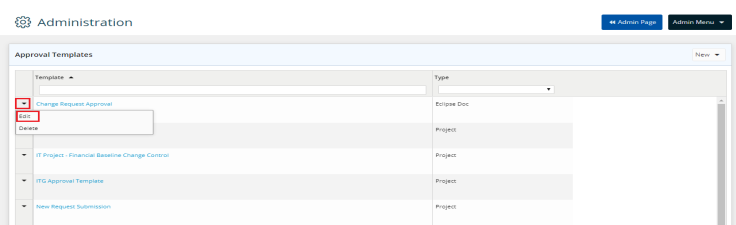
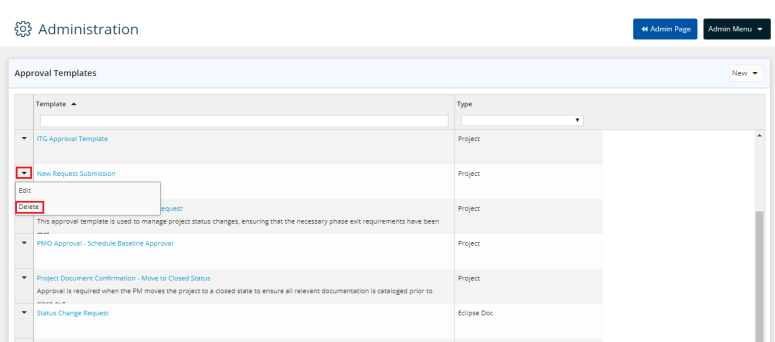
The Approval Templates page is displayed.

-
Click the arrow next to the required template.
A drop-down menu is displayed. - Select Edit.
An Approval Template page is displayed.
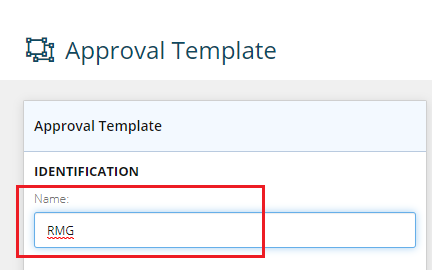
- In the Name field, under IDENTIFICATION, type a unique name for the template.
- In the Type field, the type is selected by default according to the template type.
- In the Description field, edit the description of the project.
- In the Resolution Type field, under APPROVAL OPTIONS, click the drop-down arrow and select Any or All.
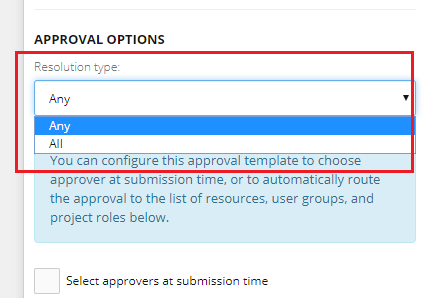
Note: Any Reviewer Can Approve - this option requires that at least one of the approvers grant the request for it to be considered "approved".
Note: All Reviewers Must Approve - this option requires that ALL the approvers endorse the request for it to be considered "approved".
Note: Approvers can be individual resources, members of a user group, and/or resources performing specific roles (on a given project).
-
Select the Select approvers at submission timeif required.
Note: If the template is configured to allow approver selection on the fly (i.e the Select approvers on request submission is checked) you will not be required to add approvers at the template level.
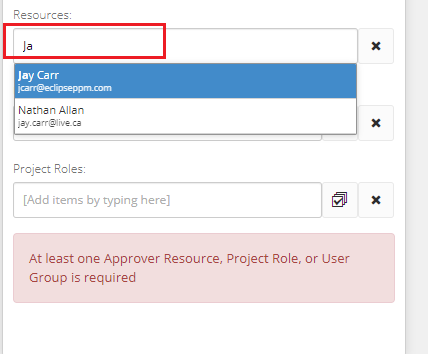
- If the Select approvers at submission time box is not selected, type the name of the Resource required to be added in the Resource field.
Name suggestions may be displayed. - Select the name required.
- In the User Groups field, type the initials of the group required.
Group suggestions may be displayed. - Select the group required.

- In the Project Roles field, type the initials of the role required.
Role suggestions may be displayed. - Select the role required.
Note: At least one Approver Resource, Project Role, or User Group is required.
- In the AVAILABLE COLUMNS field under Fields section, click the drop-down arrow.
- Select the columns category required.

- Select the columns required to be displayed.
A Selected Columns list is displayed on the right.
Note: Click "Select All" or "Remove All" to select or remove all the columns displayed.
Note: At least one field is required to be selected.
- On the Selected Columns list, click to set the classification as Required if needed.
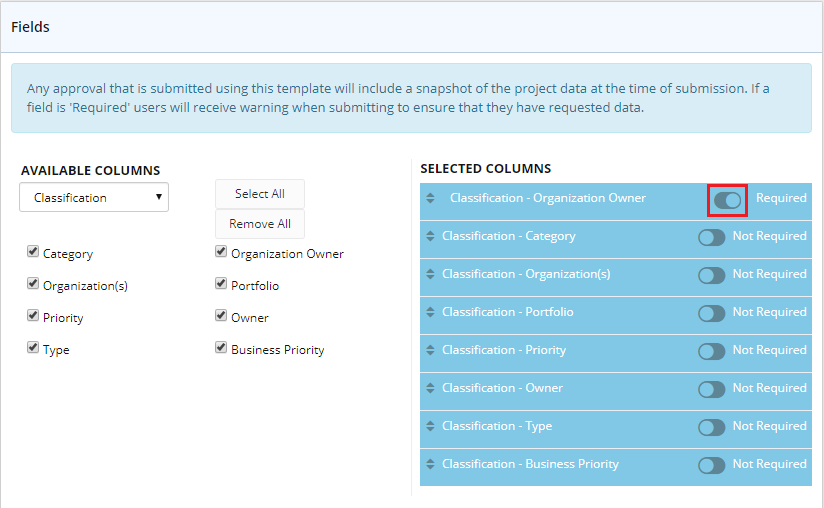
Note: The Classifications on the SELECTED COLUMNS list are set to Not Required by default.
Note: You can drag & drop the classifications up and down for arrangement as required.
- Click Save.
The Project Approval Template is saved successfully.

To delete an approval template
- On the left icon bar, click the Administration icon .
The Administration page is displayed.
- At the lower left corner of the Administration page, under Templates, click Approval.
The Approval Templates page is displayed.
-
Click the arrow next to the required template.
A drop-down menu is displayed. - Select Delete.
- Click Yes to confirm deleting the template.
