Configure List/Portfolio Summary Panels
Once a dashboard has been created, each panel must be configured to display the required information. The configuration options vary based on the type of panel selected. This article shows how to configure list panels as well as Portfolio Summary panels.
To configure the list/portfolio summary panels
- On the left icon bar, click the Dashboards icon
 .
.
The Dashboards page opens.

- On the Dashboards page, click the dashboard name you want to configure its panels.
The dashboard page opens including blank panels.
- Click either the Configure button, found in the middle of the list panel or portfolio summary panel, or the Configure icon
 , found at the upper-right corner of the panel.
The Configure Panel dialog box is displayed.
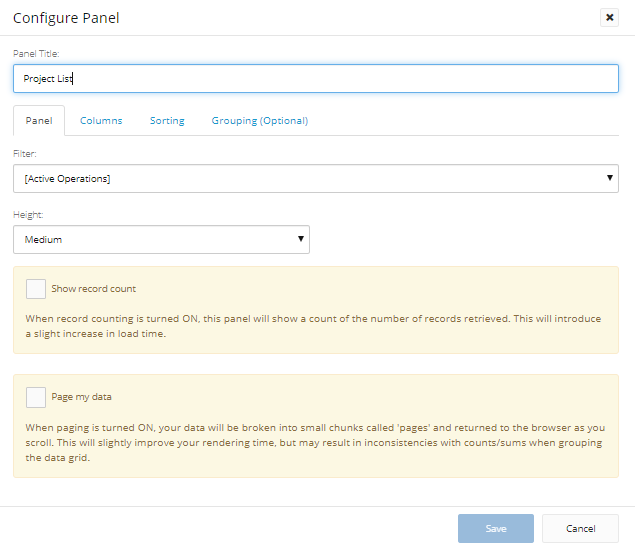
- In the Panel Title text box, enter a unique name for the panel to be displayed on the dashboard page.
- On the Panel tab, click the arrow in the Filter field.
A list of all available criteria will be displayed. - From the displayed list, select the filter criterion.
- Click the arrow in the Height field.
A list of all available sizes is displayed. - Select the preferred panel size.
- To display the number of records retrieved, select the Show record count check box.
- To display the records across several pages, instead of a long page with a scroll bar, select the Page my data check box.
- Open the Columns tab.
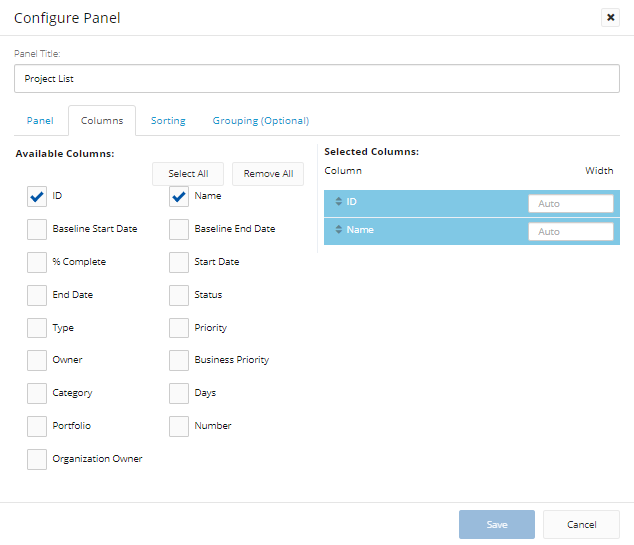
- On the Column tab, select the check box next to the column name(s) you want to display on the panel.
Tip: To select all check boxes, at the upper-right corner of the Columns tab, click Select All.
Tip: To clear all the selected check boxes, at the upper-right corner of the Columns tab, click Remove All.
- Under Selected Columns, with your cursor, point to the name of the column you want to change its order on the list.
The Drag and Drop cursor shape appears.
 - With your mouse left-click button, drag and drop the column name to the required position.
- Repeat the previous 2 steps until you reorder all the columns as required.
- To adjust the width of each column, in the Width field, next to the column you need to change its size, type the new size or use the up and down arrows
 to change the configured size as required.
Note: Clicking Save, at any phase of the panel configuration process, saves all changes and closes the dialog box.
- Open the Sorting tab.
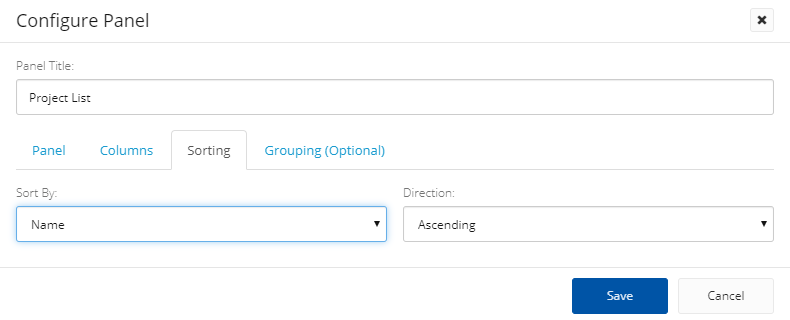
- Click the arrow in the Sort By field.
A drop-down list of column names is displayed.
- From the displayed list, select the name of the column by which you want to sort the displayed data.
- Click the arrow in the Direction field.
A drop-down list is displayed.
- From the displayed list, select Ascending or Descending as required.
- In case you want to group certain items, open the Grouping (Optional) tab.
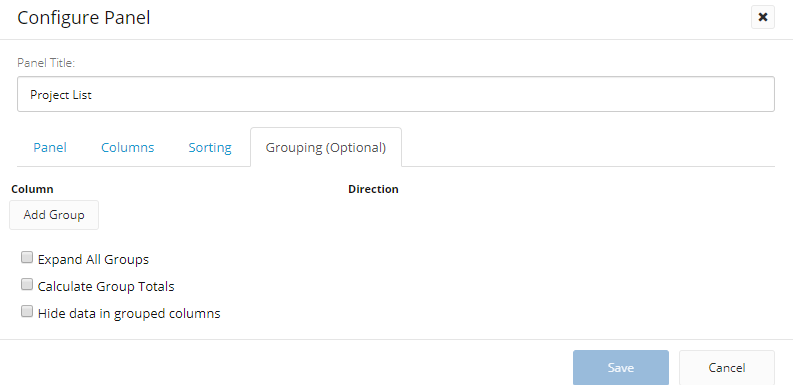
- To group the data, click Add Group.
The Column and Direction fields are displayed.
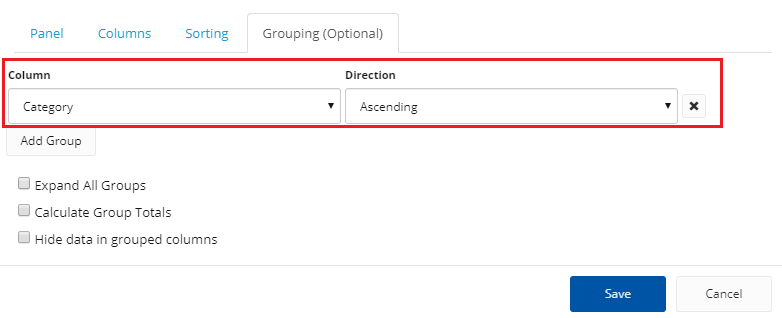
- Click the arrow in the Column field.
A drop-down list of column names is displayed. - Select the column name by which you want to group the displayed data.
- Click the arrow in the Direction field.
- From the displayed list, select Ascending or Descending as required
Note: To delete the grouping rule, click the x sign next to the grouping created.
- To display all items listed under all the groups, select the Expand All Groups check box.
- To calculate the total of grouped items, select the Calculate Group Totals check box.
- Click Save.
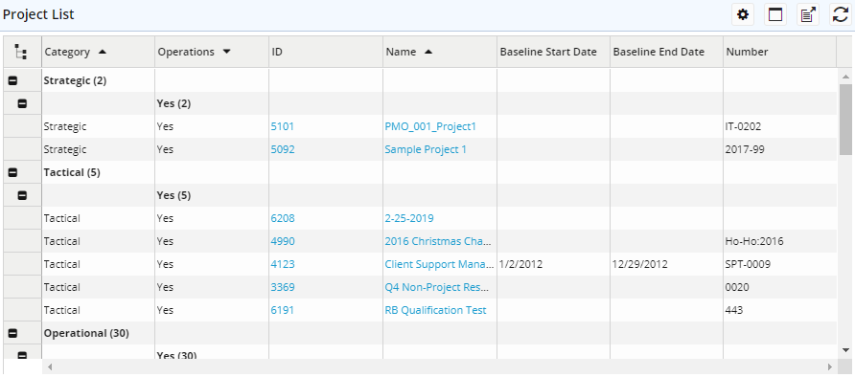
The configured list panel appears on the dashboard page.