Add and Manage Financial Items
In any financial plan, Eclipse PPM users can easily add financial items to any of the 3 financial areas (Budget, Funding and Benefits) and enter the value of each. They can edit the entered values or delete any of the items at any time.
To add financial items to Funding, Budget and Benefits
- At the upper-right corner of the project workspace, click Project Menu.
A drop-down menu is displayed.
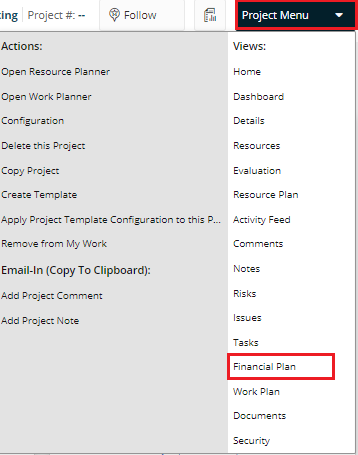
- From the displayed menu, click Financial Plan.
The Project Financials page opens.
- At the upper-right corner of the Project Financials page, click the field displaying the name of one of the plans.
A drop-down list of the names of all financial plans is displayed.

- On the drop-down list, click the name of the required financial plan.
The Project Financials page refreshes automatically displaying the data of the selected plan.
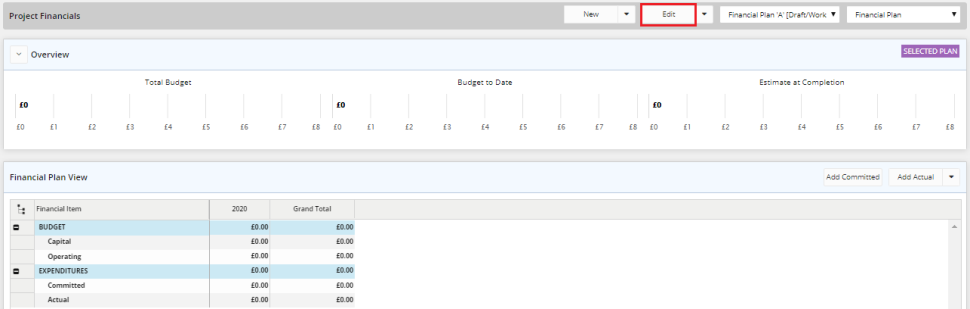
- At the upper-right corner of the page, click Edit.
The financial plan opens in the edit mode. - Click the action arrow found at the left-hand side of any of the following areas, as per your need:
- Funding
- Capital or Operating under Budget
- Expected or Realized under Benefits
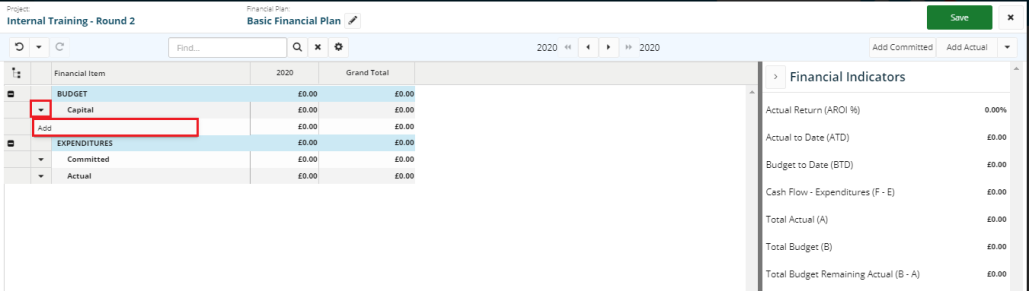
- Click Add.
A dialog box is displayed listing the relevant financial items. The listed items differ from one area to another.

- Select the check box next to each item you need to add to the plan.
The items appear in the financial items table.
To enter the value of a financial item
- Next to the name of the required financial item, in the column of the required year/month, type the value of the item.
To delete a financial item
- Click the action arrow found at the left-hand side of the required item, and then click Delete.
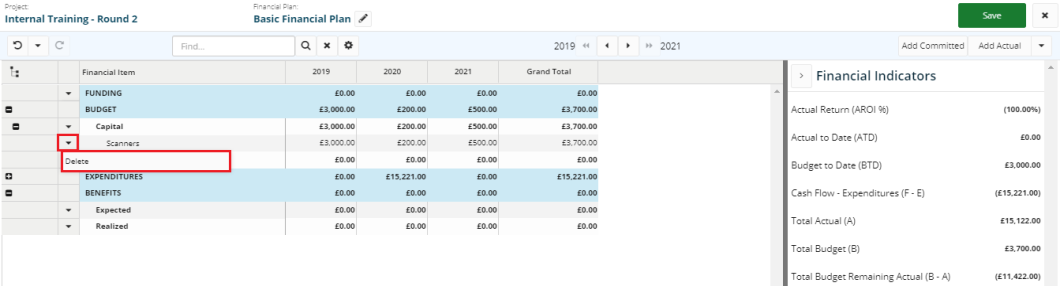
- In the displayed confirmation message, click Yes.

Tip: Whenever required, use the Undo  and the Redo
  icons.
Note: Before closing the finance plan, always make sure you click Save after you take all necessary actions.