Edit Project Policy Template
Security page allows users to define the security on the project as well as view which users of the project have permissions - and which permissions they have. Project Policies are added to the project to define the level of access a user can have on a given project. Each policy contains a list of permissions and the members that receive these permissions. Policy Members can either be individual Eclipse users or they can be added via User Group.
To edit a project policy template
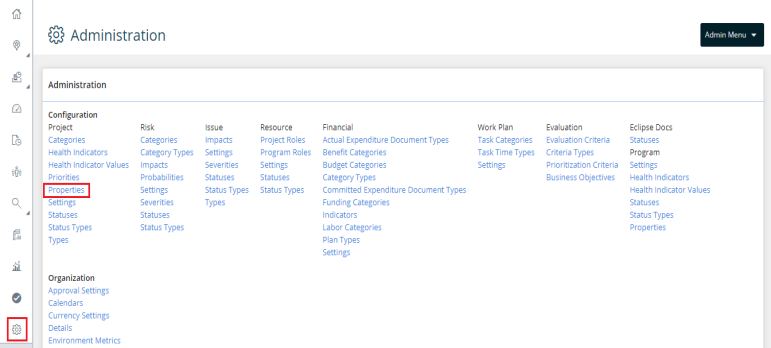
- On the left icon bar, click the Administration icon
 . The Administration page is displayed.
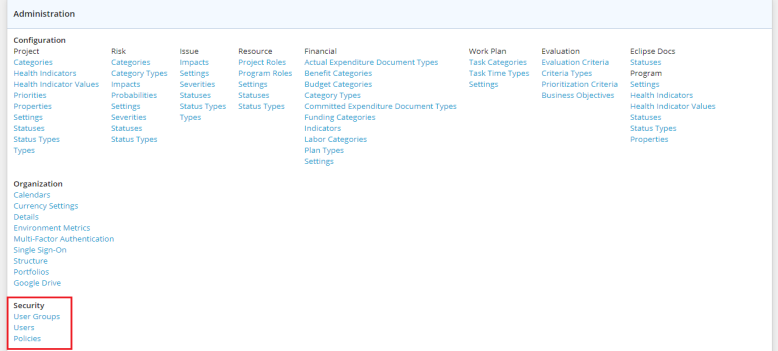
- Scroll down to the middle of the Administration page. Under Security, click Policies. The Application Policies page is displayed.
- Under Project Policy Templates, click the arrow next to the required project template. A drop-down menu is displayed.
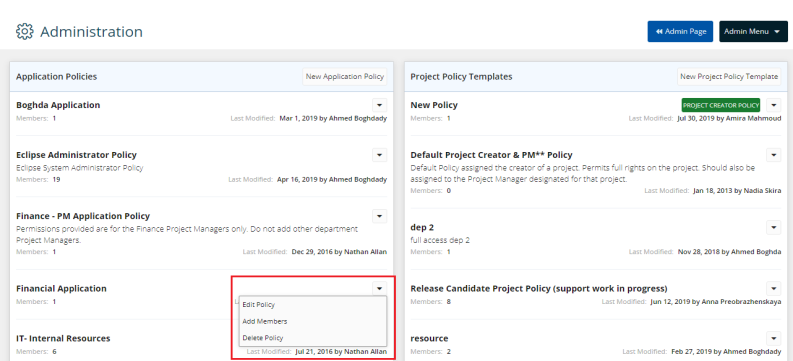
- Select Edit Policy. An Edit Policy dialog box is displayed.
- In the Policy Name field, edit the name as required.
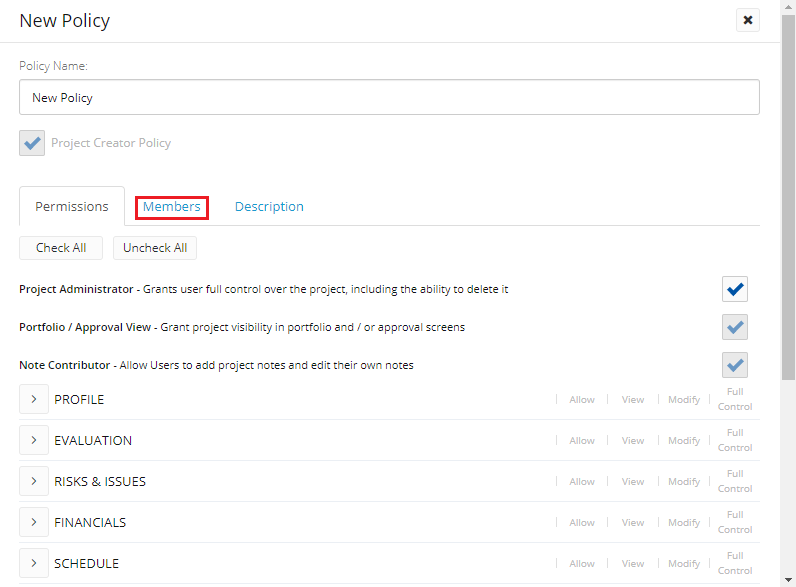
- Under the Permissions tab, select to edit the Allow options required.
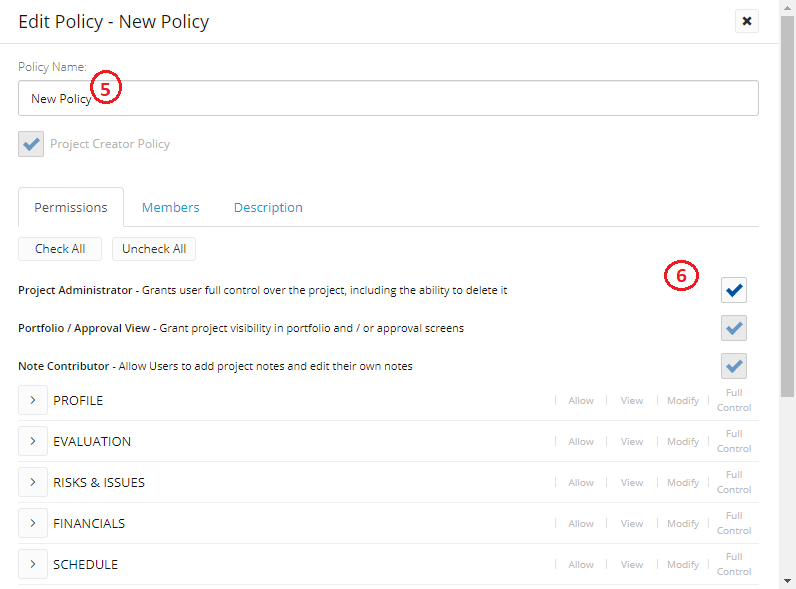
Note: Select Check All to allow all selections for Project Administrator, Portfolio / Approval View, Note Contributor, PROFILE, EVALUATION, RISKS & ISSUES, FINANCIALS, SCHEDULE, RESOURCE, RESOURCE PLANNER, DOCUMENTS, SECURITY and WORKFLOW.
Note: You can select Uncheck All to remove all selections previously allowed for Project Administrator, Portfolio / Approval View, Note Contributor, PROFILE, EVALUATION, RISKS & ISSUES, FINANCIALS, SCHEDULE, RESOURCE, RESOURCE PLANNER, DOCUMENTS, SECURITY and WORKFLOW.
Note: Selecting Project Administrator automatically allows all the selections for Project Administrator, Portfolio / Approval View, Note Contributor, PROFILE, EVALUATION, RISKS & ISSUES, FINANCIALS, SCHEDULE, RESOURCE, RESOURCE PLANNER, DOCUMENTS, SECURITY and WORKFLOW. It grants user full control over the project, including the ability to delete it.
- Click the Members tab.
- In the Name field, add or delete users or user groups as required.
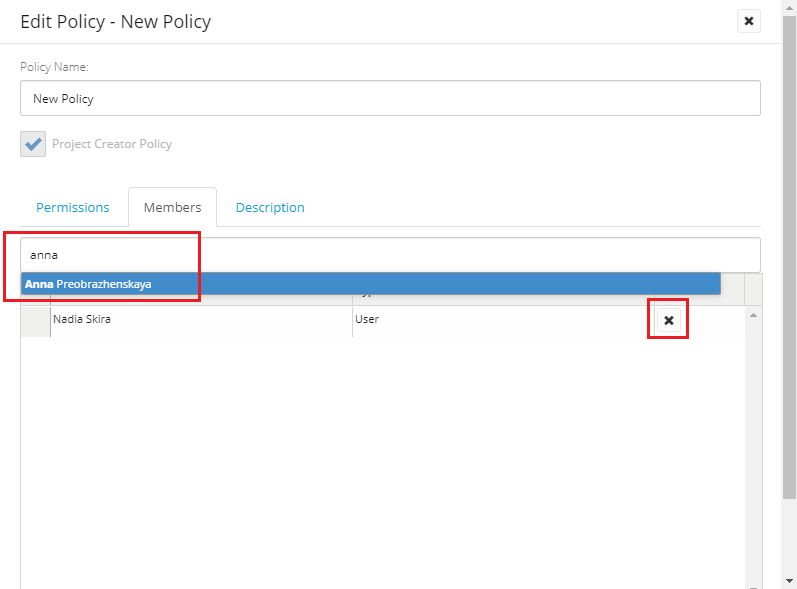
Note: The Type is added in front of the name by default.
Note: You can click the Delete icon  in front of the member name to delete it after it has been added.
- Click the Description tab.
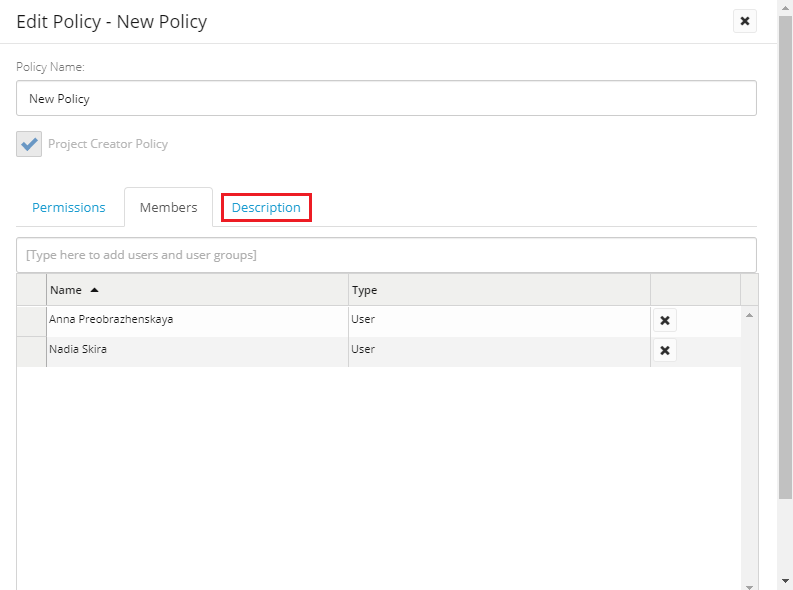
- In the Description field, edit the description as required.
- Click Save.