Manage Project Time Entry Settings
Through the Project Configuration page, the user is capable of identifying the project time entries. This article covers identifying the project Time Entry Settings.
To identify a project time entry setting
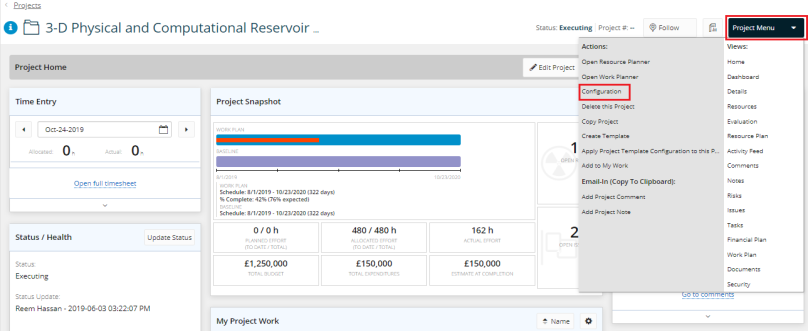
- At the upper-right side of the Project Home page, click Project Menu. A drop-down menu is displayed.
- On the displayed menu, under Actions, click Configuration. The Project Configuration page is displayed.
- On the Project Configuration page, scroll down to the Time Entry Settings panel.
- On the Time Entry Settings panel, select the check box next to Enable Time Entry against this project to permit time tracking on a project.

Note: This item is checked by default. To prevent time entry on the project, clear the check box next to Enable Time Entry against this project.
- Select the check box next to Allow Time Entry at the project level, to enable time tracking at the project level as well as the task level.
Note: To enable time tracking at the task level only, clear the check box next to Allow Time Entry at the project level.
- Select the check box next to Allow Time Entry once the project is closed, to allow tracking even after the project is set to Closed.
Note: To prevent time from being tracked against a project when closed, clear the check box next to Allow Time Entry once the project is closed.
- Under Restrict Time Entry only to the following:, select the check box next to Summary Tasks to restrict time tracking to summary tasks only.
Note: To allow time to be entered against any task, clear the check box next to Summary Tasks.
- Select the check box next to Milestones to restrict time tracking to milestone tasks only.
Note: To allow time to be entered against any task, clear the check box next to Milestones.
To identify a project time entry approval cycle
- Click the arrow in the Enforce Timesheet Approval for field. A list of the resources states is displayed as follows:
- No Resources: No timesheets will undergo any approval lifecycle.
Note: Both the Approver and Override resource-level approval settings fields will be dimmed.
- Full-time Resources: Timesheets for full-time resources only, will undergo the approval lifecycle.
- Variable Resources: Timesheets for variable resources only, will undergo the approval lifecycle.
- All Resources: Timesheets for all resources on the project will undergo the approval lifecycle.
- In the Approver box, type the name of the resource responsible for approving the timesheets or click the arrow next to Approver to display the resource titles assigned to the project and select one of them to be the timesheet approver.
Tip: To remove the approver, click the Delete icon  next to the approver's name.
Tip: In case a resource-level approver has not been set for a resource, the approver set here will be used.
- Select the check box next to Override resource-level approval settings if required.
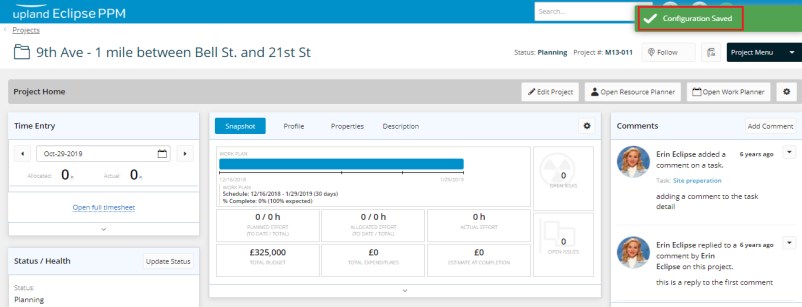
- Click Save. A message is displayed at the upper right corner of the page indicating that the configuration has been saved successfully.