Manage Project Workflow
This setting is used to manage project status and/or schedule changes through the use of an automated approval workflow. The user may use a pre-defined approval workflow template or indicate specific project lifecycle gates to apply to an approval workflow. The user may also reset a previously created advanced project workflow.
To identify a pre-defined project workflow
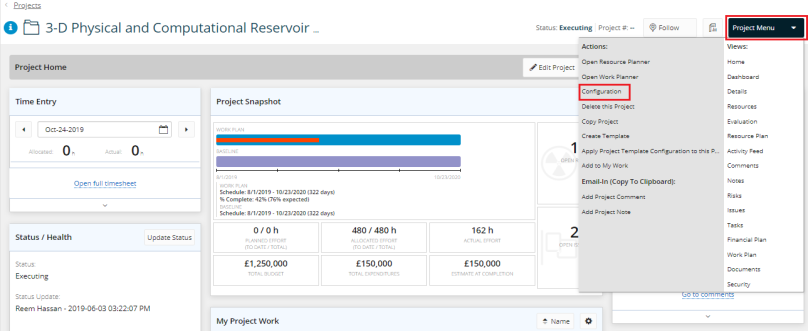
- At the upper-right side of the Project Home page, click Project Menu. A drop-down menu is displayed.
- On the displayed menu, under Actions, click Configuration. The Project Configuration page is displayed.
- On the Project Configuration page, under Workflow, click the arrow next to Change Project Status and select the most suitable predefined workflow.

- Click the arrow next to Approve Financial Plan and select the most suitable predefined workflow.
- Click the arrow next to Make Baseline Current and select the most suitable predefined workflow.
- Select the check box next to Approve Eclipse Doc to an approval cycle for documents added to Eclipse Doc.
To configure the workflow
- Click Advanced Workflow. A list of project phases is displayed.

- Click the arrow next to each phase, a displayed list of templates is displayed.
- From the displayed list, select a template for each.
- Click Ok. The Change Project Status is changed to Advanced Configuration.
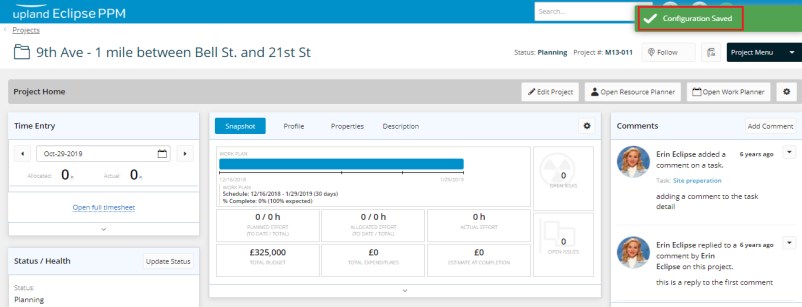
- Click Save. A message is displayed at the upper right corner of the page indicating that the configuration has been saved successfully.
To reset an advanced project workflo
- At the upper-right side of the Project Home page, click Project Menu. A drop-down menu is displayed.
- On the displayed menu, under Actions, click Configuration. The Project Configuration page is displayed.
- On the Project Configuration page, under Workflow, click Reset. A confirmation message is displayed.

- On the CONFIRM CONFIGURATION CHANGEmessage, click Yes. The Workflow is reset.

- Click Save. A message is displayed at the upper right corner of the page indicating that the configuration has been saved successfully.