Add and Manage Project Risks
In order to facilitate the tracking and resolution of any potential risks, Eclipse users can easily create these risks and link them to the project. Besides, they can link the project to any other risks existing in the system. Moreover, for better monitoring of items, users are offered, on the same page, sorting and filtering tools as well as different view options.
To create a new project risk
- At the upper right corner of the project workspace, click Project Menu.
A drop-down menu is displayed.

- From the displayed menu, under Views, click Risks.
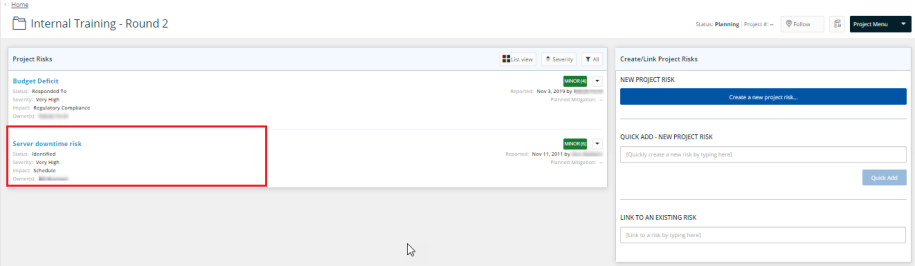
The Project Risks page is displayed.
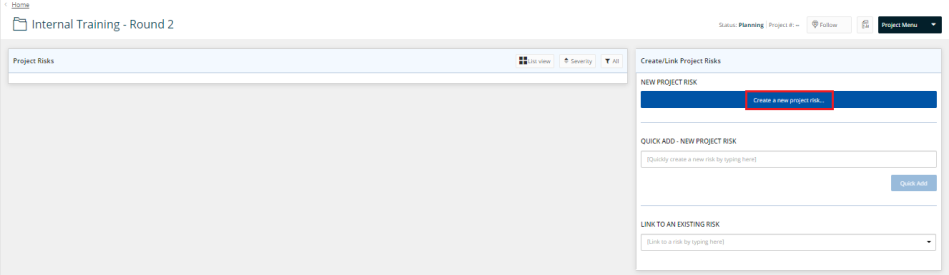
- At the right-hand side of the page, click Create a new project risk.
The New Risk page is displayed. - To create a project risk with just the subject defined and without adding any details, use the Quick Add - New Project Risk box.
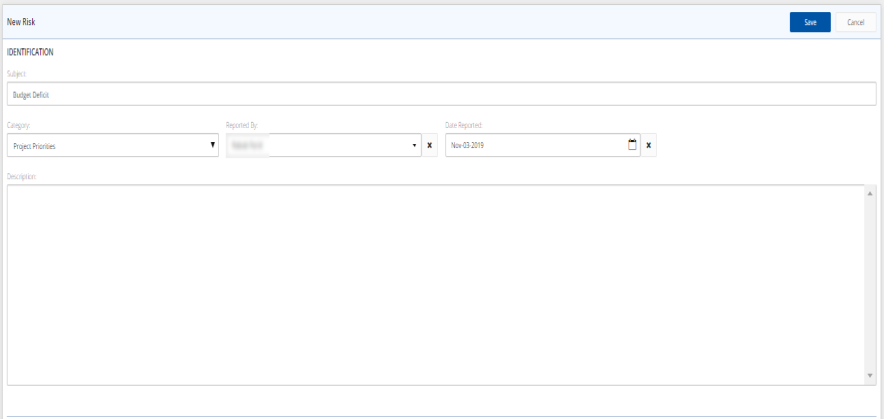
- Under Identification, in the Subject text box, enter a subject for the risk.
- Click the arrow in the Category field.
A drop-down menu is displayed. - Select the category required.
Note: By default, the risk creator name appears in the Reported By field.
To replace the displayed name with another, click the Clear icon ![]() next to the field, and then click inside the box to type the required name.
next to the field, and then click inside the box to type the required name.
- Click in the Date Reported field to open the calendar, and then select the date on which the risk was reported.
- In the Description text box, add more details, if required.
- Under Assessment, click the arrow in the Impact field.
A drop-down menu is displayed.
- Select the impact of that risk.
- Click the arrow in the Probability field.
A drop-down menu is displayed. - Select the risk probability.
- Click the arrow in the Severity field.
A drop-down menu is displayed.
- Select the severity level of the risk.
- In the Impact Magnitude text box, type the expected magnitude.
- In the Impact Description text box, type an explanation of how the risk has an impact on the project.
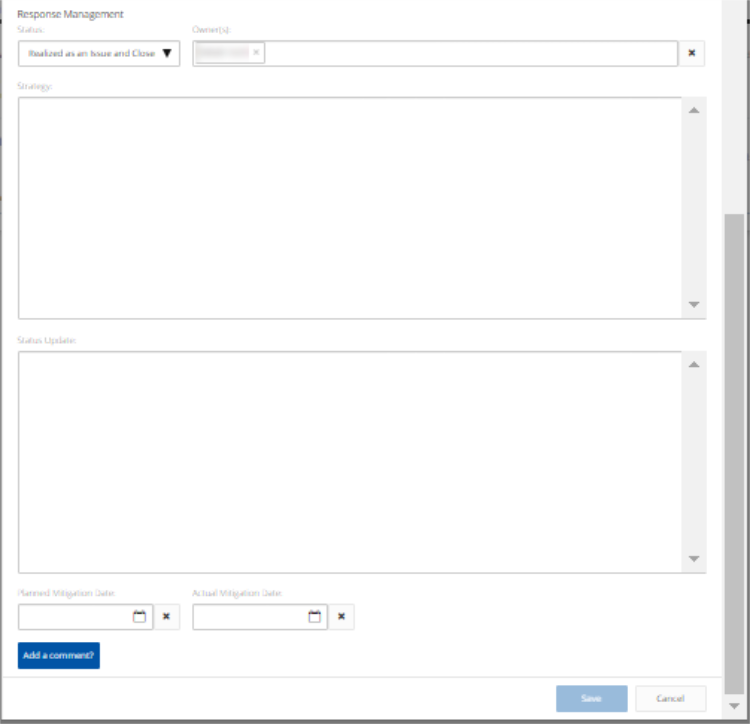
- Under Response Management, click the arrow in the Status field.
A drop-down list is displayed. - Select the state that best describes the risk.
Note: By default, the risk creator name appears in the Owner(s) field.
To replace the displayed name with another, click the Clear icon ![]() next to the field, and then click inside the box to type the name of the required owner.
next to the field, and then click inside the box to type the name of the required owner.
- In the Strategy text box, type an elaboration of the agreed upon strategy to avoid the risk.
- In the Status Update text box, type more details about the recent status.
- Click in the Planned Mitigation Date field to open the calendar, and then select the date on which it is planned to take mitigation actions.
- Click in the Actual Mitigation Date field to open the calendar, and then select the date on which mitigation actions have been taken.
- Click Save.
A success message is displayed at the upper-right corner of the page.

The created risk appears on the left-hand side of the Project Risks page.

To link the project an existing risk
- At the right-hand side of the Project Risks page, in the Link to an Existing Risk field, type the name of the risk (or part of it) to which you need to link the project.
A drop-down list is displayed.
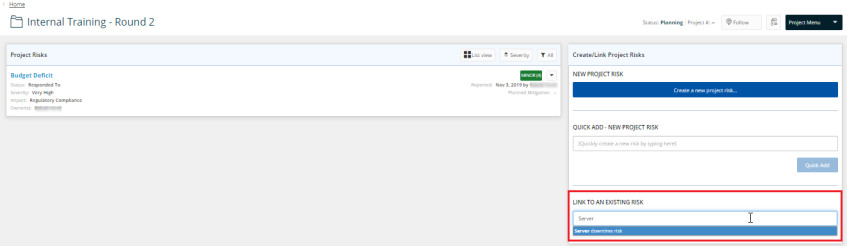
- Click the name of the required risk.
A success message is displayed at the upper-right corner of the page.

The risk, to which the project is linked, appears on the left-hand side of the Project Risks page.
To use the View options
- At the upper-right corner of the Project Risks page, click the List View button.
A list of viewing options is displayed.

- Click the preferred view option.
The Project Risks page refreshes automatically displaying the items as per the selected view option.
To sort the displayed project risks
- At the upper-right corner of the Project Risks page, click the Sort button.
A list of sorting options is displayed.
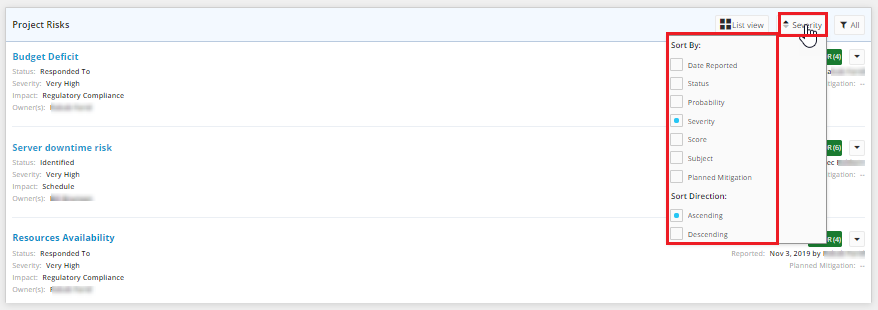
- Under Sort By, click the radio button of the required sort option.
Note: Only one option can be selected.
- Under Sort Direction, click either the Ascending or the Descending radio button.
The list of items displayed on the opened tab will be updated instantly.
To filter the displayed project risks
- At the upper-right corner of the Project Risks page, click the Filter icon
 .
.
A list of filtering options is displayed.
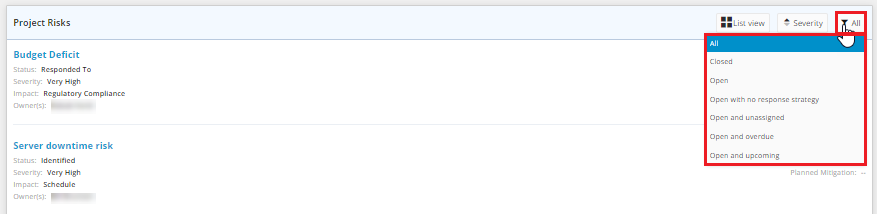
- From the drop-down menu, click any of the displayed filter options, as required.
The Project Risks page refreshes automatically displaying the items as per the selected filtering criterion.
Tip: To take any action on any of the project risks, click the Actions arrow next to that risk. To know how to perform each action, please refer to Project Home > My Project Work Panel > Manage Risks.