Update Values of Project Fields
After creating a project, the user can update the value of any field through the Projects page.
To update a field value
- On the left icon bar, click the Search icon
 .
.
A submenu is displayed.
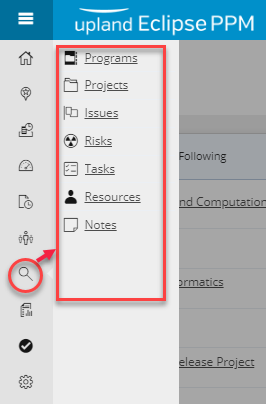
- From the displayed menu, click Projects.
The Projects page is displayed.
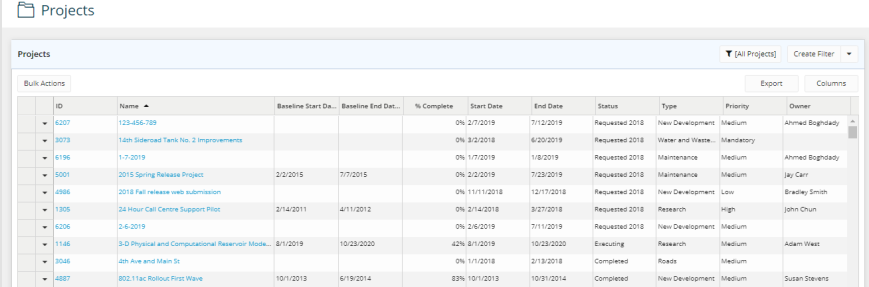
- At the left-hand corner of the Projects page, click Bulk Actions.
The More Actions button appears at the top of the projects list, and a check box appears next to each row.
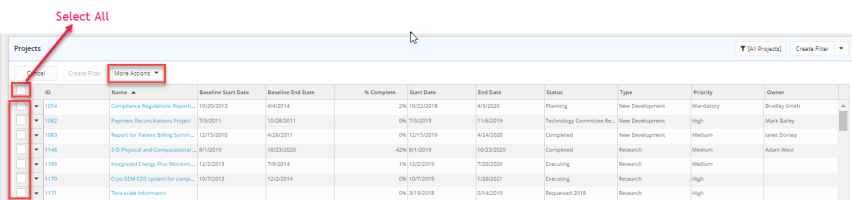
- Select the check box next to the projects you need to update any of its details.
Tip: In case you need to update the value of the same field across all the projects at a time, you can select the Select All check box found at the beginning of the header row.
- Click More Actions.
A drop-down menu is displayed.
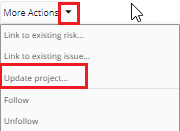
- On the displayed menu, click Update Project.
The Update Project dialog box is displayed.

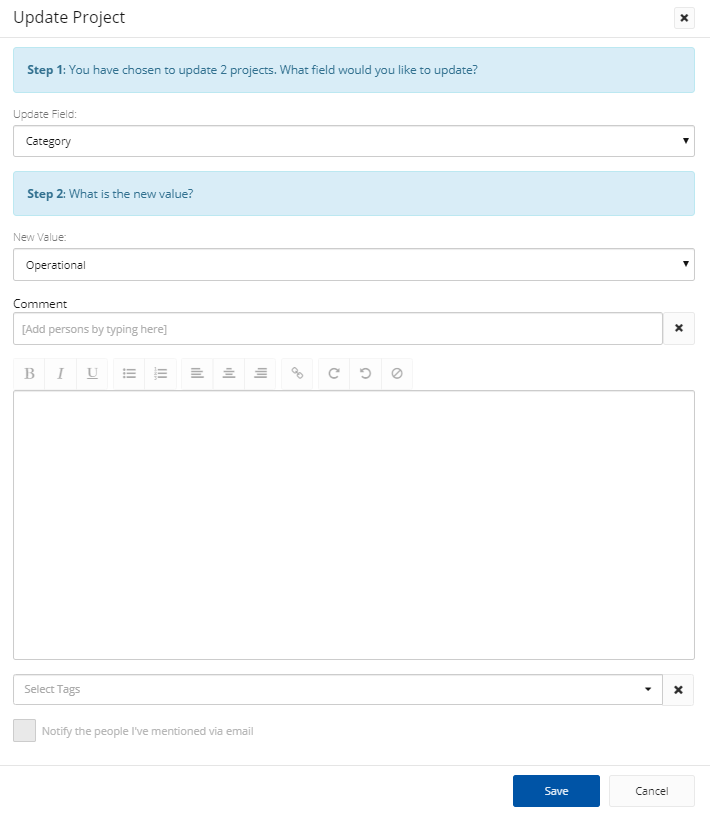
- On the Update Project dialog box, click the arrow next to Update Field.
A list of the names of project fields is displayed. - From the list of fields, select the field that you need to update its value across all the selected projects.
The New Value field is displayed in the same dialog box.

Note: The data entry fields, of the Step 2: What is the new value? section, are not always the same. They vary as per the project field name selected in Step 1. For example, if the selected project field is Category, only one field (New Value drop-down list) will be displayed. However, if the selected project field is Resources, other radio buttons appear along with the New Value drop-down list.
- In the New Value field, enter the new values.
- In case you need to add a comment, click Add a comment?
The comment section is expanded.
- In the Comment field, type the names of people you want to mention.
A list of suggested name(s) is displayed.
- Select the name(s) required.
Note: You can clear the Comment field, whenever needed, by clicking the Clear icon ![]() next to it.
next to it.
- In case you need to mention certain group of users in your comment, click the arrow next to the Comment field.
A drop-down menu is displayed.
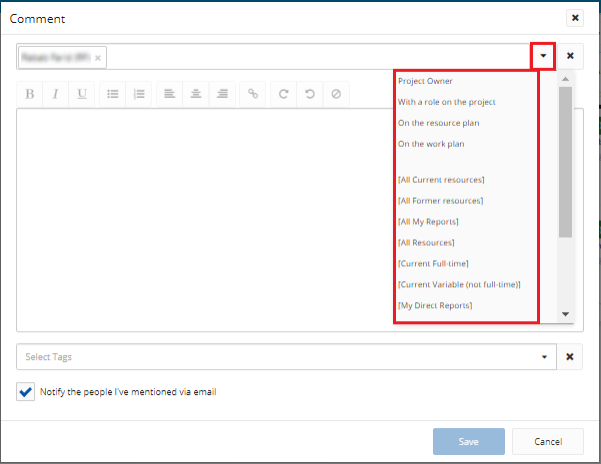
- Click the required group of users.
The names of all the group users are displayed in the Comment field.
Note: You can clear the Comment field, whenever needed, by clicking the Clear icon ![]() next to it.
next to it.
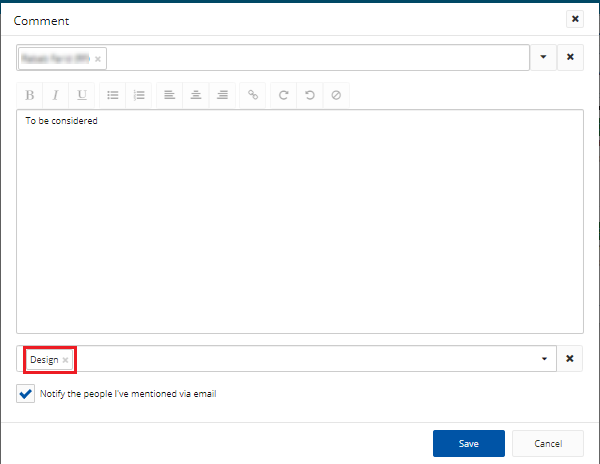
- In the text box, type your comment using any of the text formatting options.
- Click the arrow in the Select Tags field.
A drop-down menu is displayed.
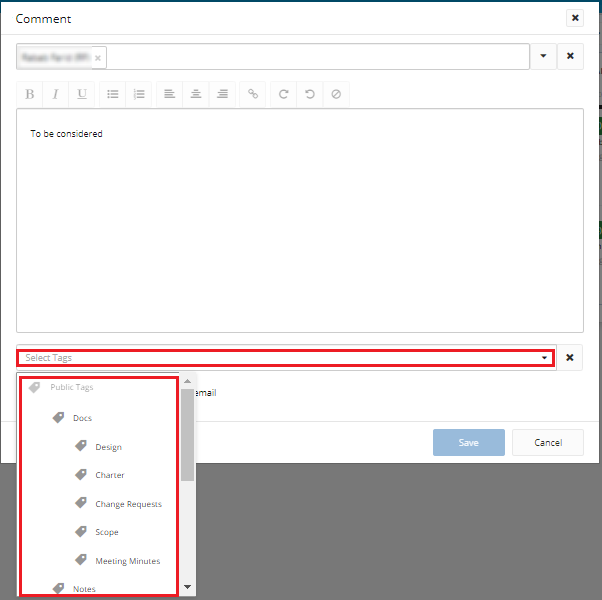
- Click the required tag.
The tag name appears in the Select Tags field.
Note: To add more tags to the same comment, repeat the previous 2 steps.
Note: You can clear the Select Tags field, whenever needed, by clicking the Clear icon ![]() next to it.
next to it.
Tip: To notify the people mentioned in the comment by email, select the Notify the people I've mentioned via email check box.
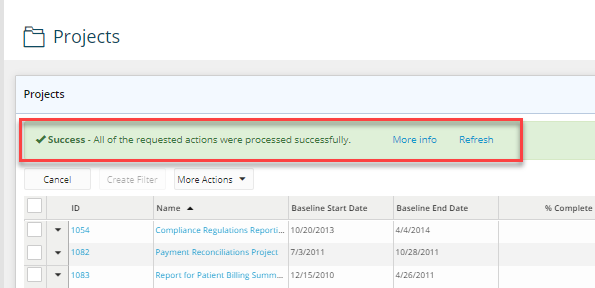
- Click Save.
A success message will be displayed above the Projects list.