Create a Risk
When a risk event is recognized on a project or operational activity, it should be created to account for in project planning.
1. Select Risk
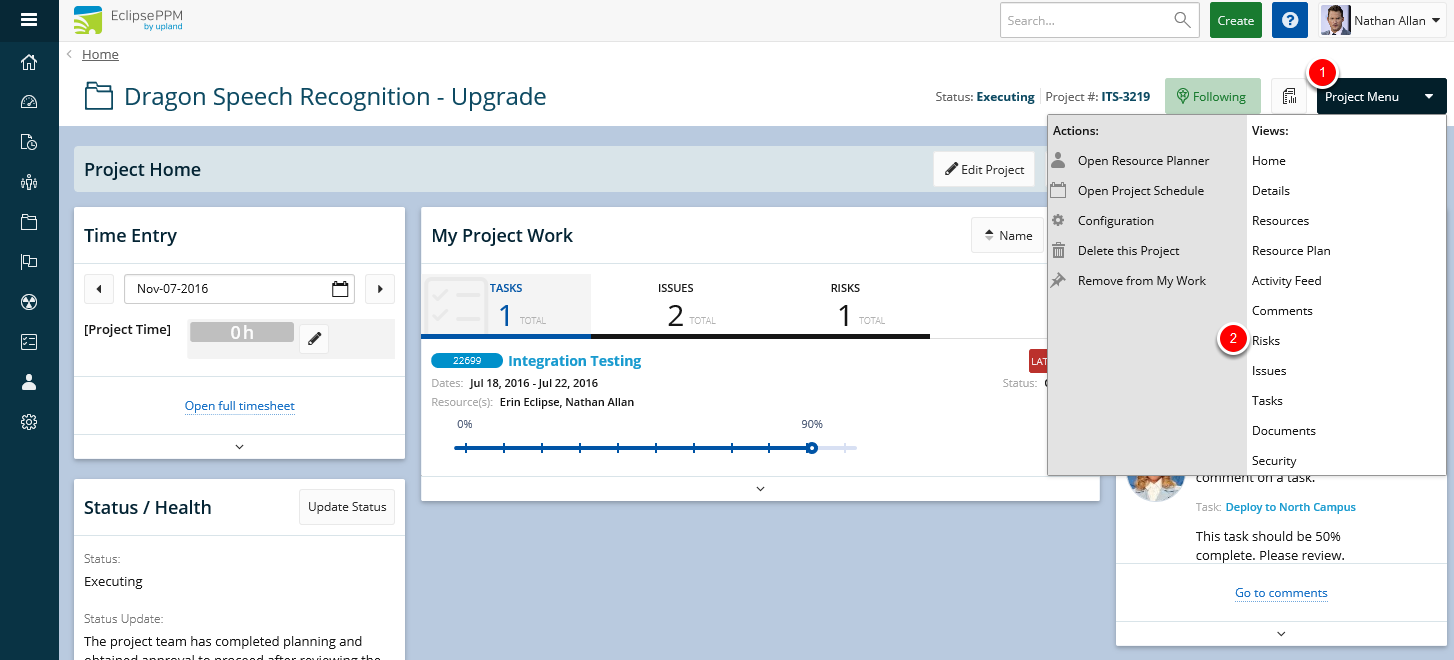
- Select the Project Menu.
- Select Risk.
2. Create New Risk
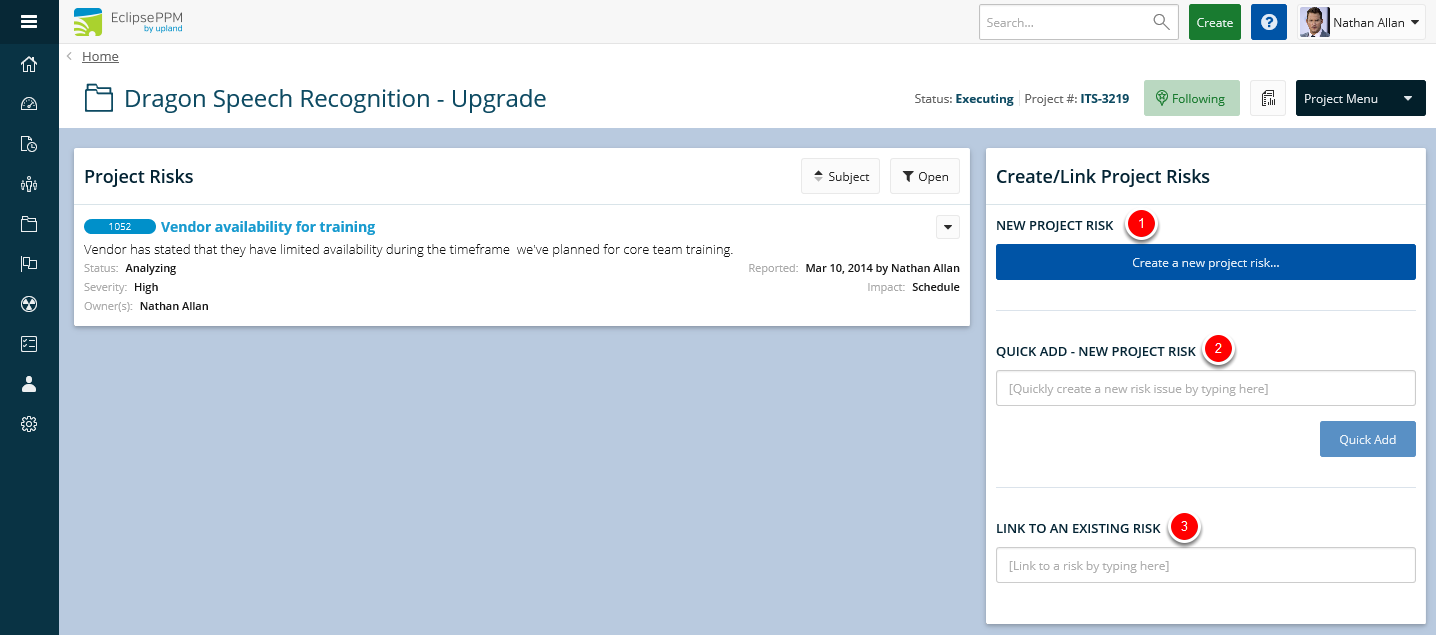
From the Risks page of the project, you have three options available for adding a Risk to your project:
- New Project Risk: Opens a new Risk record to be completed and Save
- Quick Add - New Project Risk: Enter the title of the Risk and select Quick Add to create a Risk with just the subject defined.
- Link to an Existing Risk: Type a couple key words of an existing Risks and select from the found records
For this article we will focus on the New Project Risk option.
2.1 Optional Risk Create Method
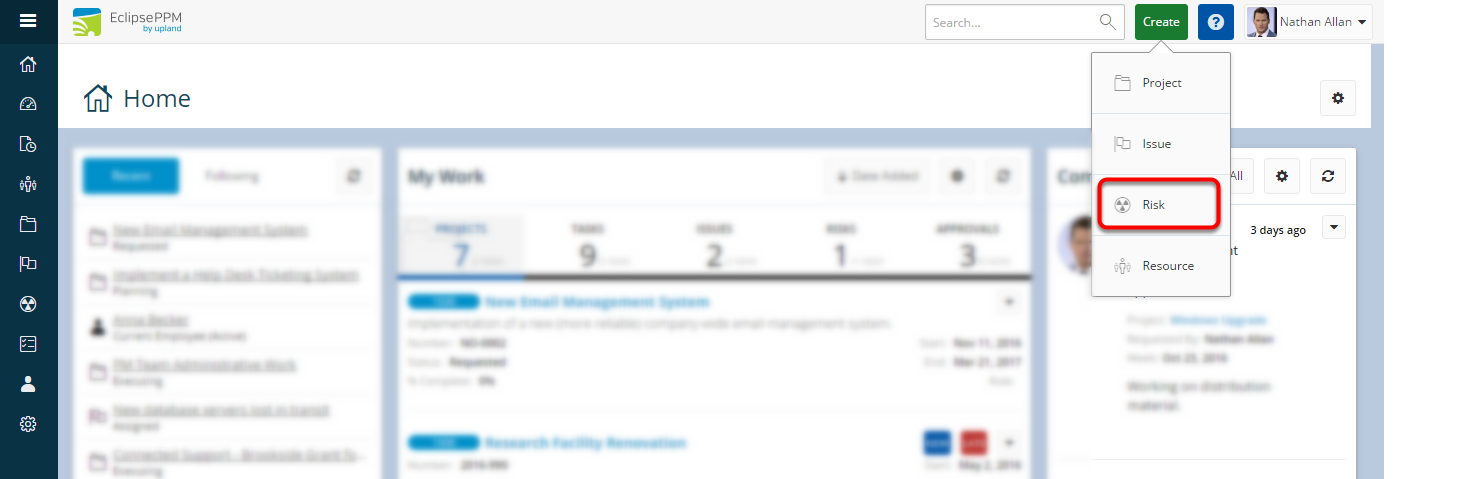
- From any page, select the Create menu in the upper right corner and select Risk.
Note: With this creation method you will need to manually associate the new Risk with one or more existing projects. When a risk is created from a project record, it is automatically associated with that project.
3. Define Subject and Applicable Fields
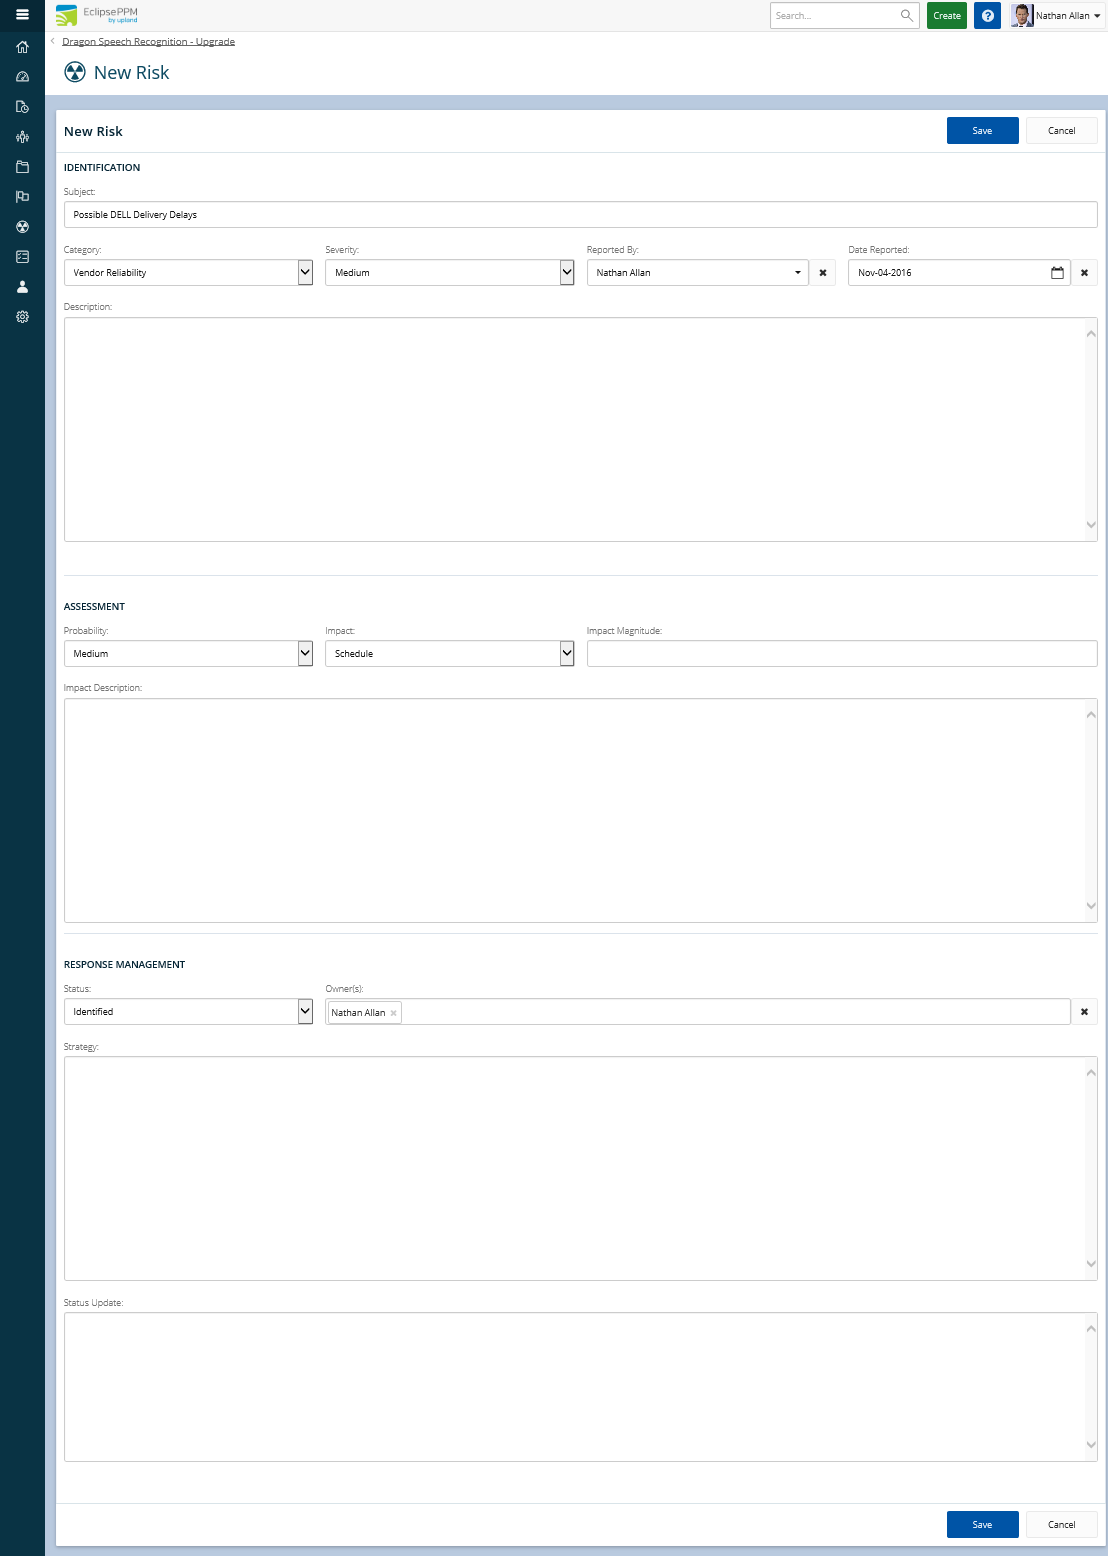
Define the available fields as required by your organization. Progress and developments observed during the management lifecycle of the Risk can be recorded as Comments or status updates in the Status Log.
Subject: text field
Risk Category: pick list
Severity: pick list
Reported By: Eclipse resource
Date Reported: date
Impact: pick list
Impact Description: text field
Probability: pick list
Impact Magnitude: text field
Status: pick list
Owner(s): Eclipse resource(s)
Strategy: text field
Description: text field
Status: text field
Comments: add comments for further collaboration and communication
4. Save
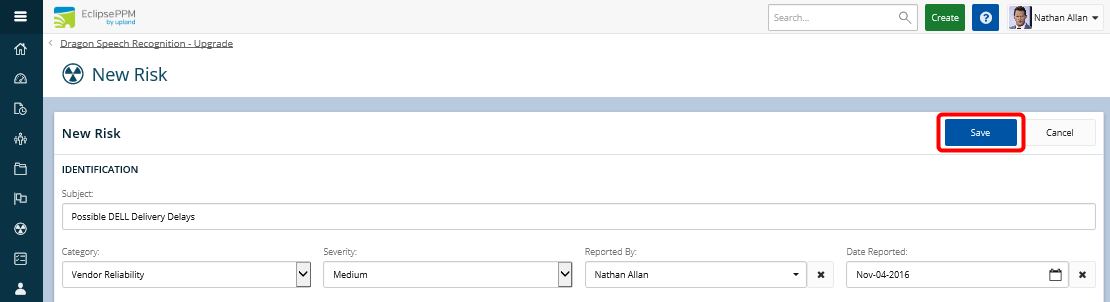
- Click Save.