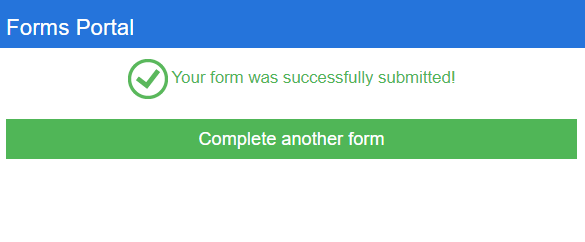
A Success Page is a separate page that can be displayed after a form has been submitted from the Forms Portal or Forms menu.
A default Success Page is provided, but you can also create your own custom Success Page that can display messages or images. Additionally, a Success Page can be used to redirect the user to an external page. Success Pages can be associated with more than one form. It is also possible to use a web form as a Success Page when working with and setting up Structured Forms.

Add a new success page
- On the Navigation menu, click Administration, then click Projects.
- Click Edit next to the project you want to add a new success page for.
- Select Forms from the Configuration list.
- Click the Web Forms tab.
-
Click Add.

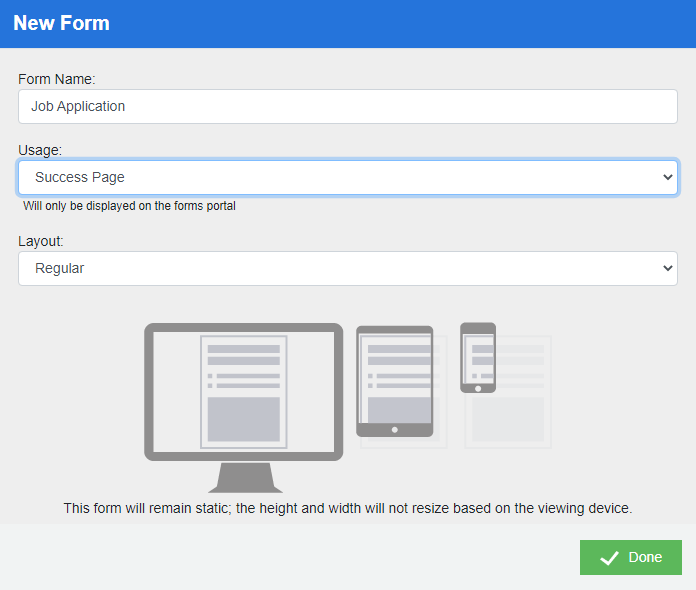
- In the New/Import Form dialog box, type the name of the form in the Form Name box.
- Select Success Page from the Usage list.
-
Select an option from the Layout list. The following options are available:
- Regular: Prevents a form from resizing its height and width based on the screen size of the viewing devices.
- Responsive: Allows a form to resize its height and width based on the screen size of the viewing devices.
-
Click Done.

-
Design the success page, then click Save to save the web form.