You can escalate a document that is located on a process step, on the basis of some business process requirement. For example, if action on a step is not taken before the due date set for that step is reached, an escalation email can be sent to the concerned person on a stipulated time after the due date.
Topics include:
Reorder the list of escalations
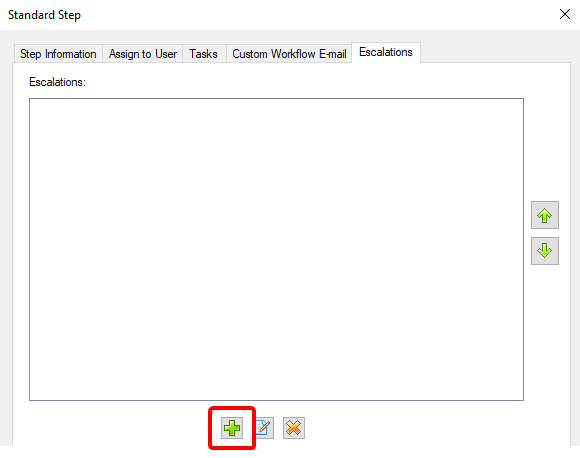
Add an escalation to a step
-
Click Add.
-
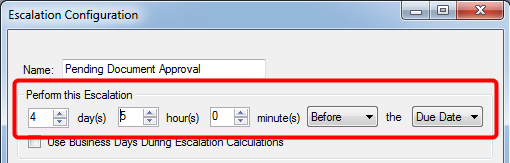
Specify a name for the escalation within the Name box.
-
Specify the schedule for the escalation in a combination of days, hours, and minutes.
-
Select an option to specify when to escalate. The following options are available:
- After: Escalate after the due date or start date.
- Before: Escalate before the due date or start date.
-
Select an option to specify the date when the escalation will be performed. The following options are available:
- Due Date: Performs escalation after or before the due date.
- Start Date: Performs escalation after or before the start date.
-
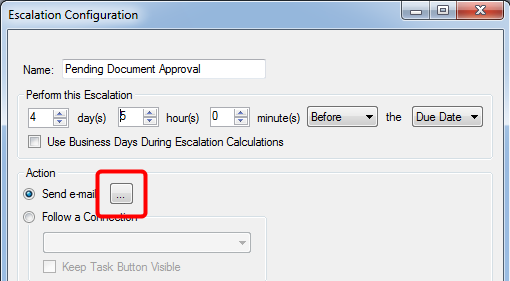
Select an option to specify an action to be taken upon escalation. The following options are available:
- Send e-mail: Sends an email to one or more recipients on escalation.
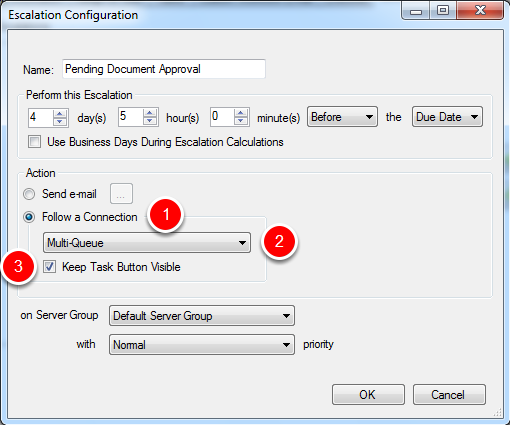
- Follow a connection: Performs a specific step on escalation.

-
Click the button next to the Send e-mail option to open the Send E-mail dialog box.
-
Specify email settings on the Information tab.
-
Click the Attach Document tab to specify the settings to send a document as attachment.
-
Click OK.

Title: A title for the email escalation.
From: The sender.
To: One or more email recipients.
Note: You can also specify one or more groups as recipients.
Subject: The text that will be used for the email subject.
Body: The text that will be used for the body of the email.
Included Items: Select the check boxes next to the items that you want to be included at the bottom of the email message. The following options are available:
- Index Fields: A separate check box is available for each index field that is configured for the project.
- Routed Date: The date the document was routed to the step.
- Routed By: The user that routed the document to the step.
- URL Link to File: The hyperlink to the file that the document is contained in.
- URL Link to Document: The hyperlink to the document in FileBound. Clicking the link will open the document in the Viewer.
- Document Divider: The divider name that the document is contained in.
- Document Separator: The separator name that the document is contained in.
- Routed Item Due Date: The date that the workflow step needs to be completed by.
- Workflow Comment: The comments entered when a document is assigned to a workflow step.
- URL Link to Anonymous Form: The hyperlink to the anonymous form.
-
Select an option to specify the step that will be performed on escalation.
-
Select the Keep Task Button Visible check box to show the task button for the step.
-
Select an option from the on Server Group list, to specify the server group that will perform the action specified for the escalation.
-
Select an option from the with priority list to specify the priority for the escalation. The following options are available:
- Normal
- High
- Critical
11. Click OK.
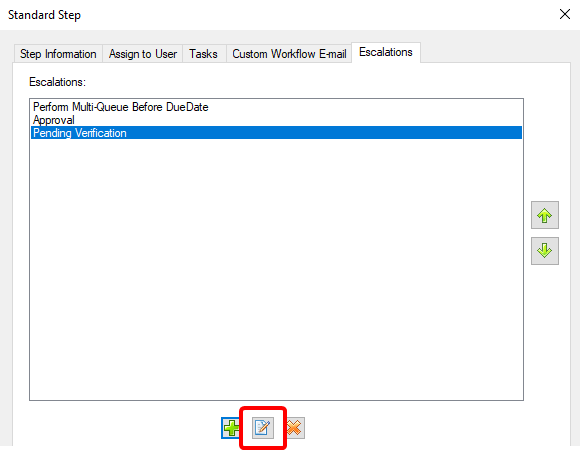
Edit an escalation
-
To access step properties, in the Diagram pane of the Workflow Designer, perform one of the following:
- Double-click a step.
- Right-click a step and select Properties.
- Select a step and press the F4 keyboard shortcut.
-
Click the Escalations tab.
-
Select the escalation you want to edit.
-
Click Edit.
-
In the Escalation Configuration dialog box, edit the escalation configuration as needed. See for more information.
-
Click OK.
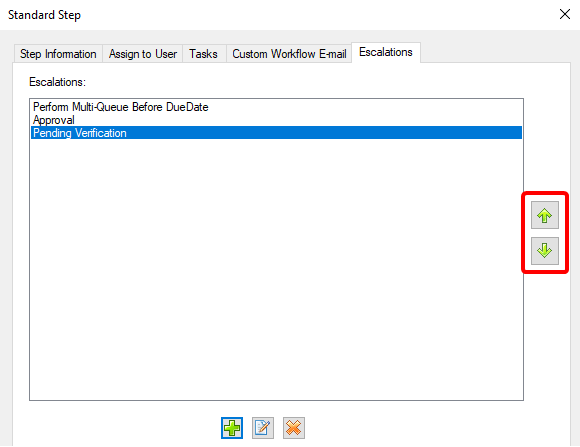
Reorder the list of escalations
-
To access step properties, in the Diagram pane of the Workflow Designer, perform one of the following:
- Double-click a step.
- Right-click a step and select Properties.
- Select a step and press the F4 keyboard shortcut.
-
Click the Escalations tab.
-
Select an escalation from the list.
-
Use the up and down arrow buttons to reorder the escalations.
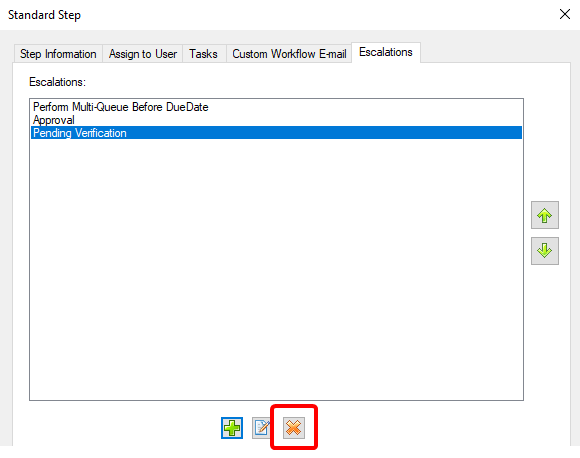
Delete an escalation
-
To access step properties, in the Diagram pane of the Workflow Designer, perform one of the following:
- Double-click a step.
- Right-click a step and select Properties.
- Select a step and press the F4 keyboard shortcut.
-
Click the Escalations tab.
-
Select the escalation you want to delete.
-
Click Delete.
-
Click Yes to confirm the deletion.