The File Detail page gives you a detailed page of all things related to a file. From the File Details page, you can perform file related operations. If the File Details page has been enabled for your site, you can view it by clicking File Details next to a file on the Search Results page.
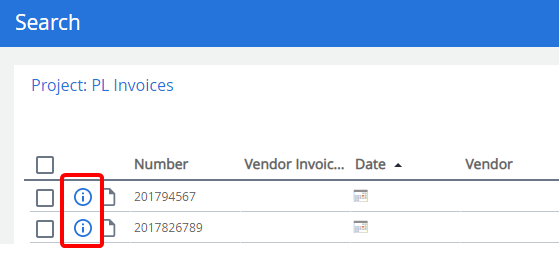
Topics include:
Navigate the File Details page
Add a file to another user's Clipboard
Navigate the File Details page
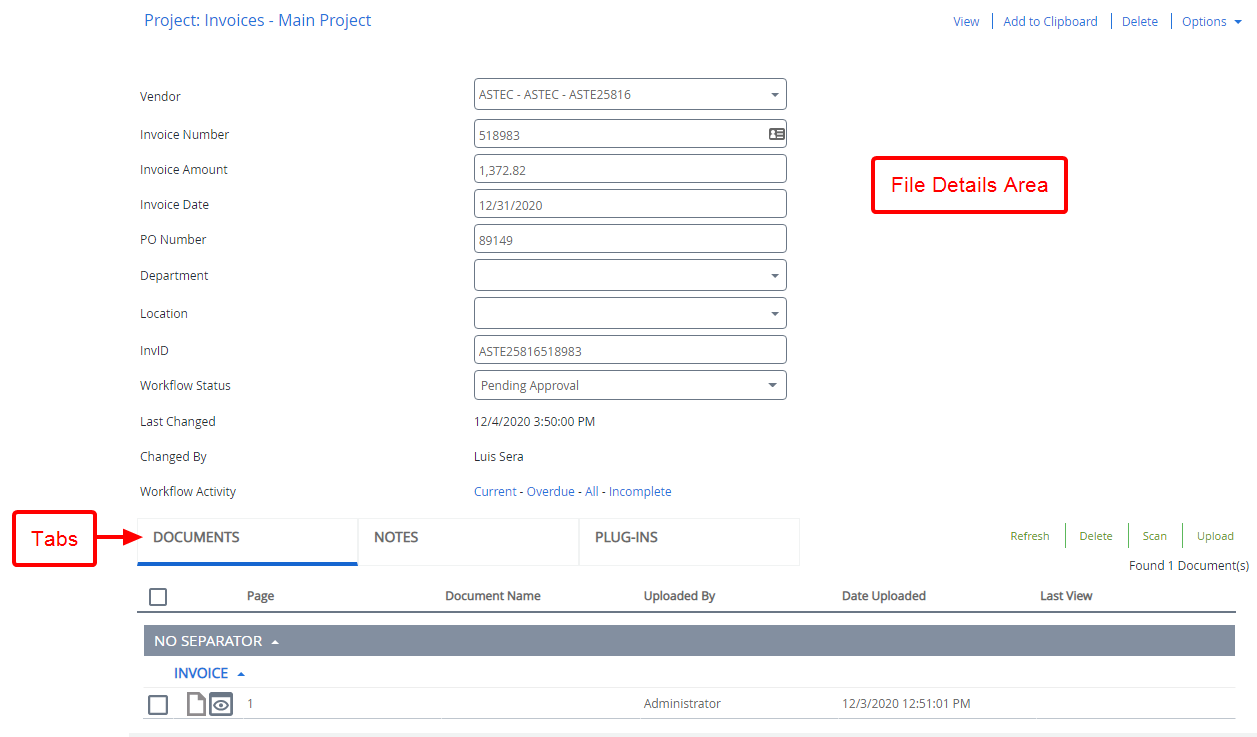
The File Details page has two parts:
File Detail Area: The File Detail area displays index field values. Information also includes, the name of the user who modified the file last, and the date and time when it was last modified. You can see workflow related information on the file, if the file is used in workflow processes. Information is organized as:
- Current: Click this link to see workflow information on the file, where the file is waiting on a process step for action to be taken.
- Overdue: Click this link to see workflow information on the file, where the file is waiting on a process step for action which is past the due date.
- All: Click this link to see workflow information on the file used in any workflow step.
Tabs: The following tabs are available on the File Details page depending on your site configuration:
- Documents: Here you will see a list of all documents within the file.
- Notes: Here you can add or view notes for the file.
- Tracking: This tab will only be displayed if file tracking is enabled for your site. Here, you can view the details of file check outs and check ins.
View a file
You can open a file in your default viewer from the File Details page.
-
Click View.

Add a file to your Clipboard
The Clipboard is an area where you can compile, gather, and place files of similar interest. You can add one or more files to your Clipboard. There is no limit on the number of files you can add to your Clipboard. Files added in the Clipboard are simply pointers to the original file. Hence, one file can be in the Clipboard of more than one user.
-
Click Add to Clipboard.

Delete a file
-
Click Delete.

-
Click OK to confirm the deletion.
Copy a file
-
Click Options, then click Copy File.

-
Edit file information on the Add Content - File Entry page, then click Save.
Add a file to another user's Clipboard
You can add files to another user's Clipboard. Files added in the Clipboard are simply pointers to the original file. Hence, one file can be on the Clipboard of more than one user.
-
Click Options, then click Add to User's Clipboard.

-
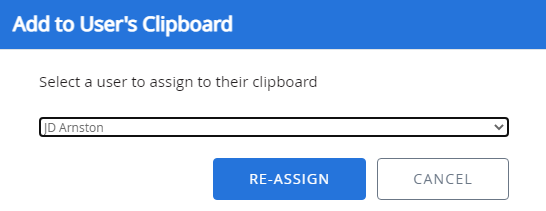
In the Add to User's Clipboard dialog box, select the user that you want to assign the files to, then click Re-assign.
View a document
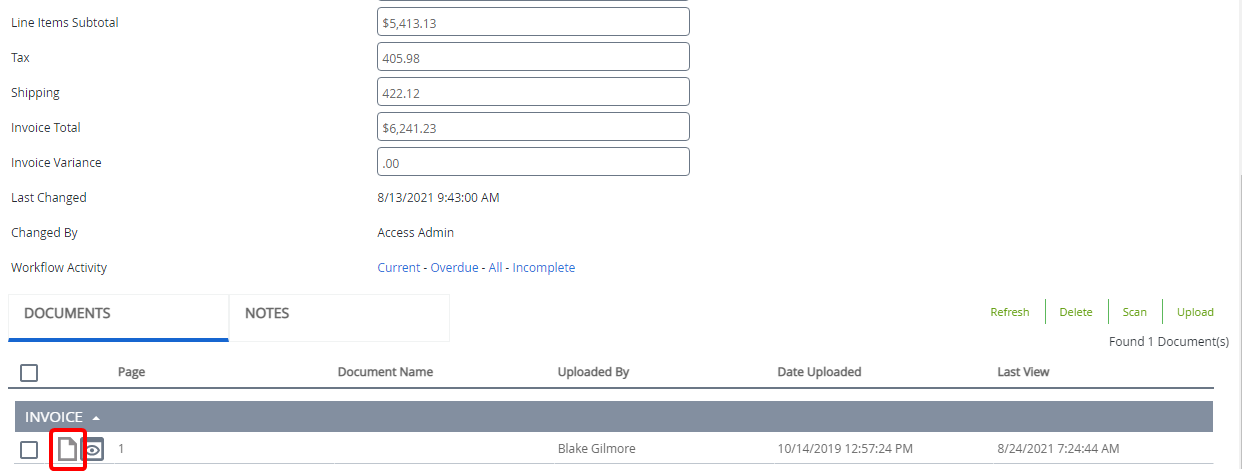
- Expand the separators and/or dividers that contain the document you want to view.
- Click View next to the document to open it in the default viewer.
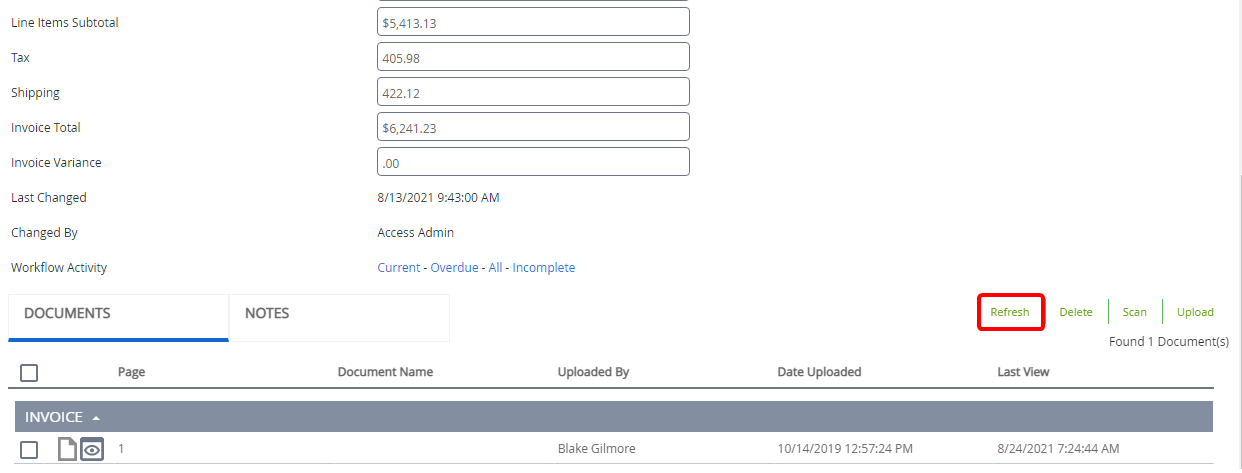
Refresh the documents list
To ensure that the document list and information is up to date, you can refresh it.
-
Click Refresh.
Delete documents
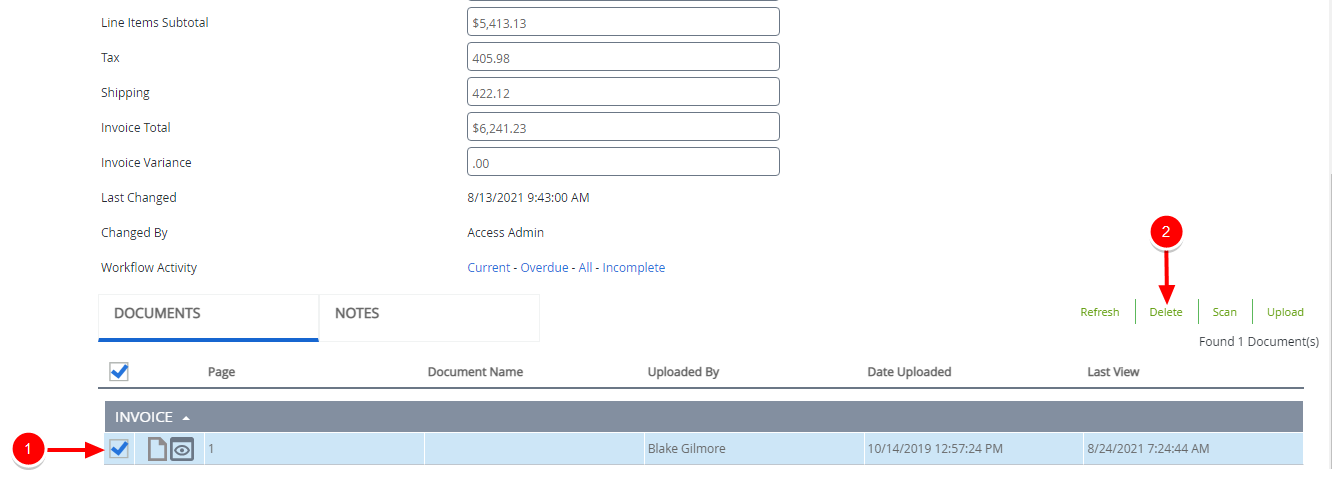
- Expand the separators and/or dividers that contain the document(s) you want to delete.
-
Select the check box next to the document(s) you want to delete, then click Delete.
-
Click OK to confirm the deletion.
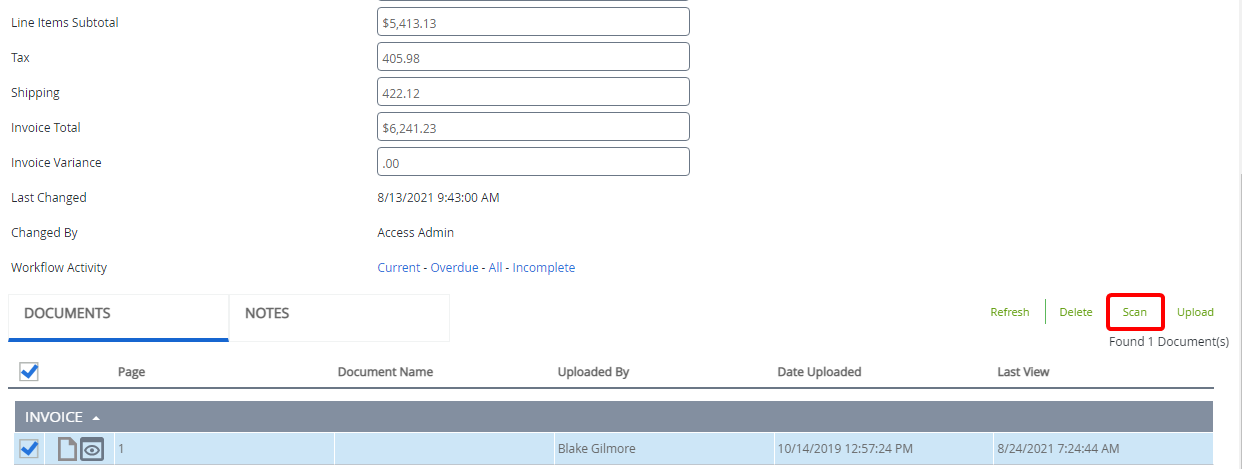
Scan documents into a file
-
Click Scan.
-
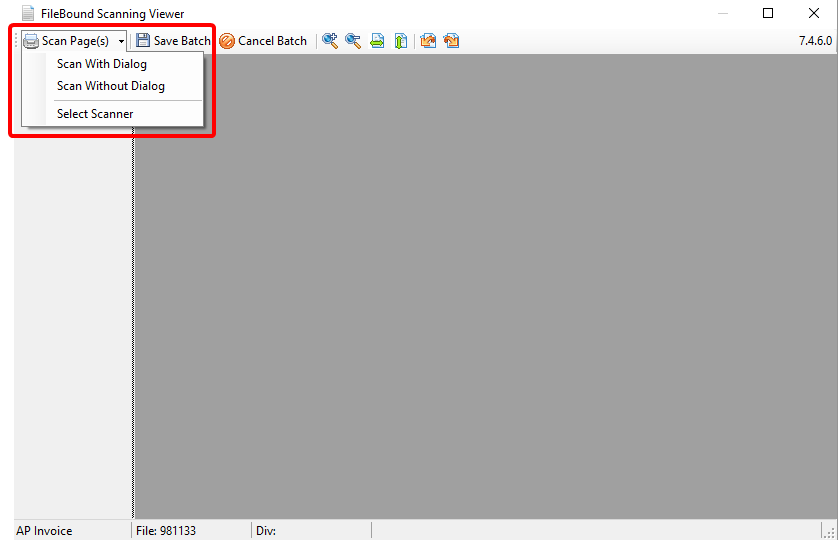
In the Scanning Viewer, select a scanning option.
Upload documents into a file
-
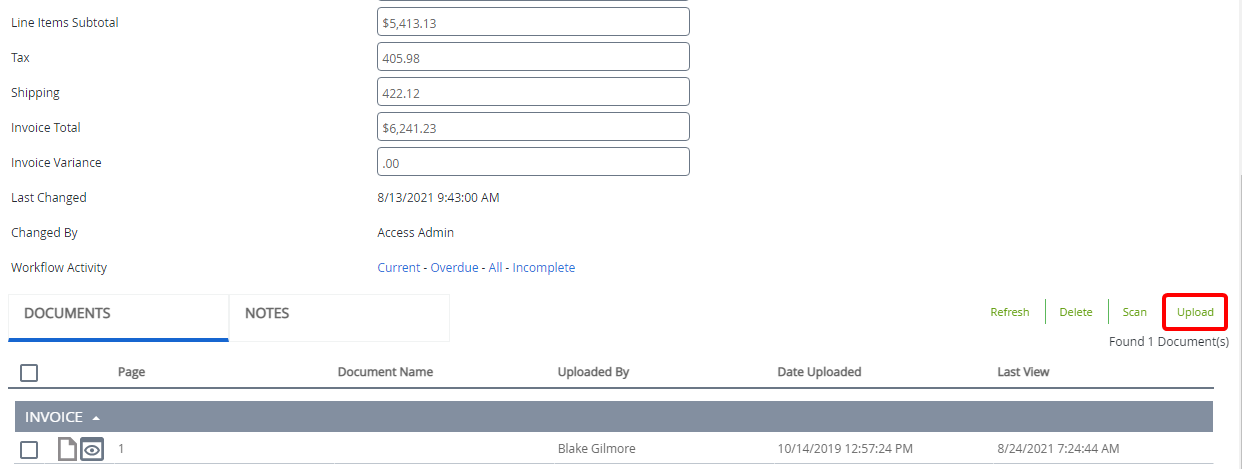
Click Upload.
-
In the Upload Documents dialog box, if separators are enabled for the project, select a separator that you want to place the uploaded document in from the Separator drop-down list.
-
Select a divider that you want to place the uploaded document in from the Divider drop-down list.
-
Click Browse to select the documents you want to upload or move documents to the Upload Documents area using a drag-and-drop operation.
-
Select the Retain document name on upload check box to keep the name of the document. If this check box is not selected, the document name will be a page number; such as Page0001.
-
Modify the Original Date if needed.
-
Click Save.