Signatures
You can add a signature to a document to mark the document as authorized and therefore not editable by any user until the signature is removed.
You can also send documents for signature in Docusign or HelloSign if the integrations are enabled for your site and for the project.
Topics include:
Send a document for signature in Docusign
View the status of Docusign signatures
Send a document for signature in HelloSign
View the status of HelloSign signatures
Add a document signature
You can add a signature to a document to mark the document as authorized and therefore not editable by any user until the signature is removed. A document signature is an electronic signature that a user applies by entering their FileBound password.
The signature consists of the document signature identification number, user name of the person who applied the signature, and the date and time when the signature is added.
A document can only contain one signature.
You can add a signature to a document only if a System Administrator has enabled the "Document Add/Edit" right for the group you belong to.
-
On the Content Taskbar, click Signatures.
-
Click Sign Document.

-
Enter your FileBound password, then click Sign Document.
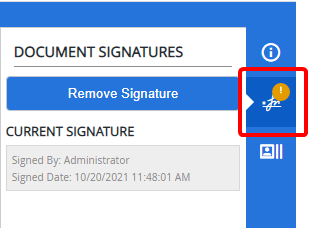
A yellow exclamation point is displayed next to the Signatures button when there is a signature on a document.
Remove a document signature
You can specify a signature for a document to mark the document as authorized and therefore not editable by any user until the signature is removed.
-
On the Content Taskbar, click Signatures.
-
Click Remove Signature.

-
Enter your FileBound password, then click Remove Signature.
Signatures that have been removed from the document will displayed under Past Signatures.

Send a document for signature in Docusign
If Docusign is enabled for a project and you are set up as a designated sender, you can send documents for signature via Docusign.
-
To send a single document for signature, open the document in the Web Viewer OR to send multiple documents for signature, select the check box next to the documents in the File Tree.
-
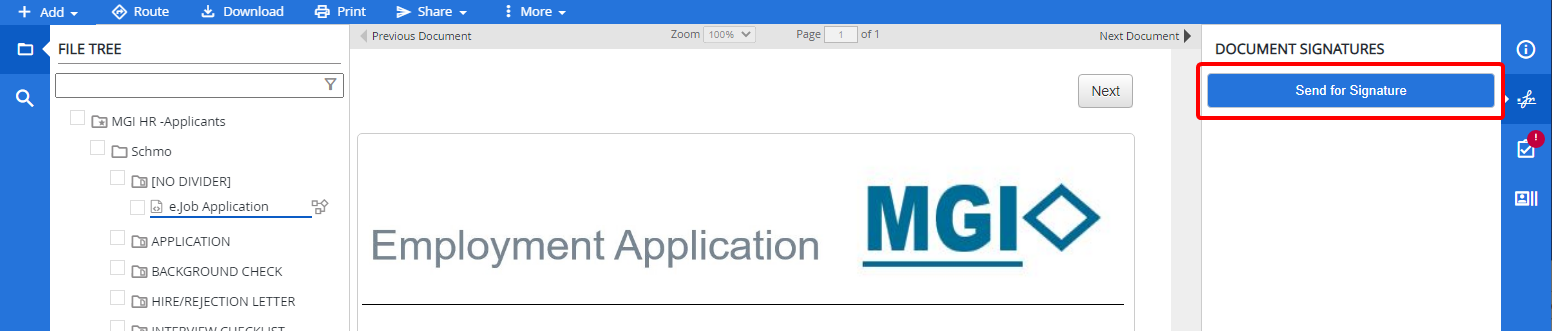
On the Content Taskbar, click Signatures, then click Send for Signature. This option will not be available if:
- Docusign is not enabled for the project.
- You are not a designated sender.
- The document is locked by another user.
- The document has been declared as a record.
-
In the Send For Signature dialog box, if you want to utilize a Docusign template, select the template from the Choose a Template list; otherwise, select None. See the Docusign support site for more information about templates.
Note: If you are using a Docusign template, the number of pages in the first document you have selected to send for signature must be equal to or more than the number of pages in the template.
- Select Current Document to send only the document that is currently being viewed in the Web Viewer, or if you have selected the check box next to multiple documents in the File Tree, select Selected Documents.
- Click Add Signers.
-
Type the name and email address of the person who needs to sign the document in the Name and Email fields. If you have selected a template, the Role list will be available. This list contains names of the placeholder roles have been added for the selected template.
Note: You need to add email address for all placeholder roles available in the list. You cannot use a placeholder role from the list more than once.
- Repeat Steps 5 and 6 to add names and email addresses of additional people.
- Select a sender from the From list. This list contains names of users that have been added as designated users.
- Type an email subject and message in the Subject and Message fields.
-
Click Send.

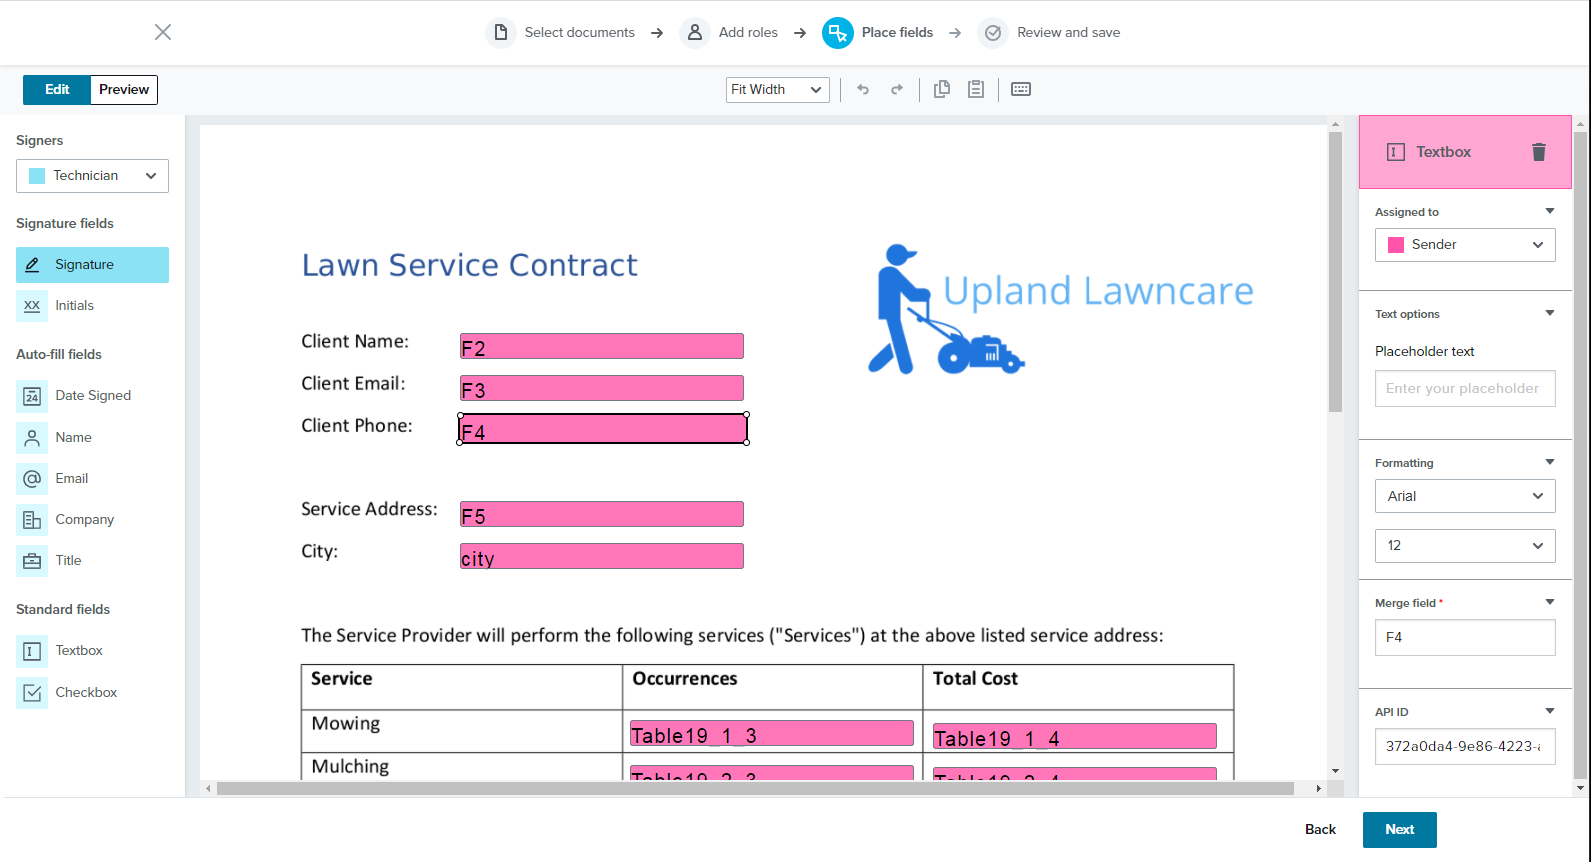
Add fields in Docusign
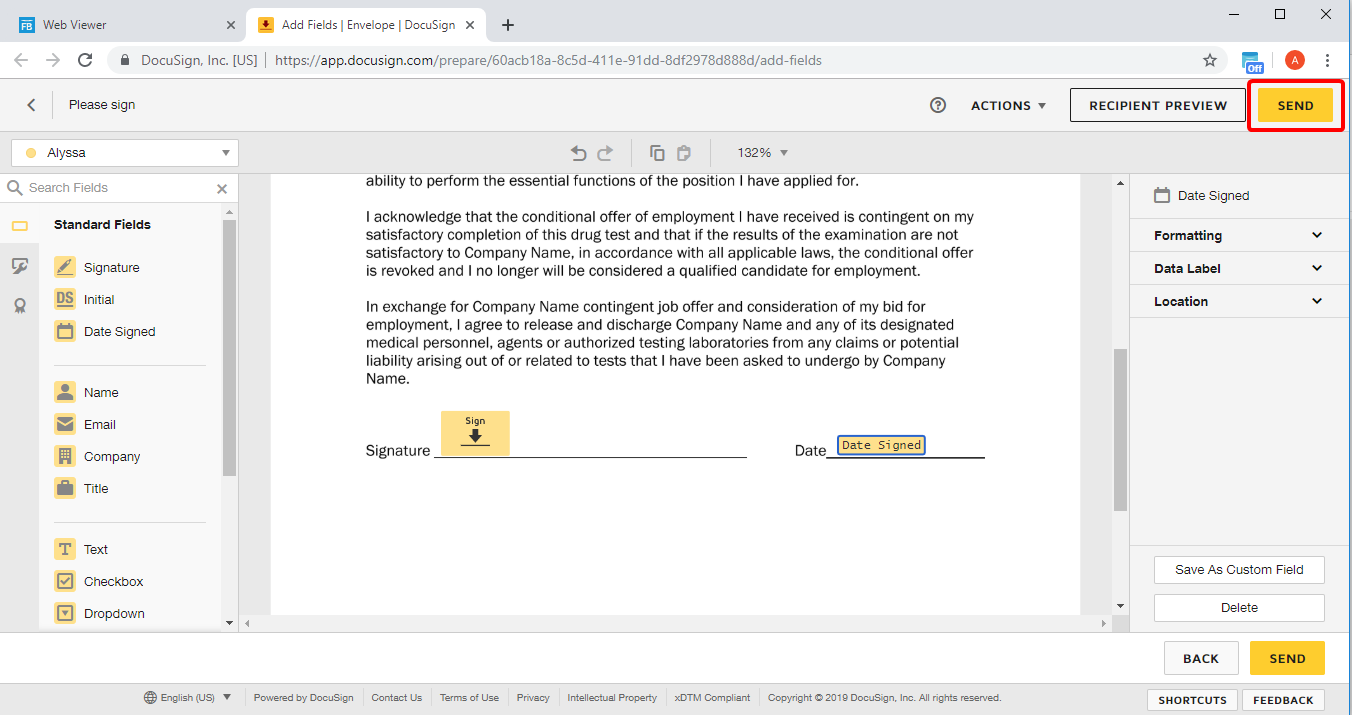
If you have not selected a Docusign template, the Docusign website opens. Here, you can add fields to the document that tells the recipients where to add signatures.
-
Click and drag fields from the left panel to the document, and then release the mouse button. You can add any field to a document, but only the following fields are retrieved when a signed document is imported into FileBound:
- Signature
- Initial
- Date Signed
- Name
- Company
- Title
Date Signed, Name, and Email will be pre-populated based on the information entered into the Send for Signature dialog box in FileBound. The remaining fields will require the signer to enter information.
See the Docusign support site for more information about adding fields to documents.
-
Click Send once all necessary fields have been added to the document.
Other document actions
When preparing documents for sending, Docusign provides a number of other actions, not all of which are supported in FileBound.
|
Action |
Supported? |
|
|---|---|---|
| Save and Close | Yes | If you’ve closed a document prior to sending, you can access it by clicking refresh in FileBound’s Viewers. The Send Envelope button will take you back to Docusign and allow you to pick up where you left off. |
| Discard | No | If you choose to discard a document during preparation, you will need to go into your Docusign account to delete it. |
| Edit Message | Yes | Edit Message will allow you to change the email subject and body that you originally created in FileBound. |
| Edit Recipients | Yes, for adding recipients | Remember to add an additional signature control for each recipient added. |
| Edit Documents | No | FileBound does not support this functionality because the document sent for signature would be different than the document that resides in FileBound. |
| Advanced Options | No |
View the status of Docusign signatures
-
On the Content Taskbar, click Signatures.
-
Click Refresh to ensure that you are viewing the most recent document signature statuses.
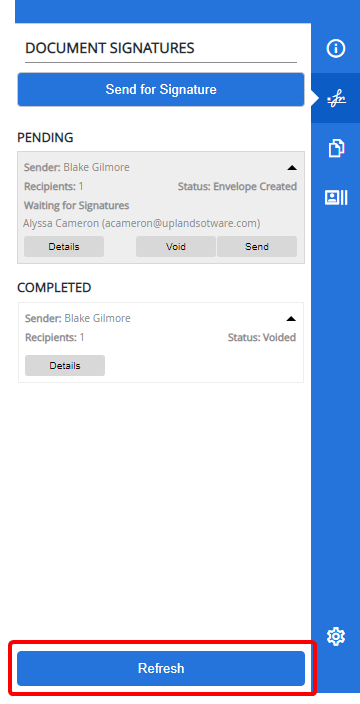
Docusign signatures will fall under two different statuses in the Signature panel:
- Pending: The Docusign envelope has been created, but not yet sent. Or, the Docusign envelope has been sent, but not yet signed.
- Completed: The document has been signed. Or, the Docusign envelope has been voided.
You will have the following options depending on the status of the document signature:
- Details: Displays detailed information about the document sent for signature.
- Resend: Resends the document for signature if one of the recipients has accidentally deleted the email.
- Send: This option is available if an envelope has been created in Docusign, but not yet sent out. For example, if you have closed the Docusign website before clicking Send, this option will open the window and allow you to complete the operation.
- Void: This option allows you to void a document signature, but prompts you for a reason. The reason is required by Docusign.
- Import: This option is available if Docusign Connect has been enabled for your site and all recipients have signed the document. It will import the signed document into FileBound and based on the configuration, the signed document will either replace the original document or be added as a new document.
Send a document for signature in HelloSign
If HelloSign is enabled for a project and you are set up as a designated sender, you can send documents for signature via HelloSign.
-
To send a single document for signature, open the document in the Web Viewer OR to send multiple documents for signature, select the check box next to the documents in the File Tree.
-
On the Content Taskbar, click Signatures, then click Send for Signature. This option will not be available if:
- HelloSign is not enabled for the project.
- You are not a designated sender.
- The document is locked by another user.
- The document has been declared as a record.
-
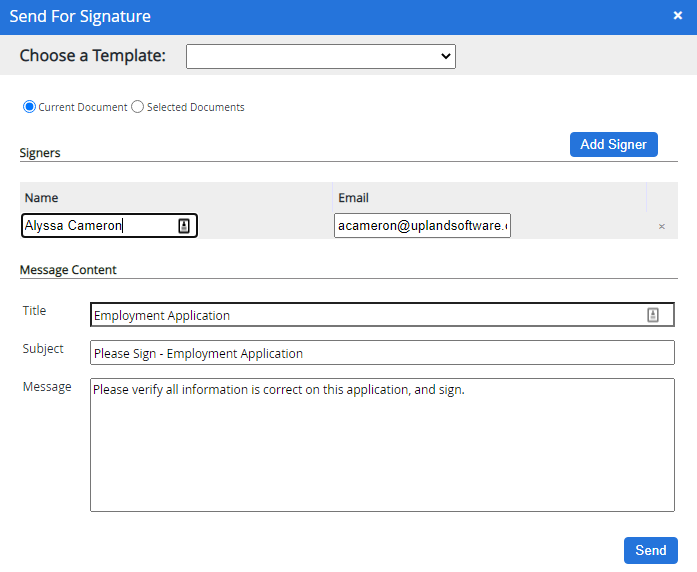
In the Send For Signature dialog box, select an option from the Choose a Template list. The following options are available:
-
To utilize a HelloSign template, select the template name. HelloSign templates send the document which was used to create the template in HelloSign and not the document that is stored in FileBound. HelloSign templates can be created with FileBound field names to pass field information to the template. See the HelloSign Help Center for more information about templates.
Note: If you name HelloSign template fields using the F1 or ExtraData field name, FileBound will push that data into the template for merge purposes.
-
To utilize a text tags document, select Text Tags. Text tags are made from specially formatted text in a PDF or DOCX document that tell HelloSign where to place signature or text inputs. See the HelloSign Help Center for more information about text tags in documents sent to HelloSign.
-
To send a document without signing positions, leave this field blank.
-
- Select Current Document to send only the document that is currently being viewed in the Web Viewer, or if you have selected the check box next to multiple documents in the File Tree, select Selected Documents.
- Click Add Signer.
-
Type the name and email address of the person who needs to sign the document in the Name and Email fields. If you have selected a template, the Role list will be available. This list contains names of the roles have been added for the selected template.
Note: You need to add email address for all roles available in the list. You cannot use a role from the list more than once.
- Repeat Steps 5 and 6 to add names and email addresses of additional people.
- Enter a name for the request in HelloSign in the Title field.
- Type an email subject and message in the Subject and Message fields.
-
Click Send.
View the status of HelloSign signatures
-
On the Content Taskbar, click Signatures.
-
Click Refresh to ensure that you are viewing the most recent document signature statuses.

HelloSign signatures will fall under two different statuses in the Signature panel:
- Pending: The HelloSign signature request been sent, but the document has not been signed yet.
- Completed: The document has been signed or the signature request has been canceled.
You will have the following options depending on the status of the document signature:
- Details: Opens your HelloSign account where you can view detailed information about and take additional actions on the document sent for signature.
- Cancel: This option allows you to void a document signature.
- Resend: Resends the document for signature if one of the recipients has accidentally deleted the email.