In the Windows Viewer, you can route the document in the Content Pane through a predefined workflow or to a system user through adhoc routing. When using adhoc routing, you can select a user from a list of users that have rights to the project.
-
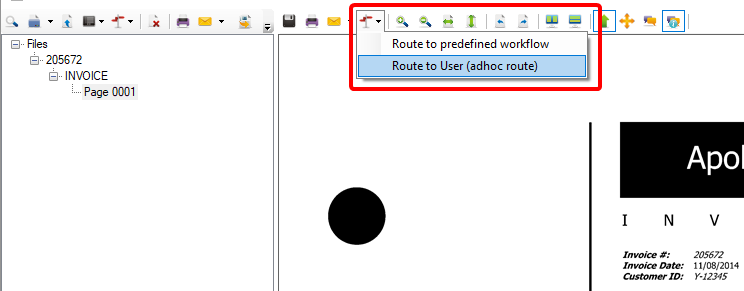
On the Content Toolbar, click Route Page(s), then select Route to User (adhoc route).

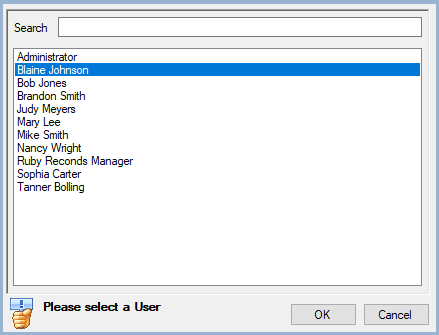
- Click the name of the user you want to route the document to or type the name of a user in the Search box to search for a user.
-
Click OK.

-
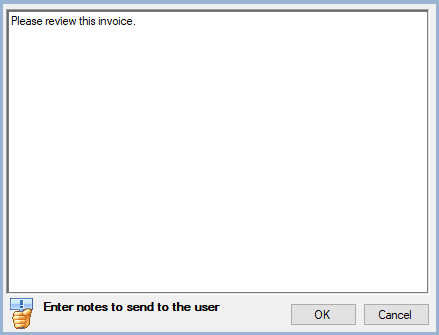
Enter comments for the user, then click OK. Comments are optional.

-
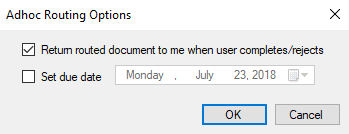
Select options in the Adhoc Routing Options dialog box, then click OK.

Return routed document to me when user completes/rejects: Assigns the document back to you after the adhoc user has worked on it.
Set due date: Enforces the specified due date.
- Click OK to acknowledge the confirmation message.
The user that you routed the document to can view the routed document on the Assignments page.