Once a checkbox control has been added to a form, you can configure it using the options on the Properties tab.
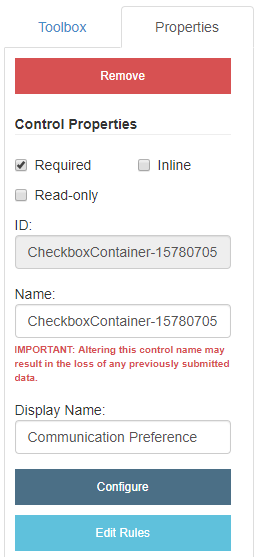
Required: Makes the checkbox field mandatory.
Inline: Displays check box selections inline.
ID: The checkbox control ID. The ID is automatically assigned when a checkbox control is added to a form. The value of this field cannot be edited.
Name: A name for the checkbox control. This name is used to identify the checkbox control in other forms.
Display Name: A name that will be displayed for the checkbox control in other areas of FileBound. Currently, the Display Name field is only used in Forms Reports.
Configure: Opens the Edit Checkbox window where you can configure the checkbox control.
Edit Rules: Opens the Edit Rules window where you can configure conditional rules for the control. See Conditional rules for more information.
Configure a checkbox control
-
Under the Properties tab, click Configure.
-
Type a name for the checkbox field option, and then click Add or select an option from the Pre-Populated Lists drop-down menu to add an item from the pre-populated list. The following options are available:
- Age Ranges
- Education
- Gender
- Income
- Months
- US States
- Week Days
- Years
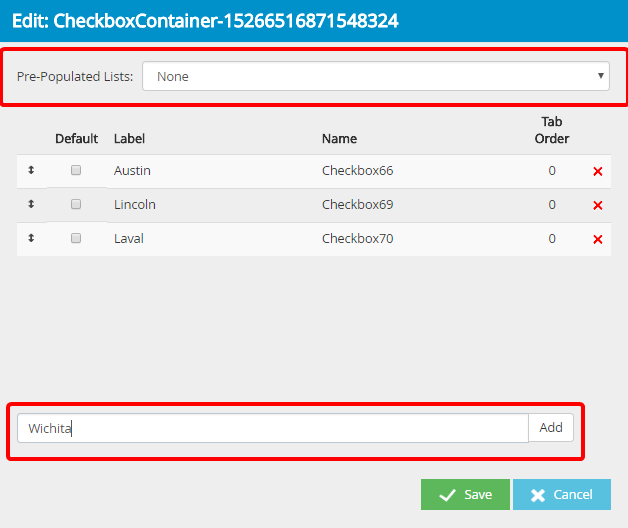
- Repeat Step 4 to add the required number of checkbox field options.
-
Select the Default check box next to a label to make it the default option.

-
Rearrange the checkbox field options to display them in a specific order. Click the double-headed arrow next to a choice and hold the mouse button. Move the selection up or down in the list and release the mouse button at the location you want to place the choice.
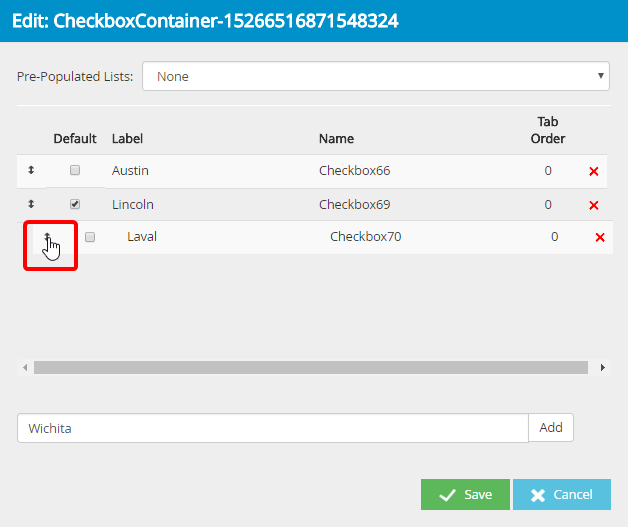
- Click Save.
Menu