Add a new success page
A Success Page is a separate page that can be displayed, after a successful submission of a form, when submitting the form from the Forms Portal or Forms menu.
1. On the Navigation menu, click
2. Click Edit next to the project you want to add a new success page for.
3. Select Forms from the Configuration list.
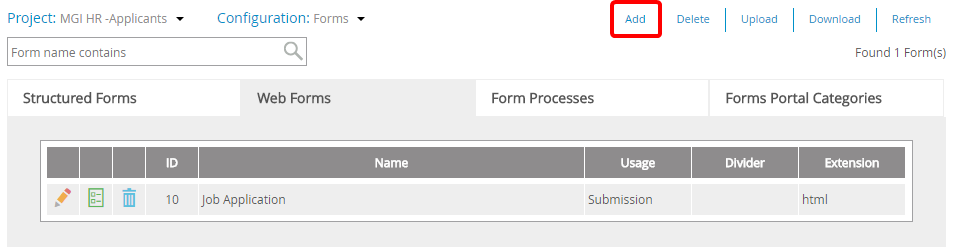
4. Click the Web Forms tab.
5. Click Add.
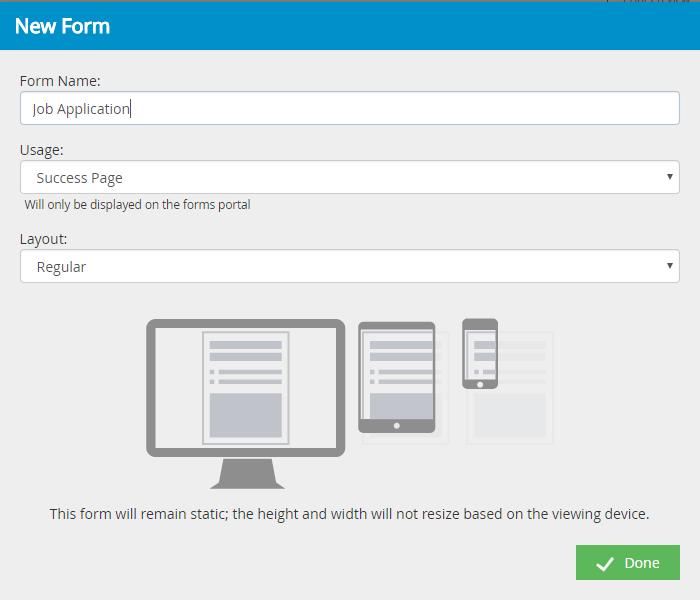
6. In the New Form dialog box, type the name of the form in the Form Name box.
7. Select Success Page in the Usage list.
8. Select an option in the Layout list. The following options are available:
- Regular: Prevents a form from resizing its height and width based on the screen size of the viewing devices.
- Responsive: Allows a form to resize its height and width based on the screen size of the viewing devices.
9. Click Done.
10. Design the success page, then click Save to save the web form.
Menu