-
To access stencil properties, in the Diagram pane of the Workflow Designer, perform one of the following:
- Double-click a Switch stencil.
- Right-click a Switch stencil and select Properties.
- Select a Switch stencil and press the F4 keyboard shortcut.
- Type a description for the stencil within the Description box.
-
Click Configure in the Value box to configure a value for the switch.
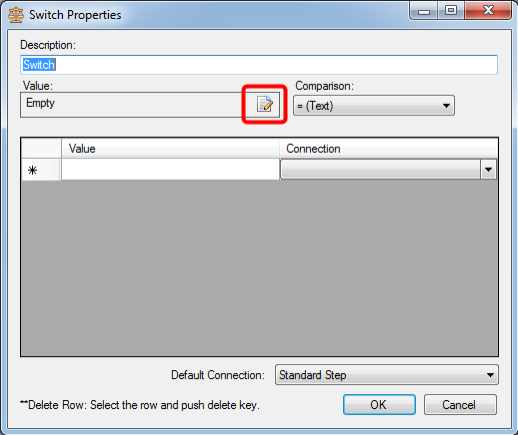
- In the Configure Value dialog box, select and configure a value term, then click OK. See Stencil value terms for more information.
-
Select an operator from the Comparison list.
Note: The options available in the list depends on the value specified in above step.
-
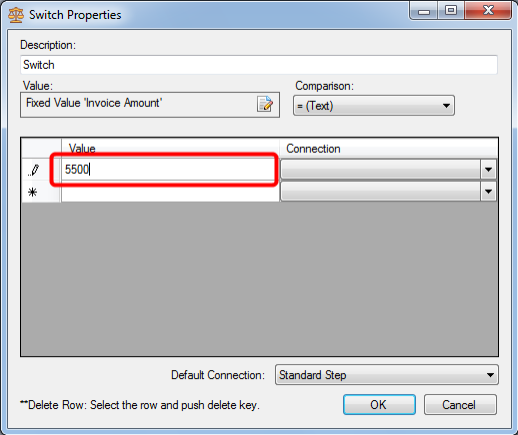
Specify a value for comparison in the Value column.
-
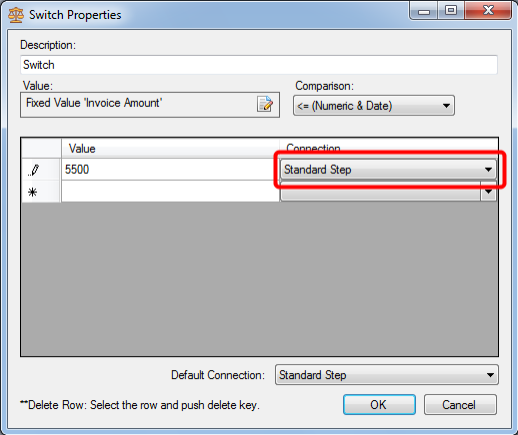
Select a connection to which the document should be moved to from the Connection list.
For example, in the image below, if the invoice amount is less than or equal to 5500, the document will me moved on to the Standard Step. Similarly, you can specify multiple conditions to determine the step a document will be moved on to.
- Select a step from the Default Connection list, to specify that step as a default step.
- Click OK.
Menu