In FileBound, you can add content in multiple ways. One of these methods is to scan documents directly into FileBound. You can scan documents with or without the dialog box that allows you to modify scanner settings.
Scan With Dialog
Scanning with dialog allows you to configure scanner settings prior to scanning documents.
- Place the document(s) you want to scan in your scanner.
- On the Navigation menu, click Add Content, then click Scan Documents.
-
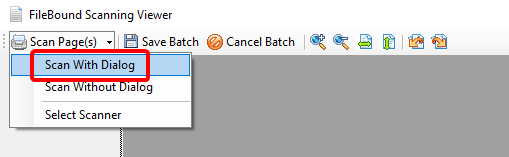
In the FileBound Scanning Viewer window, select the Scan With Dialog option from the Scan Page(s) menu.
- Make required changes to the scanner settings in the scanner settings dialog.
- Click OK to scan pages.
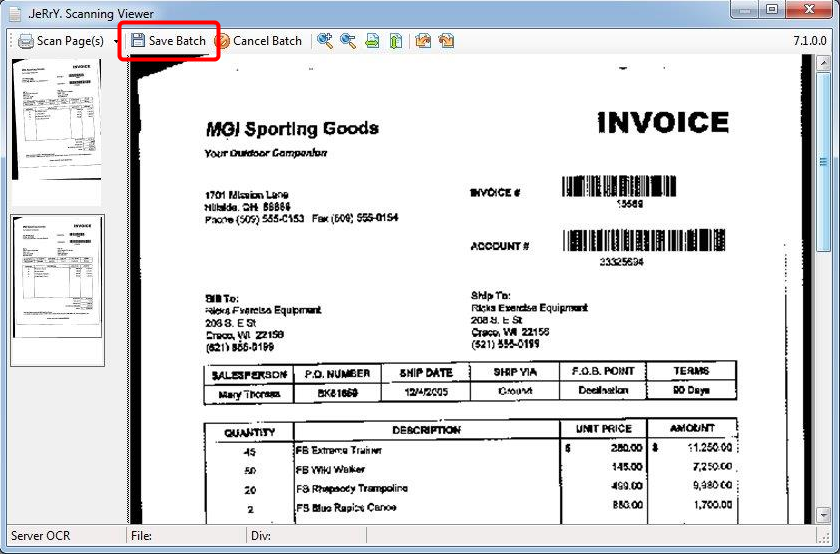
- Click Save Batch.
Scan Without Dialog
When you scan without dialog, pages will be scanned using the existing scanner settings.
- Place the document(s) you want to scan in your scanner.
- On the Navigation menu, click Add Content, then click Scan Documents.
-
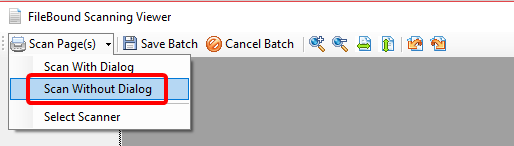
Select the Scan Without Dialog option from the Scan Page(s) menu and the scanner will start scanning pages.
-
Click Save Batch.
Menu