Getting Started
InGenius combines your telephony system with your CRM to help drive sales, marketing, and customer service success.
Note: The User's guide is not currently applicable to InGenius for SCV.
The Getting Started section provides an introduction to the InGenius user interface.
Topics in this section include:
- User Interface Overview
- Unified Status
- Open InGenius in Now Platform User Interface
- Open InGenius in Agent Workspace
- Sign In to InGenius
- Pop-out (Salesforce)
- Remember Me
- Change to a Ready State
- Change to a Not Ready State
- Log Out
- Disconnect
- Genesys Cloud Audio Enablement Popout
User Interface Overview
The following image provides an overview of the InGenius user interface. Hover over each part of the interface to learn more and click to navigate to the relevant documentation section.

Additionally, while on a call, call controls are displayed as depicted in the following image:

Note: Layout and features may differ depending on your CRM and telephony provider.
Unified Status
If this feature and Advanced Work Assignment (AWA) are enabled for your environment, you will find a single status dropdown and display rather than separate ones for your telephony and AWA.

Changing your status through the Service Now dropdown will sync with the one in your call interface.

Sign In to InGenius
To sign in to InGenius, locate the application in your CRM:
- Navigate to the InGenius button in the bottom-left corner of the Salesforce window.
- Navigate to the right-hand side of the Microsoft Dynamics window.
- Click to open InGenius.
- Next, select the Connect button.
- Enter your telephony login credentials via the popup window and select Login.

Next, depending on your telephony system, InGenius prompts you to fill in your login credentials. Once you have typed in the correct credentials:
- Select the Connect button.
- You will sign in to InGenius.
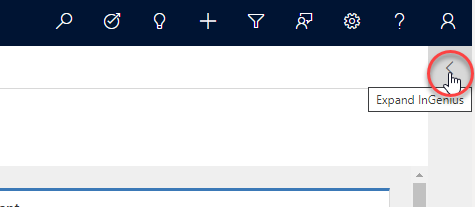
Pop-Out
The pop-out feature allows you to "pop-out" the InGenius UI in the CRM and move the application window around. Select the pop-out icon to perform this action.
Remember Me
The Remember Me feature allows InGenius to remember your login credentials and automatically log you in to InGenius on a specific computer and browser.
Note: If InGenius requires you to log in with a password, the Remember Me feature may be unavailable.
To enable Remember Me:
- Open InGenius in your CRM.
- Ensure you are logged out of InGenius.
- Type in your login credentials.
- Click the Remember me on this computer checkbox (ensure it is checked).
- Click Connect. You are now automatically logged in to InGenius when using this computer and browser.
Change to a Ready State 
You can change to a Ready state to accept inbound calls.
- From the agent dropdown menu, select Ready to receive inbound calls.
- Inbound calls appear and can be answered with the handset or Answer button.
Change to a Not Ready State 
You can change to a Not Ready state to stop receiving inbound queue calls. You can still receive direct calls in a Not Ready state.
Note: You can also set a reason code if required. Reason codes are configured and made available by the telephony administrator.
To change to a Not Ready state:
- From the agent dropdown menu, select Not Ready.
- You will not receive inbound queue calls while in a Not Ready state.
Log Out
You can log out of the phone system and terminate the session from the agent panel located at the top of the InGenius UI.
- Select the arrow from the agent panel to display the states.
- Select Log Out.
Note: This feature is unavailable if your administrator has enabled automatic login for users with one
Note: Reason codes are only displayed if you are required to use reason codes to log out. Contact your administrator for more information.
Disconnect
You must disconnect from your telephony system by using the InGenius UI.
To disconnect from your telephony:
- Select the Settings
 icon to open the settings menu.
 - Select the Connectivity tab.
- Click Disconnect Now.
Note: This feature is unavailable if your administrator has enabled automatic login for users with one device assignment.
Note: If you log out of your CRM or close the Genesys Cloud popup without disconnecting from InGenius, Genesys Cloud remains connected. Please ensure to disconnect following the procedure above to properly disconnect from Genesys Cloud.
Genesys Cloud Audio Enablement Popout
To interface with your telephony from within your CRM, InGenius provides an Audio Enablement Popout for Genesys Cloud. Log into the popout when prompted with your Genesys Cloud user credentials.
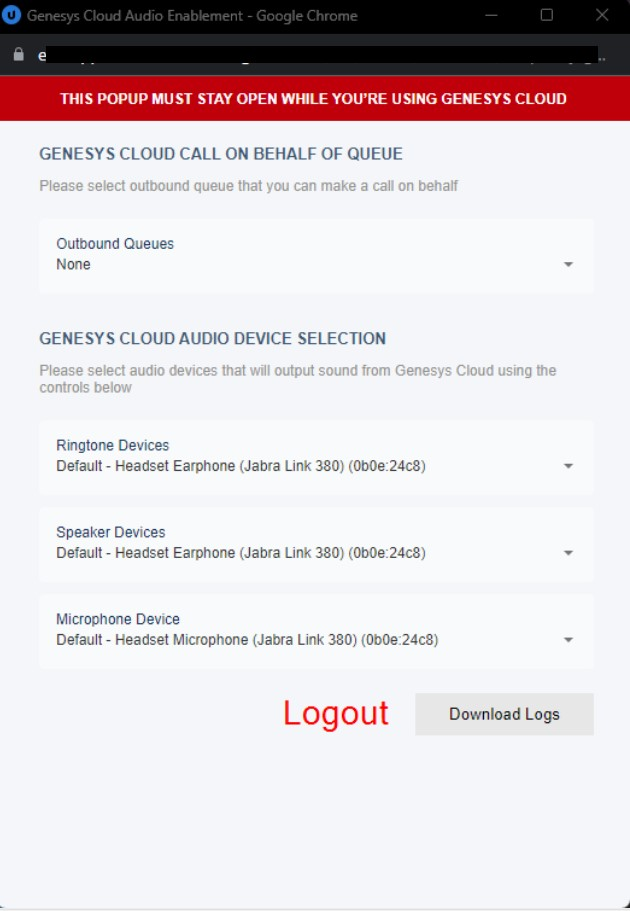
The popout interface allows:
-
Selection of current Outbound Queue for calling on behalf of queue.
-
Audio Device Selection - select the dropdown arrows to set a default device for call notification, and audio input/output.
-
Downloading Genesys Cloud User Logs for troubleshooting and support tickets.