Mobile Capture
You can access Mobile Capture by logging in at https://uplandcapture.com/mobile. Mobile Capture is supported on both iOS and Android devices.
When you access Mobile Capture, you will be prompted to save an Intelligent Capture home screen shortcut for quick access.
From Mobile Capture, you can:
Capture and edit a document
When you open the mobile version of Intelligent Capture for the first time, it will ask you for access to the camera on your device. Click Allow. It will then begin searching for a document to capture.
Mobile capture is currently only supported in portrait orientation.
-
Hover over your document, then click Capture Page. The edges of your document will automatically be detected.
Tip: Click the rotating arrow icon
 to switch between the back cameras on your device in order to capture the best possible image.
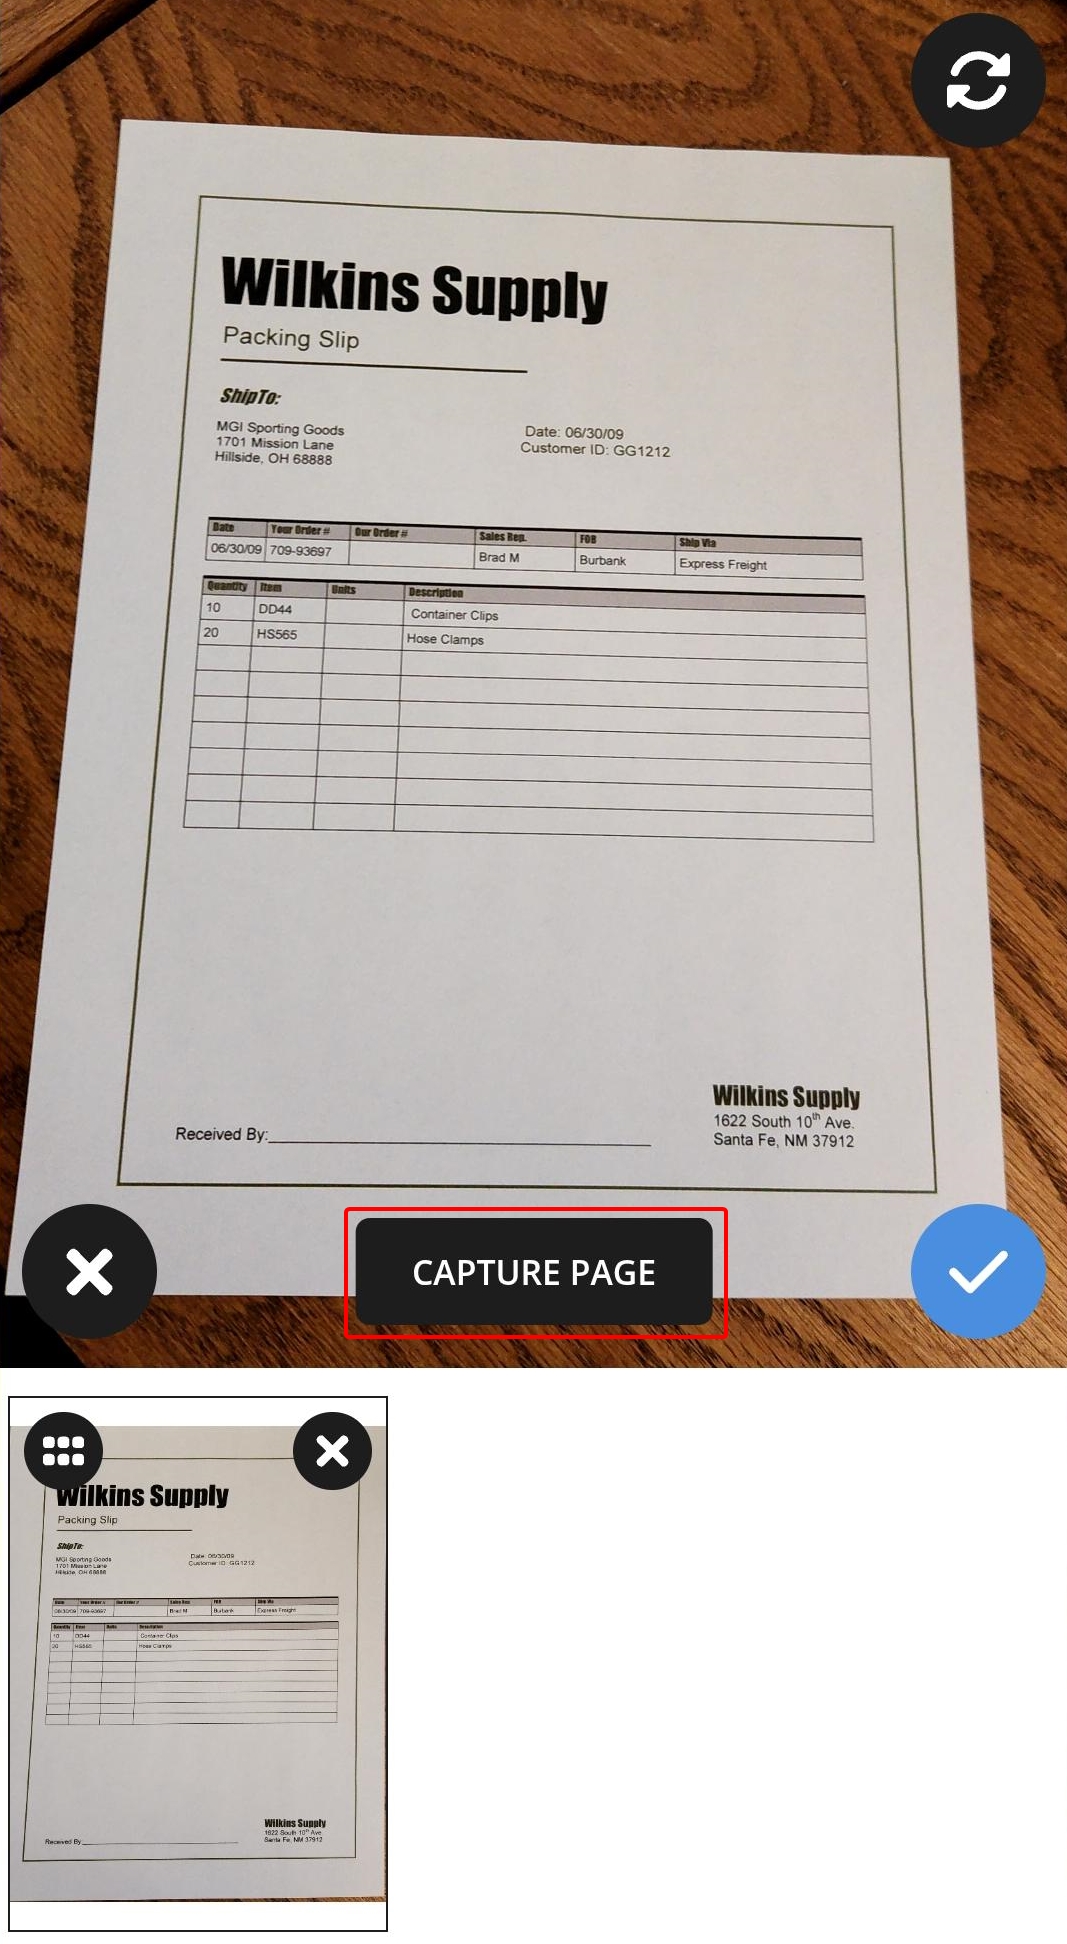
-
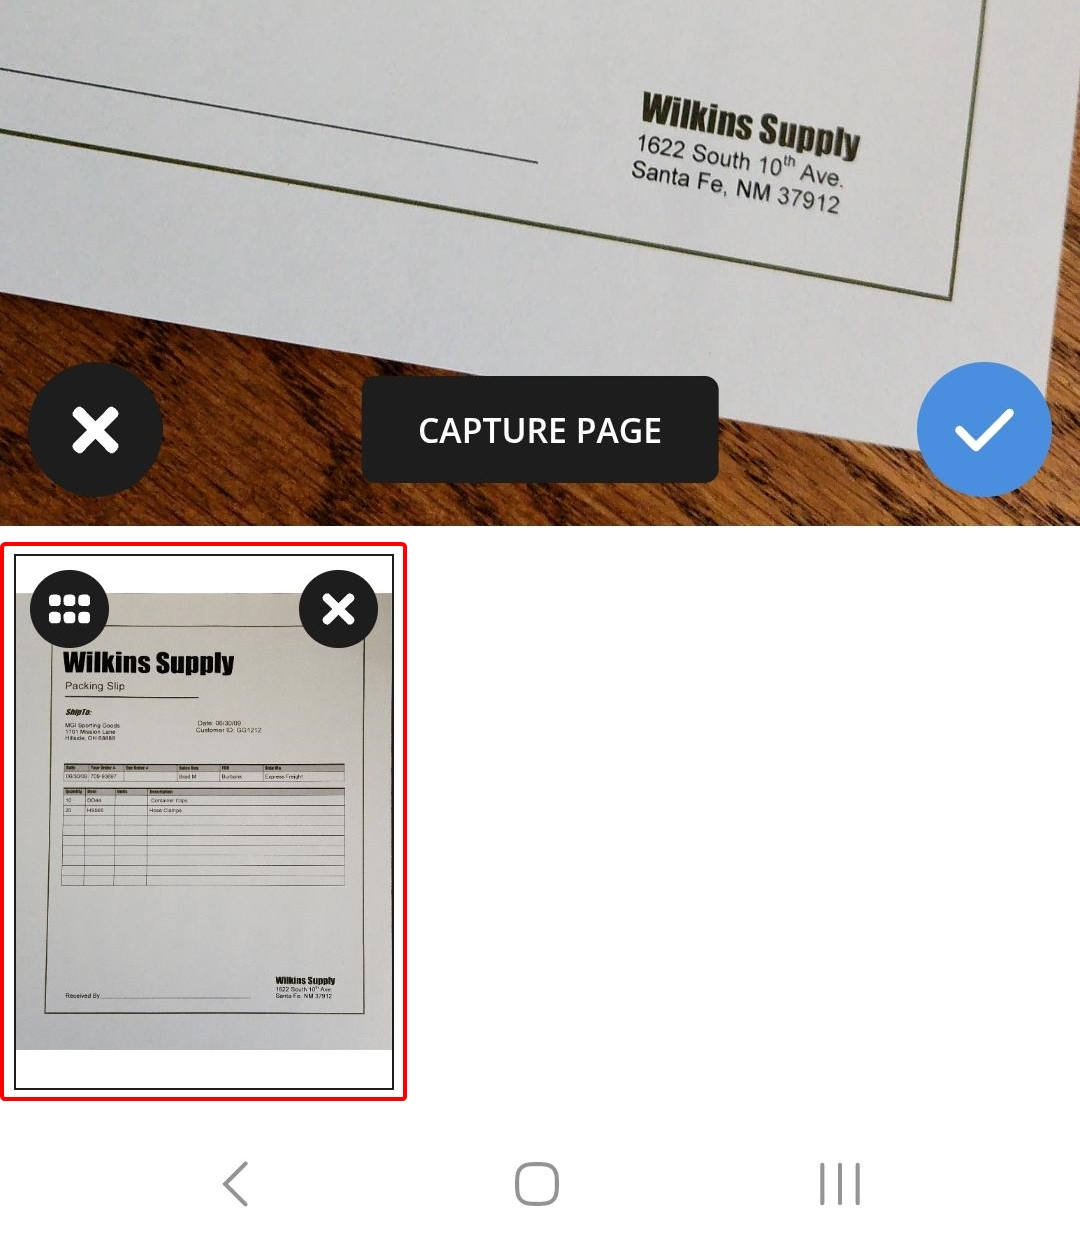
Once a document has been captured, you can rotate or crop it. Click the thumbnail of the page you want to edit.
-
Click Rotate to rotate the document at 90 degree intervals, or click Crop to crop the document.
-
Click Done when you are finished editing the document, or click Cancel to discard the edits.

-
Repeat Steps 1-4 to add additional pages to the document. Each page will appear as a separate thumbnail.
-
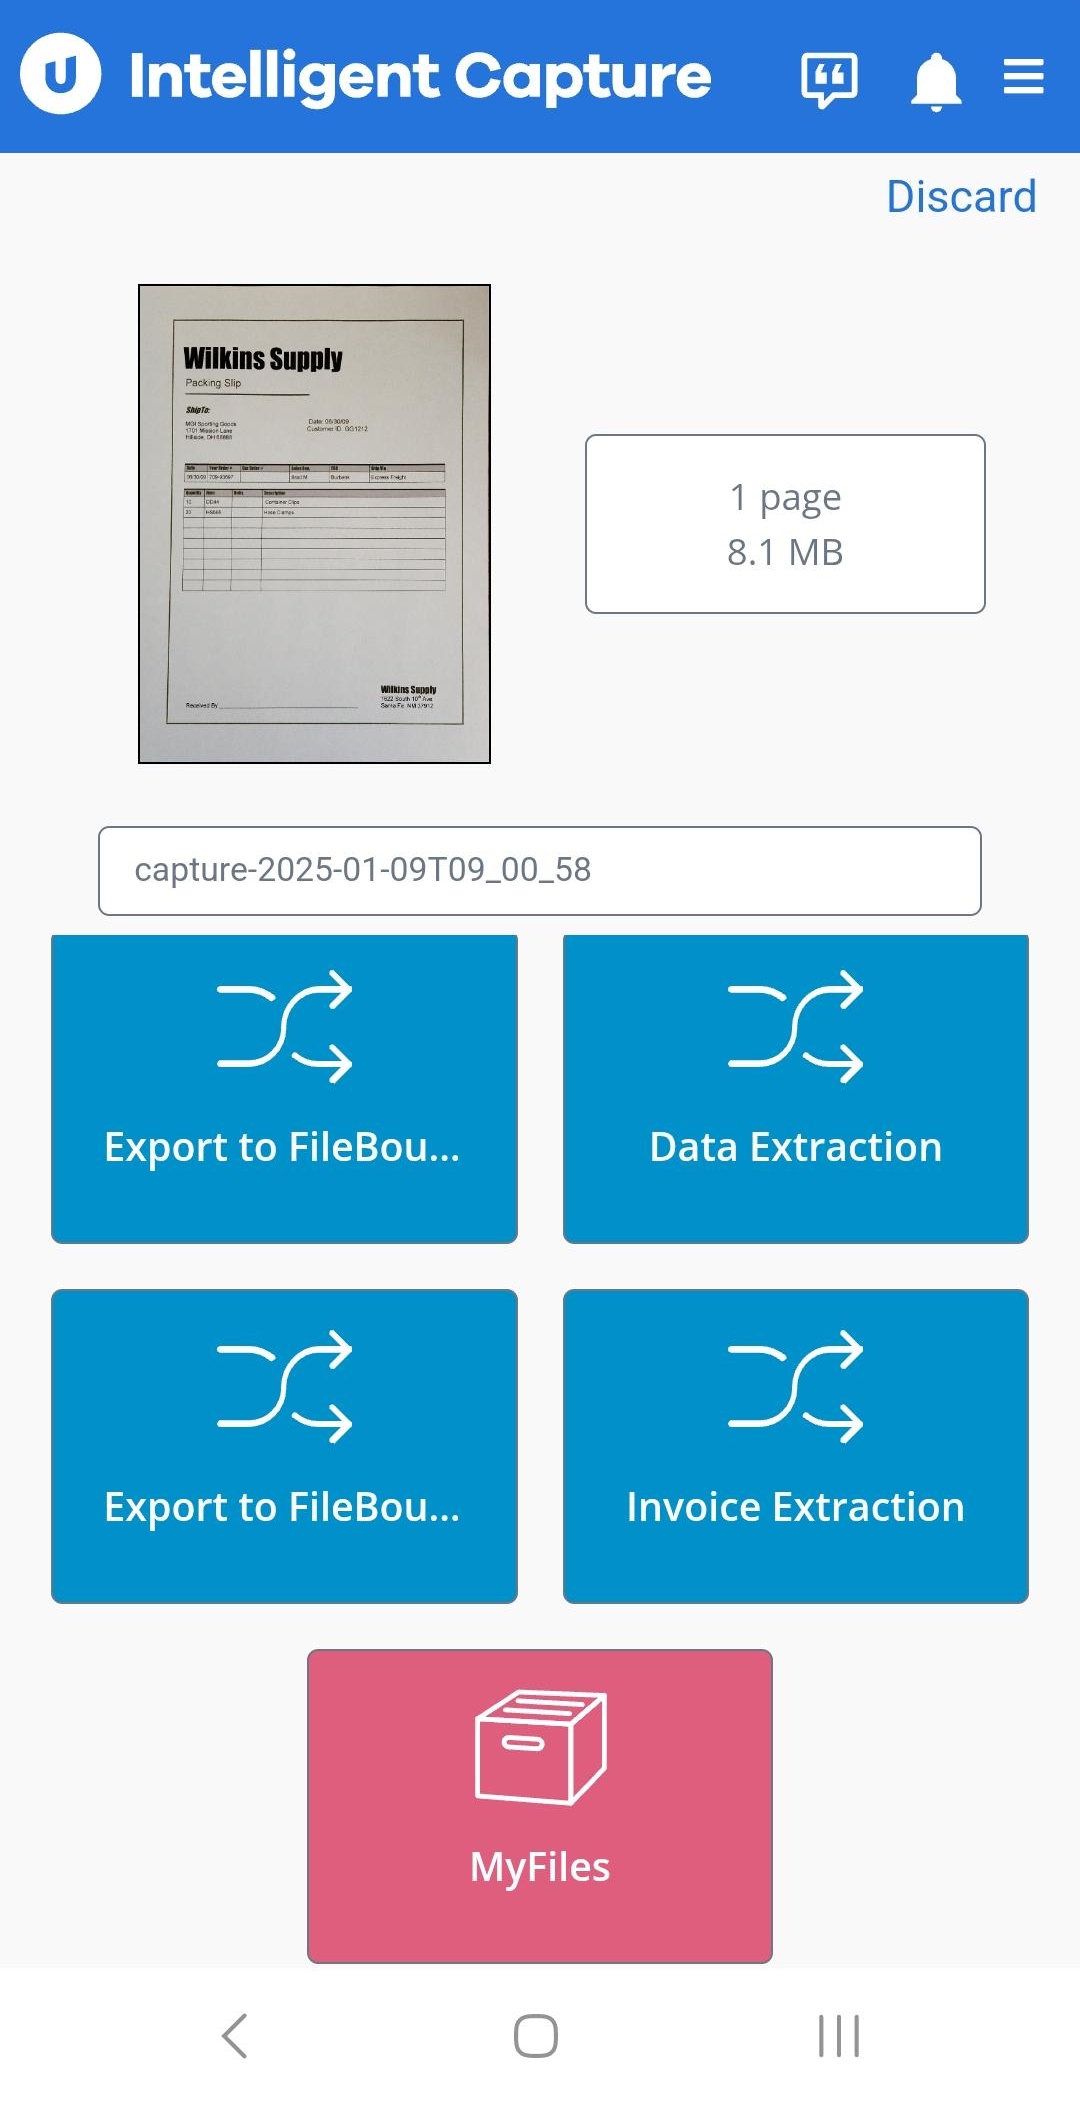
When all pages have been captured, click the blue arrow
 to select the document destination.
Select a document destination
Once a document has been captured and edited as necessary, it can be submitted to a workflow route, sent to your MyFiles, or faxed.
-
Perform one of the following:
- Click the workflow route you want to send the document to.
- Or, click MyFiles to send the document to your personal MyFiles.
- Or, click Fax to send the document as a fax.
-
View confirmation message.
Index documents
If data fields have been selected on the Prompts tab when configuring the Start stencil for a workflow, the fields will appear in Mobile Capture for document indexing. See Start stencil for more information.