Decision stencil
The Decision stencil is used to provide branching of a step based on one or more conditions.
Example: If an invoice total is over $80,000, you may want to route the document to a manager for QC rather than a basic user.

Available connections
There are three outgoing connections from a Decision stencil:
- True: The expression configured for the decision is true.
- False: The expression configured for the decision is false.
- Failed: An unexpected error occurred preventing the decision from returning a true/false value.
Configuration
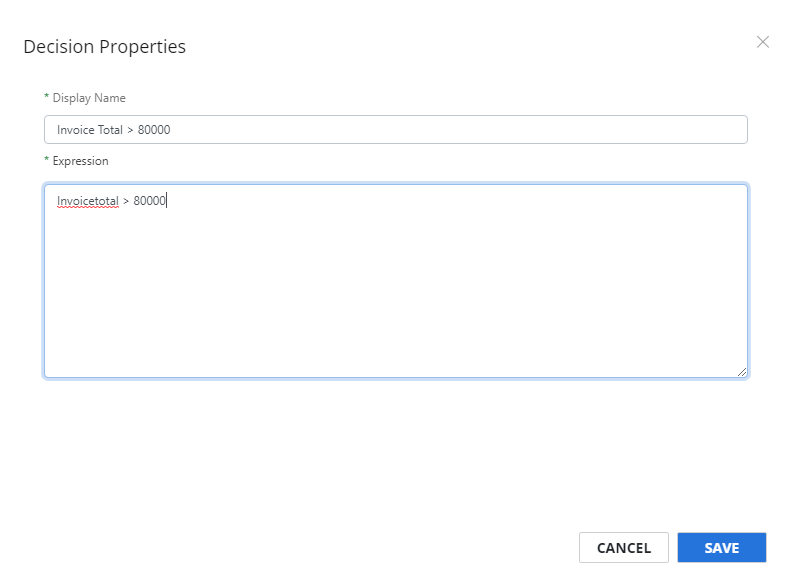
- To access stencil properties, double-click a Decision stencil. Or, right-click a Decision stencil and select Properties.
- In the Display Name box, enter a name that will be displayed for the workflow step.
-
In the Expression box, enter a true/false expression for the decision using a Data Field Name. The following operators are allowed for text and numeric data: <, >, <=, >=, <>, and =.
Note: All text comparisons are case sensitive. For example, if your expression is VendorName = Pinnacle, the vendor must be “Pinnacle”. If you don’t want it to be case sensitive, you can use: VendorName.LowerCased() = "pinnacle".
- Click Save.