Rename Document stencil
The Rename Document stencil is used to change the name of a document via the workflow.

Available connections
There are two outgoing connections from a Rename Document stencil: green if the document was renamed successfully and red if the document renaming failed.
Configuration
- To access stencil properties, double-click a Rename Document stencil. Or, right-click a Rename Document stencil and select Properties.
-
Select the type of document renaming you want to perform during the workflow step. The following options are available:
-
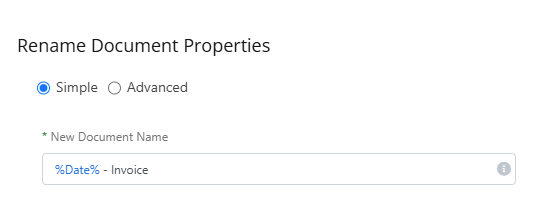
Simple: Enter a new name for the document in the New Document Name box. This field supports data field substitution.
- Advanced: Allows you to specify formatting rules for the document name. See Add formatting to a document name below.
-
- Click Save.
Add formatting to a document name
You can specify formatting rules for document names. If the configured conditions are true when a document is processed through the stencil, then the formatting is applied. Formatting rules can be used to:
- Change case
- Insert a prefix
- Append a suffix
- Insert characters
- Remove characters
- Replace characters
Add a formatting rule
-
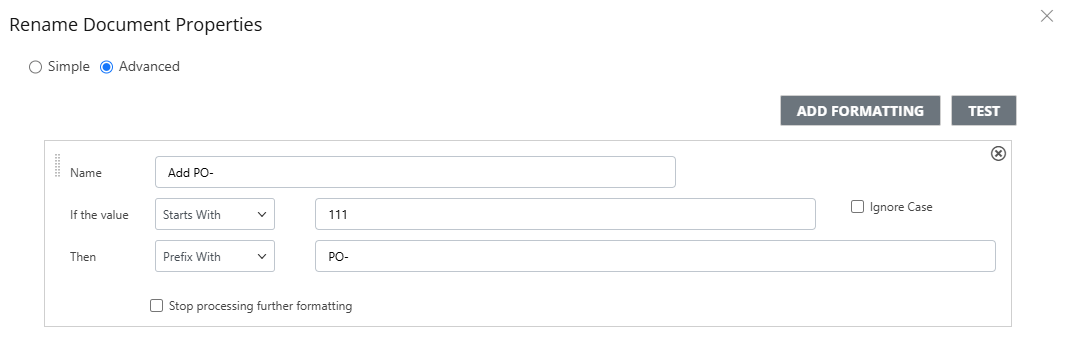
Click Add Formatting.

-
Enter a name for the formatting rule in the Name box.
-
Select an option from the If the value drop-down box. The following options are available:
- Starts With: The document name starts with the characters entered in the box.
- Ends With: The document name ends with the characters entered in the box.
- Contains: The document name contains the characters entered in the box.
- Matches Regex: The document name matches the Regex entered in the box.
- Length: The document name is a particular length of characters. Select an operator from the drop-down menu, then enter a character length in the box.
-
Select the Ignore Case check box to ignore the case of document names.
-
Select an option from the Then drop-down box. These will be applied to the document name when the If the value condition above is met. The following options are available:
-
Change Case To: Changes the case to either uppercase or lowercase.
-
Prefix With: Adds text to the beginning of the document name.
-
Suffix With: Adds text to the end of the document name.
-
Insert: Inserts text within the document name. Specify where text should be entered in the At position box. Specify a length in the Until the length box. The text will be repeated in the position until the length is met.
-
Remove: Removes the specified number of characters. Specify where characters should be removed in the At position box. Specify a length in the Until the length box. Characters will be removed from the position until the length is met.
-
Replace: Replaces part of the document name with new text. Specify the text you want to replace in the box, then enter the new text in the With box.
-
- Select Stop processing further formatting to stop processing subsequent formatting rules once a rule has been applied.
- Click Add Formatting to add additional formatting rules if necessary.
Test formatting
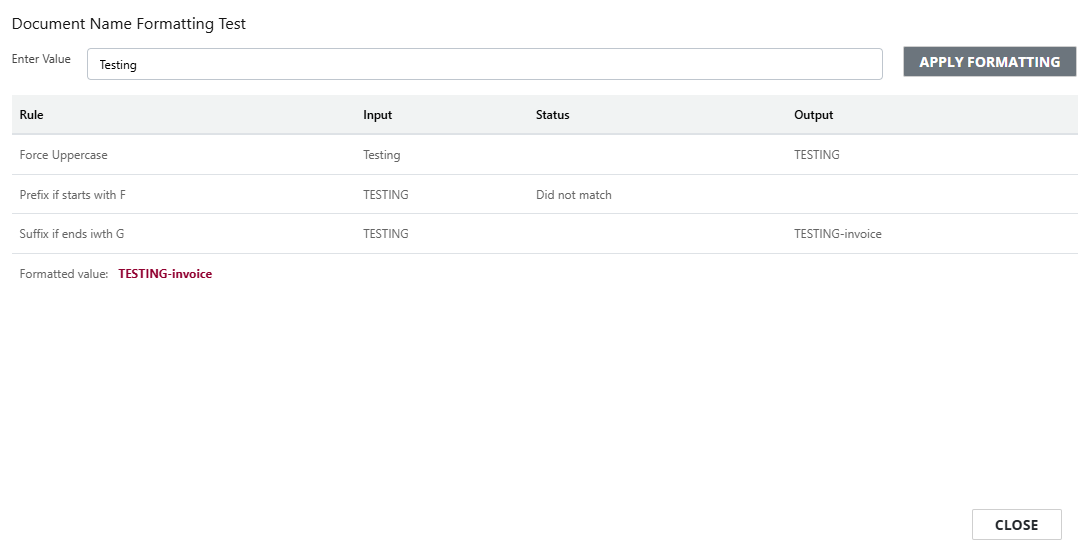
You can see how the current set of formatting rules will be applied to a document name.
- Click Test.
-
Enter a value then click Apply Formatting.
You will be able to view the status and output for each rule and the final formatted value.
-
Click Close to return to the rule configuration.