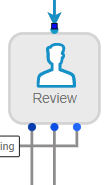
User Action stencil
The User Action stencil is used when a document needs to stop in order for a user to do something with it. Each User Action stencil will appear as a folder in the Document Panel.
Available connections
The outgoing connections from a User Action stencil are configured on the Actions tab of stencil properties. There is no limit to the number of outgoing connections that can be established for a User Action stencil.
Configuration
- To access stencil properties, double-click a User Action stencil. Or, right-click a User Action stencil and select Properties.
- In the Display Name box, enter a name for the stencil. The display name will be the name of the folder representing the workflow step in the Document Panel.
-
Configure the stencil using the following tabs:
 Roles
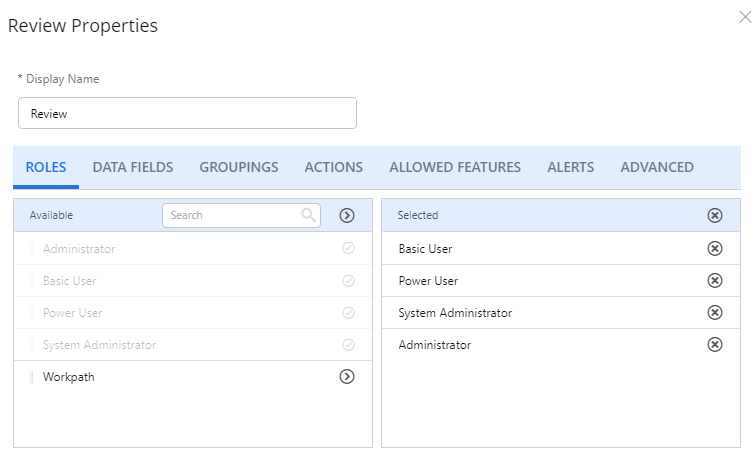
Roles
The roles selected for a workflow step determine which users are able to perform actions on that step. Only users assigned to the selected roles will have access to the workflow step.
-
Click Add next to the role(s) you want to assign to the workflow step. Or, move roles from the Available box to the Selected box using a drag-and-drop operation.
To remove roles from the workflow step, click Remove All or click Remove next to specific roles in the Selected box.
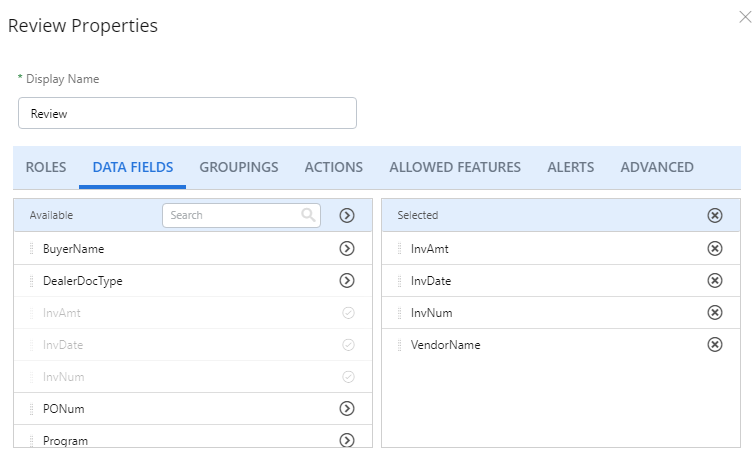
Data Fields
The data fields selected for a workflow step will appear in the Data Fields Panel for document indexing.
-
Click Add next to the data field(s) you want to add to the workflow step. Or, move data fields from the Available box to the Selected box using a drag-and-drop operation.
To remove data fields from the workflow step, click Remove All or click Remove next to specific data fields in the Selected box.
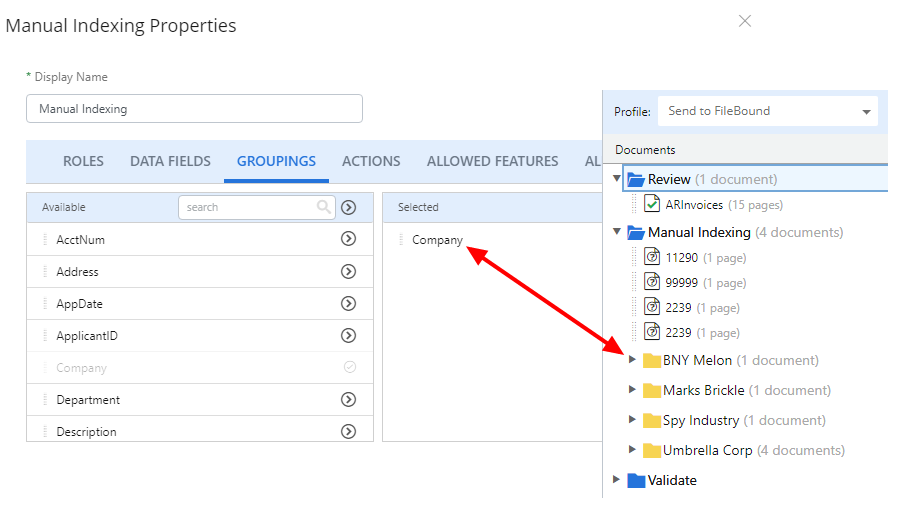
Groupings
Groupings will group documents with a common data field value into a subfolder. There is no limit to the number of groupings you can apply during a workflow step. Subfolders will be created in the order that groupings are selected.
-
Click Add next to the groupings(s) you want to add to the workflow step. Or, move groupings from the Available box to the Selected box using a drag-and-drop operation.
To remove a grouping from the workflow step, click Remove next to the grouping in the Selected box.
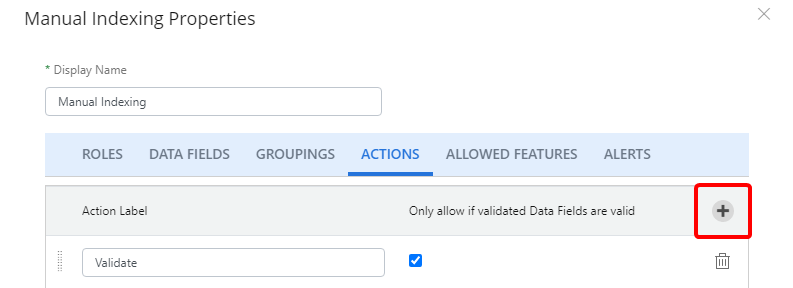
Actions
Actions create the connections between stencils that determine the path a document will take in a workflow process. Actions appear as buttons at the top of a page when you are viewing a document. Each action has a keyboard shortcut associated with it. There is no limit to the number of actions that can be configured for a stencil.
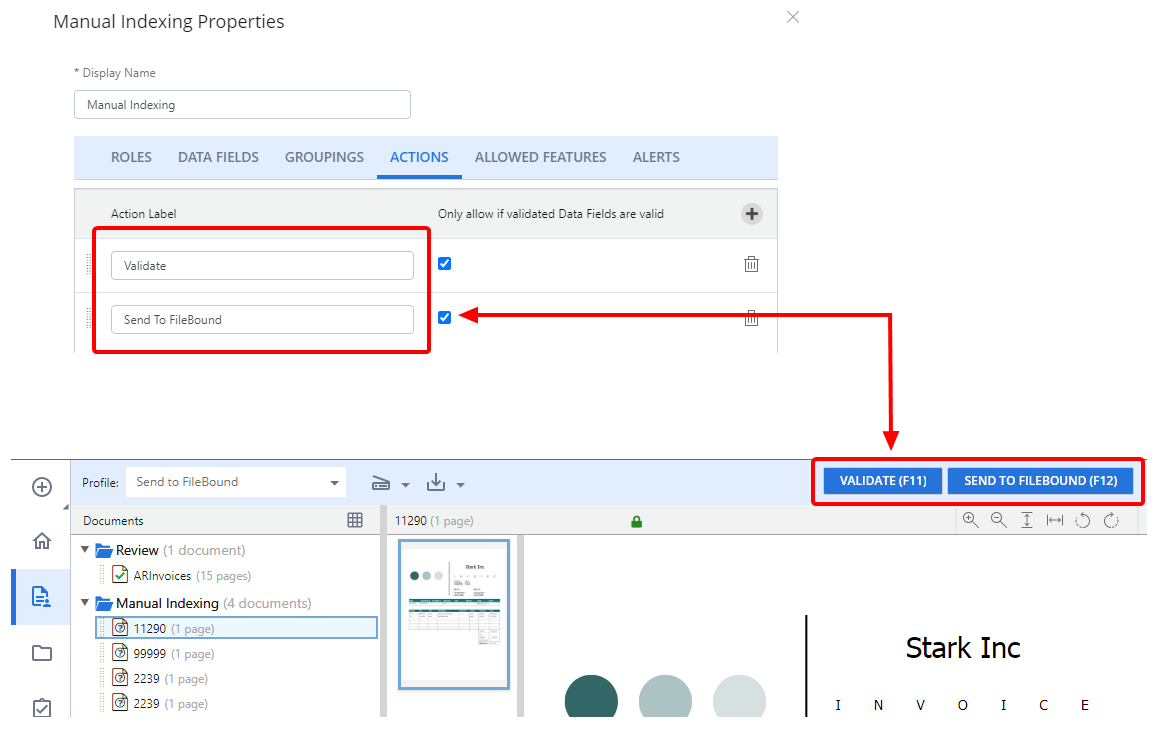
- In the Action Label box, enter a name to describe the document route. The action button will be labeled with this text.
- Select the Only allow if validated Data Fields are valid check box to allow a user to select an action only if data field values meet validation requirements.
-
Click Add Action to configure additional actions if needed.
Click Remove Action to delete an action from the stencil.
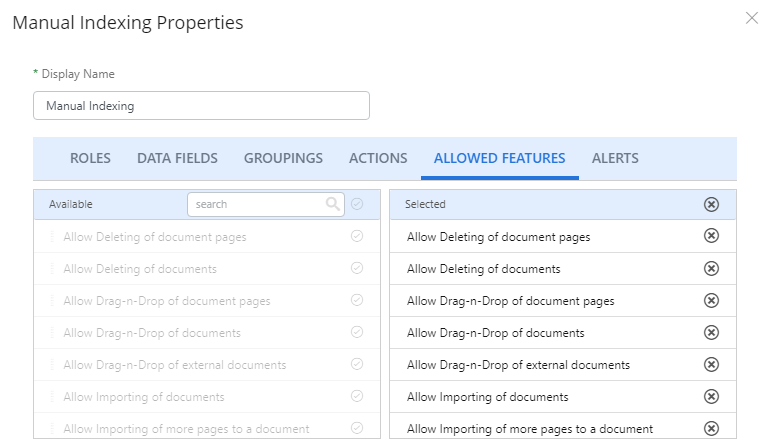
Allowed Features
The allowed features selected for a workflow step determine what document related activities users are able to perform on that step.
-
Click Add next to the feature(s) you want to add to the workflow step. Or, move features from the Available box to the Selected box using a drag-and-drop operation.
To remove a feature from the workflow step, click Remove All or click Remove next to specific features in the Selected box.
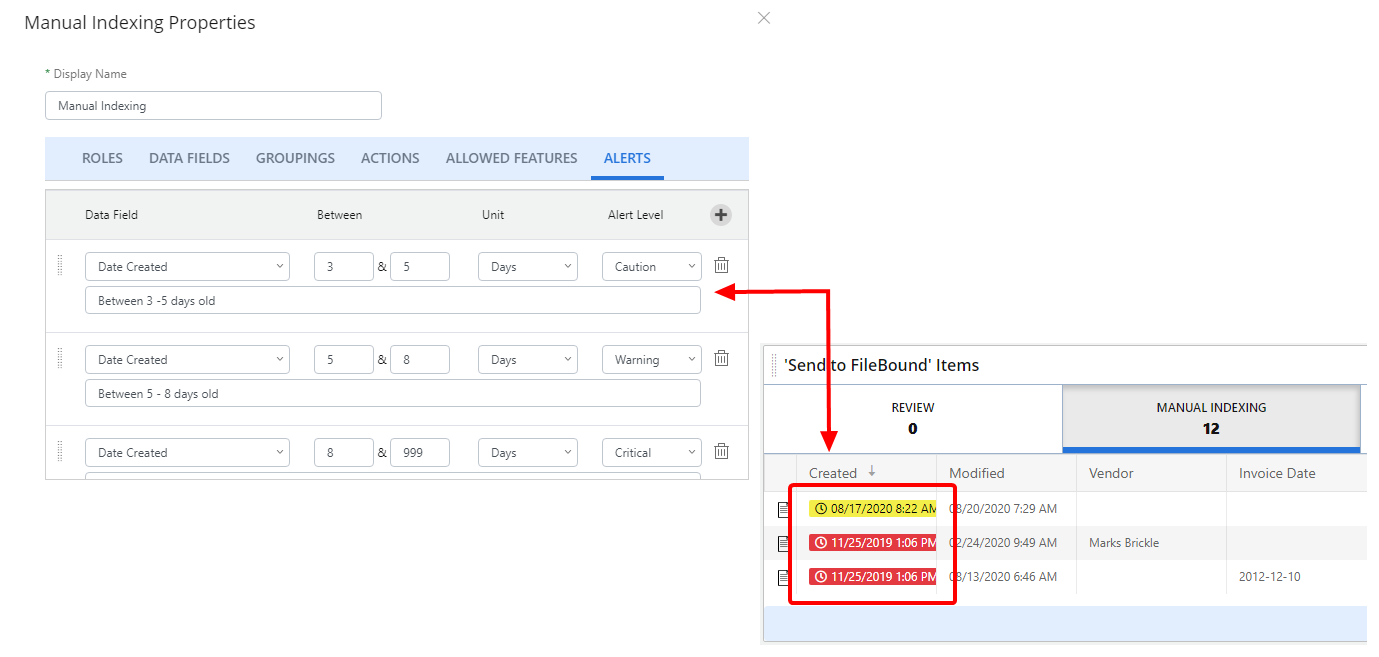
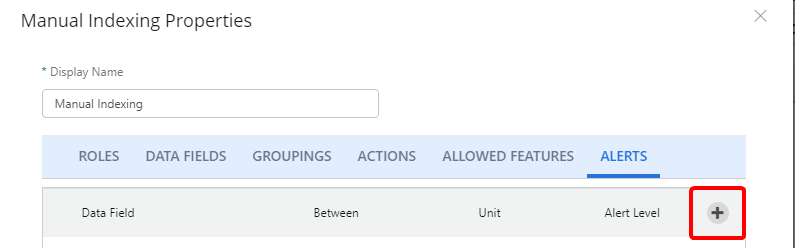
Alerts
Alerts allow you to create thresholds on created and modified dates that will display colors in Work Items and in widgets on the Home Page.
-
Click Add Alert.
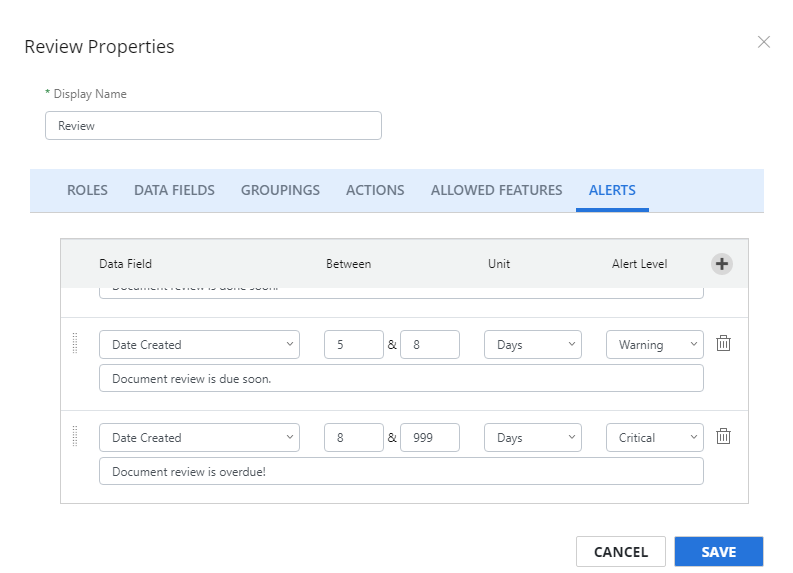
- Select the date that you want to use for the alert from the Data Field drop-down menu.
- Specify a low and high threshold in the Between boxes.
- Select the units to use for threshold calculation from the Unit box. Thresholds can be set in minutes, hours, or days.
-
Select the alert level from the Alert Level drop-down menu. The following options are available:
- Caution: A clock icon will appear next to the date, and the background will be yellow.
- Warning: A clock icon will appear next to the date, and the background will be orange.
- Critical: A clock icon will appear next to the date, and the background will be red.
-
Add an alert tip if necessary. This text will be displayed as the tooltip when a user hovers over an alert.
-
Click Add Alert to configure additional alerts if needed.
Click Remove Alert to delete an alert from the stencil.
Advanced
Options on the advanced tab allow you to further customize the user action step.
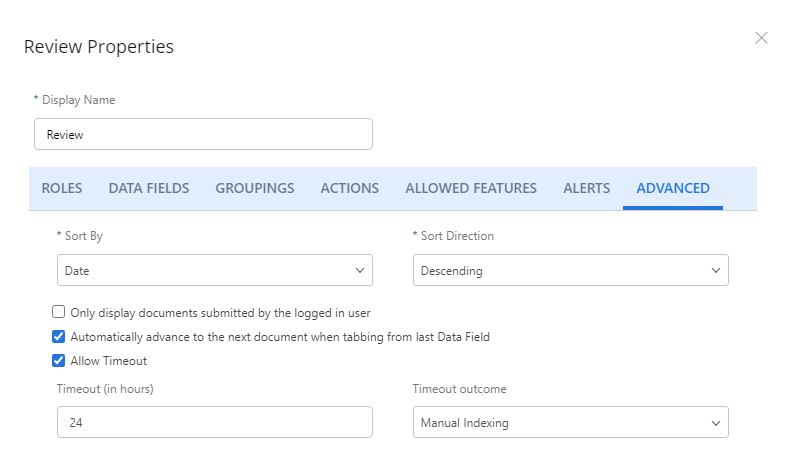
Sort By: Uploaded documents will be sorted by the document property selected here.
Sort Direction:The order that uploaded documents are sorted in, ascending or descending.
Only display documents submitted by the logged in user: If this option is selected, users will only see documents in the workflow step that they have added to Intelligent Capture
Automatically advance to the next document when tabbing from last Data Field: If this option is selected, when a user tabs from the last data field in the Data Fields panel, the next document will display. Otherwise, tabbing will advance to the next tab stop element.
Allow Timeout: If this option is selected, a timeout period will be enabled for the workflow step.
Timeout (in hours): The number of hours that a document can stay in the workflow step. After this, documents will move to the step selected in Timeout outcome.
Timeout outcome: The workflow step that documents will move to after exceeding the specified timeout period.
Training
When you have a Learned Automation stencil prior to your User Action stencil, you will see this tab. "Training" refers to the user interactions you are feeding back to the Learned Automation models. The training will be added to the model once the document leaves the step.
Note: This tab will not be available when the Lock training (no further training updates will be made to this model) check box is selected on the Learned Automation stencil prior to your User Action stencil.
-
Click Enable to enable training. When a user completes the step, their input will be contributed to the model.
Tip: You may want one user action stencil to "train" the model, and others that do not. Disable the training for those to stop feeding user interactions back into the model.
- Select the learned automation step you want to tie the training back to from the Learned Automation Step drop-down menu.
-
Click Add (>) next to the data field(s) you want to include when providing feedback to the model. Or, move data fields from the Available box to the Selected box using a drag-and-drop operation.
To remove a data field from training, click Remove (X) next to the data field in the Selected box.
-
Click Add Alert to configure additional alerts if needed.
Click Remove Alert to delete an alert from the stencil.
-
- Click Save.