Email stencil
The Email export stencil will send routed documents to a specific email address. The email address, subject, and body are configured on the stencil and the documents are sent as attachments.
Available connections
There are two outgoing connections from an Email stencil: green if the email was successful and red if the email failed.
Configuration
-
To access stencil properties, double-click an Email stencil. Or, right-click an Email stencil and select Properties.
-
Configure the stencil, then click Save.
General tab
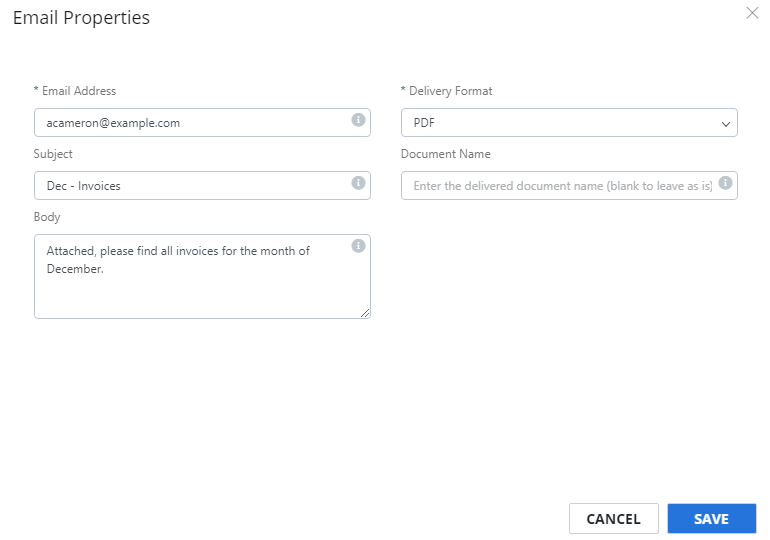
Email Address: The email address documents will be sent to. This field supports data field substitution.
Subject: The text that will be used as the subject of the email. This field supports data field substitution.
Body: The text that will be used as the body of the email. This field supports data field substitution.
Include Document: Select this check box to attach the document to the email.
Delivery Format: The format documents will be converted to when being sent. The following options are available:
- DOC (OCR Text): The OCR engine extracts the text from the document and puts it in Microsoft Word .doc file format.
- DOCX (OCR Text): The OCR engine extracts the text from the document and puts it in Microsoft Word .docx file format.
- JPG (Image, Single Page): An image in JPG file format. A multi-page source will be broken into individual single page JPGs.
- PDF: A PDF document that is not text-searchable.
- PDF (Image+OCR Text): A PDF document that is text-searchable. The original look of the document will stay the same. The first layer of the PDF is an image maintaining the fidelity of the document, and the text is applied as a second layer.
- PDF (Text Only): A PDF document with no image layer. The OCR engine extracts the text from the document and puts it as the first layer of the PDF document. OCR imperfections can be seen when converting to this format type.
- PDF/A: A PDF/A document that is not text-searchable.
- PDF/A (Image+OCR Text): A PDF/A document that is text-searchable. The original look of the document will stay the same. The first layer of the PDF/A is an image maintaining the fidelity of the document, and the text is applied as a second layer.
- PDF/A (OCR Text): A PDF/A document with no image layer. The OCR engine extracts the text from the document and puts it as the first layer of the PDF/A document. OCR imperfections can be seen when converting to this format type.
- RTF (OCR Text): The OCR engine extracts the text from the document and puts it in RTF file format.
- TIFF: An image in TIFF file format.
- TIFF (Image, Single Page): An image in TIFF file format. A multi-page source will be broken into individual single page TIFFs.
- TXT (OCR Text): The OCR engine extracts the text from the document and puts it in TXT file format.
- XLS (OCR Text): The OCR engine extracts the text from the document and puts it in Microsoft Excel .xls file format.
- XLSX (OCR Text): The OCR engine extracts the text from the document and puts it in Microsoft Excel .xlsx file format.
Document Name: The name of the document that is attached to the email. If left blank, the original document name will be used. This field supports data field substitution.
Export Data Fields tab
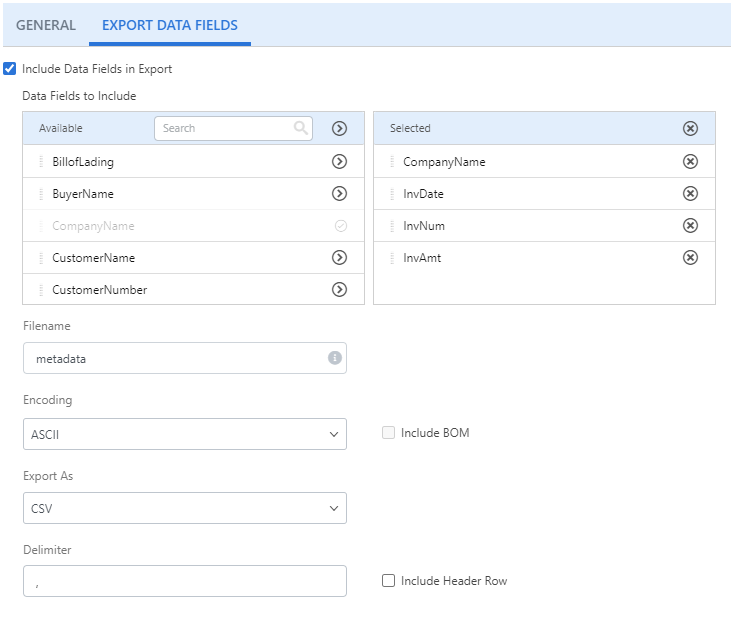
Include Data Fields in Export: Select this check box to export data fields associated with the document.
Data Fields to Include: Click Add (>) next to the data field(s) you want to include in the export. Or, move data fields from the Available box to the Selected box using a drag-and-drop operation. To remove a data field, click Remove (X) next to the data field in the Selected box.
Note: Line item type data fields are not supported when exporting in CSV format.
Filename: The name for the exported file. This field supports data field substitution.
Encoding: The type of encoding to use. Content can be encoded using the ASCII, UTF8, UTF16, or UTF32 character encoding schemes.
Include BOM: Select this check box to include the byte order mark.
Export As: The format for the export. Data can be exported in CSV, JSON, or XML format.
Delimiter: For CSV export, specify the character to use for the delimiter.
Include Header Row: For CSV export, select this check box to include a header row.
Apply XLT: For XML export format, select this check box to upload an XML transformation file (.xslt) to apply to the document. Click Choose File to select the .xslt file.