Managing and Editing Matrix Charts
From within a canvas plan, you can quickly perform the following tasks by clicking the relevant icon on a chart's tile.
![]()
-
View the chart (view mode).
-
Edit a matrix chart - opens the matrix chart in edit mode, where you can add columns and rows, configure settings, apply the chart to specific initiatives, and create initiatives or content that are added to the chart.
-
See who has access to the chart, and copy the link or embed code of the chart.
These options, along with deleting the chart, are also available when you are viewing a chart (as highlighted below).

Edit a matrix chart
Rename the chart
-
Rename the chart by clicking the into the title text field (shown below) and typing the new name.

-
Click the Save button to save the new board name.
-
Update the chart settings.
-
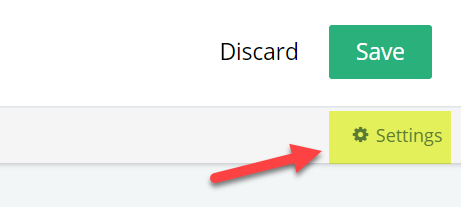
Click the Settings button to begin.
Adding columns and rows
Under Rows and Columns in the Settings panel, you can customize your matrix chart's columns and rows.
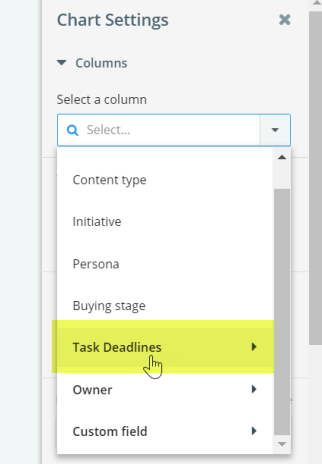
Select from the available options for your columns and rows, such as Personas, Buying Stages, Content Stage, Task Deadlines and Owners.
Only multi-select and drop-down custom fields are available. You can limit the field values shown in the matrix by selecting/deselecting them.
You can also surface task deadlines or date custom fields in matrix charts, as well as select the granularity of your date views (day, week, month, or quarter) along with a date range.
Click the Switch button to reverse the columns and rows if required.

Enabling additional layers
The following settings allow you to display additional information for initiatives and content assets in your matrix chart.
Select Status to display how many assets are complete for each initiative or the progress stage of content in your chart (as shown in the example below).

Select Label to indicate whether elements in the chart are 'Content' or an 'Initiative'. This option is useful for charts that contain content assets and initiatives.
Adding initiatives to the chart
Now you're ready to select and manage the initiatives that are included in your chart.
Click Manage to do this. You have two options when adding initiatives to your chart. You can set up an auto-add rule that will automatically pull initiatives into your chart based on your search criteria and/or you can search and manually add initiatives.
Creating content or initiatives within a matrix chart
You can create new content or initiatives (depending on the chart type) when actively editing your matrix chart. These newly created assets will be available in Studio as soon as you click Save.
To create content or an initiative, do the following:
-
Click on the appropriate cell in the chart, or by clicking + Create Content/ + Create Initiative in the top navigation bar.
Tip: Clicking the appropriate cell in the chart is a shortcut as the row and column values are automatically allocated to your content asset/initiative.
-
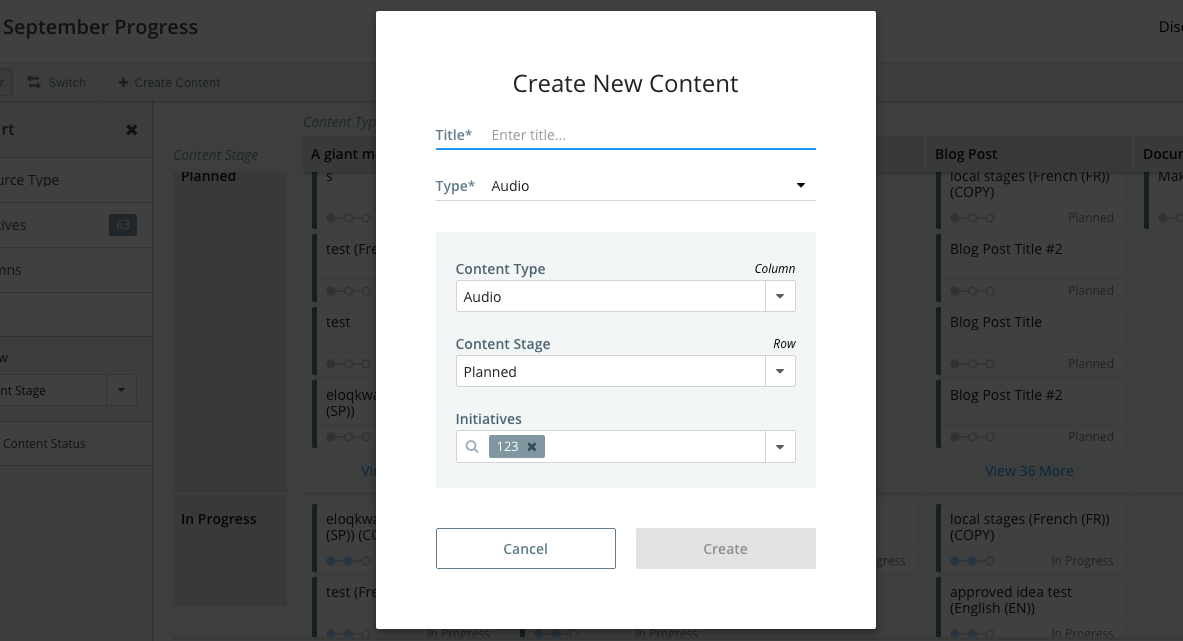
Next, complete the information needed within Create New Content/Initiative dialog:
-
Title
-
Type
-
Initiative (for a new content asset only)
-
Values for the columns and rows selected in the matrix.
You must complete any other information on the asset or initiative page in studio.
-
-
Click Create.
-
Click Save. Content or initiatives will not be created in studio until the chart is saved. They will be designated with a dotted outline until the chart saves, and the content or initiative is created.
Updating data in a matrix chart
If you'd like to update the metadata associated with column and row values on content or initiatives while editing a matrix, you can do so by dragging and dropping items into different cells or by clicking on an item and making updates within the details modal.
You can't change the content type, initiative type, or owner within a matrix chart.
Content or initiatives without a metadata tag will show in the last row or column, representing missing information. You can move content or initiatives to the appropriate cells to provide a tag. If an asset or initiative needs to be tagged with multiple values, you can click on the asset and make adjustments within the modal window.
Any data you adjust will only change across Kapost when you click the Save button. Data changes are noted with an asterisk until this occurs.
Further actions
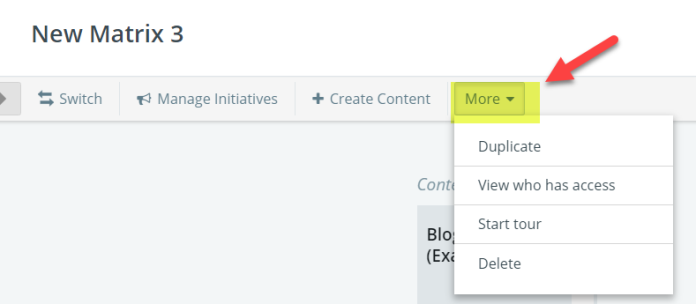
Click the More drop-down menu (shown below) to do any of the following:
-
Duplicate the chart.
-
View who has access - Shows the users who can access the chart and allows you to copy the link or embed code.
Read about using manage access functionality in canvas here to learn how to specify which members or groups can own, edit, or view plans and their associated charts, as well as how to share a plan or chart with key stakeholders (including non-Kapost users).
-
Start a Tour: a three-step, on-screen tour of the edit mode screen.
-
Delete the chart.
Archived Custom Field Values in Canvas
Teams in canvas will see archived custom field values as well as current values. Archived custom field values will appear on content in matrix charts in Edit Content modals.
- An archived custom field value can’t be applied to content in the modal, but can be removed
- Archived values won’t appear in the multi and single-select custom field drop-down menu in the modal
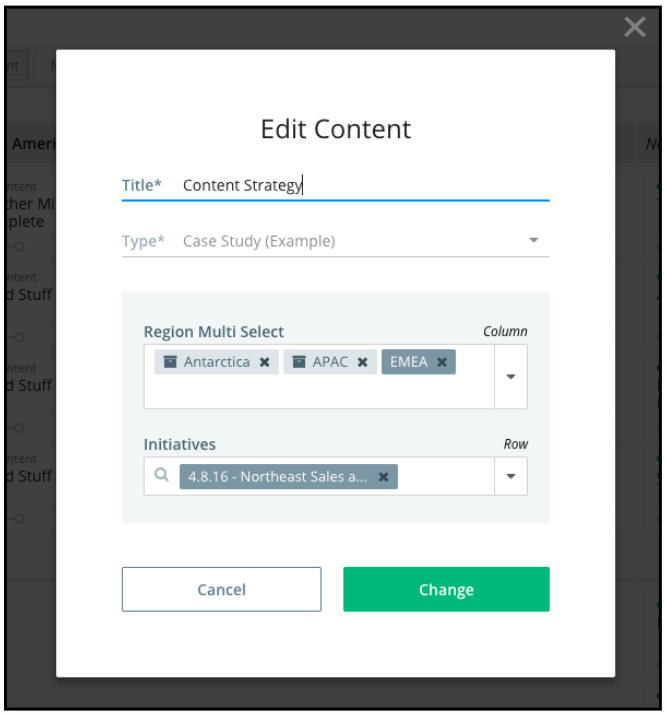
Kapost will let you know if your matrix chart contains any archived values.
If there are archived values in a column or row of your chart, you’ll see the archived icon to the left of the value in the header of the column or row.

For Matrix views with custom fields as either your rows or columns, you can drag and drop content into different rows and columns to see the content with updated tags applied. However, you can’t drag content into a column or row for archived custom field values.
When you drag and drop content with archived values into a different column or row in your chart, Kapost will alert you that the content’s archived value will be removed.
Once removed, an archived value can’t be reapplied, and you can’t create new content within an archived value cross-section in your chart, since that value can no longer be applied to new content.
Removing archived values in canvas will remove those values from the content in Studio.