Before you start:
- Make sure your SFDC API is turned on and you have access to it.
- Ensure that your browser is not set to block third party cookies. If you need to block third party cookies, please make sure Kapost is on your list of allowed sites.
Follow these steps carefully when you're installing the SFDC Gallery App.
To install SFDC Gallery App in Lightning, read this article.
-
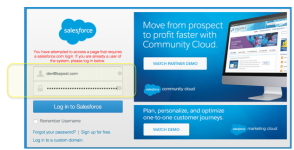
Begin by selecting the link below to install the Salesforce App and login to Salesforce.
Note: The URL that appears will contain "lightning" even if you’re using the SFDC Classic links.
https://login.salesforce.com/packaging/installPackage.apexp?p0=04t1P000000Iwfv - Production install
https://test.salesforce.com/packaging/installPackage.apexp?p0=04t1P000000Iwfv - Sandbox install
If a sandbox SFDC is connected to a Kapost instance and the SFDC sandbox is refreshed, then all mappings will be deleted.
-
Select the appropriate install user option for your Salesforce Instance. Install options include:
- Install for Admins Only
- Install for All Users (Recommended)
- Install for Specific Profiles
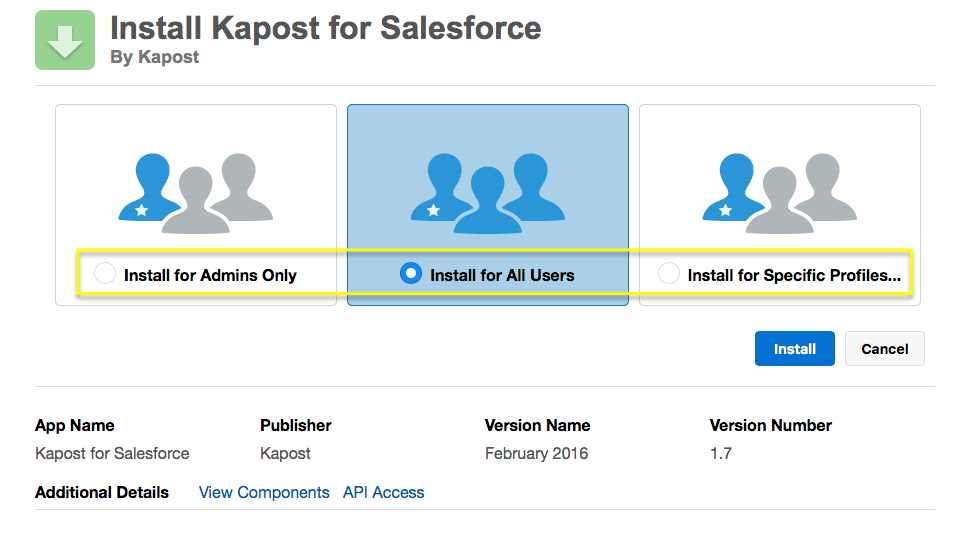
User installing the app must be a Kapost user who is permissioned (within Salesforce) to install new applications.
Salesforce Gallery App Permissions
-
From the Salesforce Home page select Setup from the user drop-down menu.

-
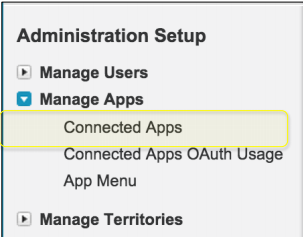
From the left-hand navigation, within the Administration Setup section, select Manage Apps.
-
Select Connected Apps.
-
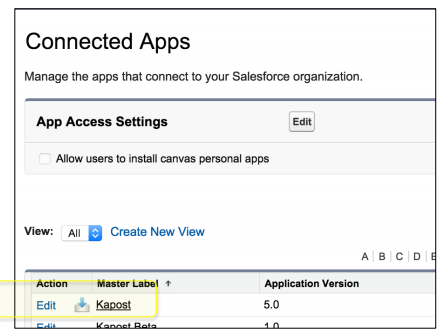
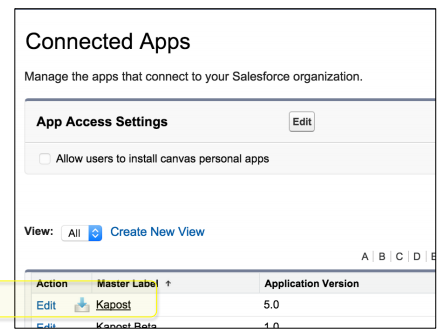
Within the Connected Apps window, click the Edit option to the left of Kapost.
-
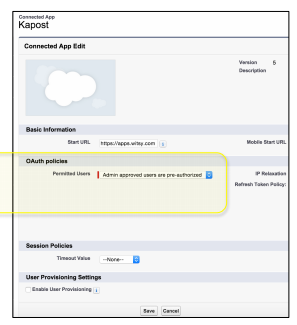
Set the Permitted Users option to: Admin approved users and pre-authorized.
Note: If Permitted Users is set to anything other than the full option: "Permitted Users," the SFDC Gallery App will not work.
-
Click the Save button.
-
Go back to Connected Apps and now select Kapost.
-
Scroll down to the Profiles section and select Manage Profiles.

-
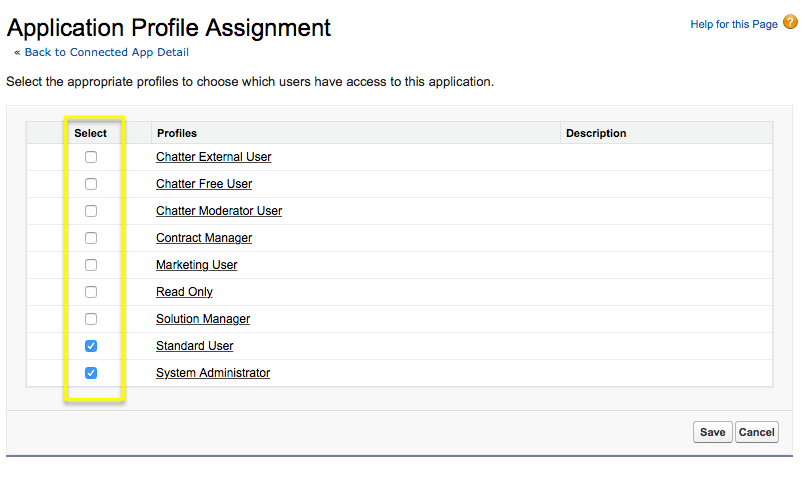
Select all profiles that should have access to the app.
-
Click the Save button.
-
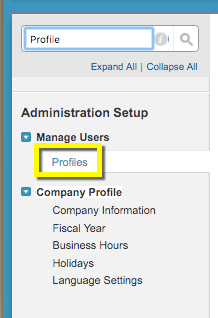
From the left-hand navigation, within the Administration Setup section, search “Profile” and select Profiles under Manage Users.
-
Choose Edit for Profile(s) that will ultimately access the Salesforce Gallery App.

-
Scroll down to Administrative Permissions and ensure API Enabled is checked.

-
Click the Save button.
-
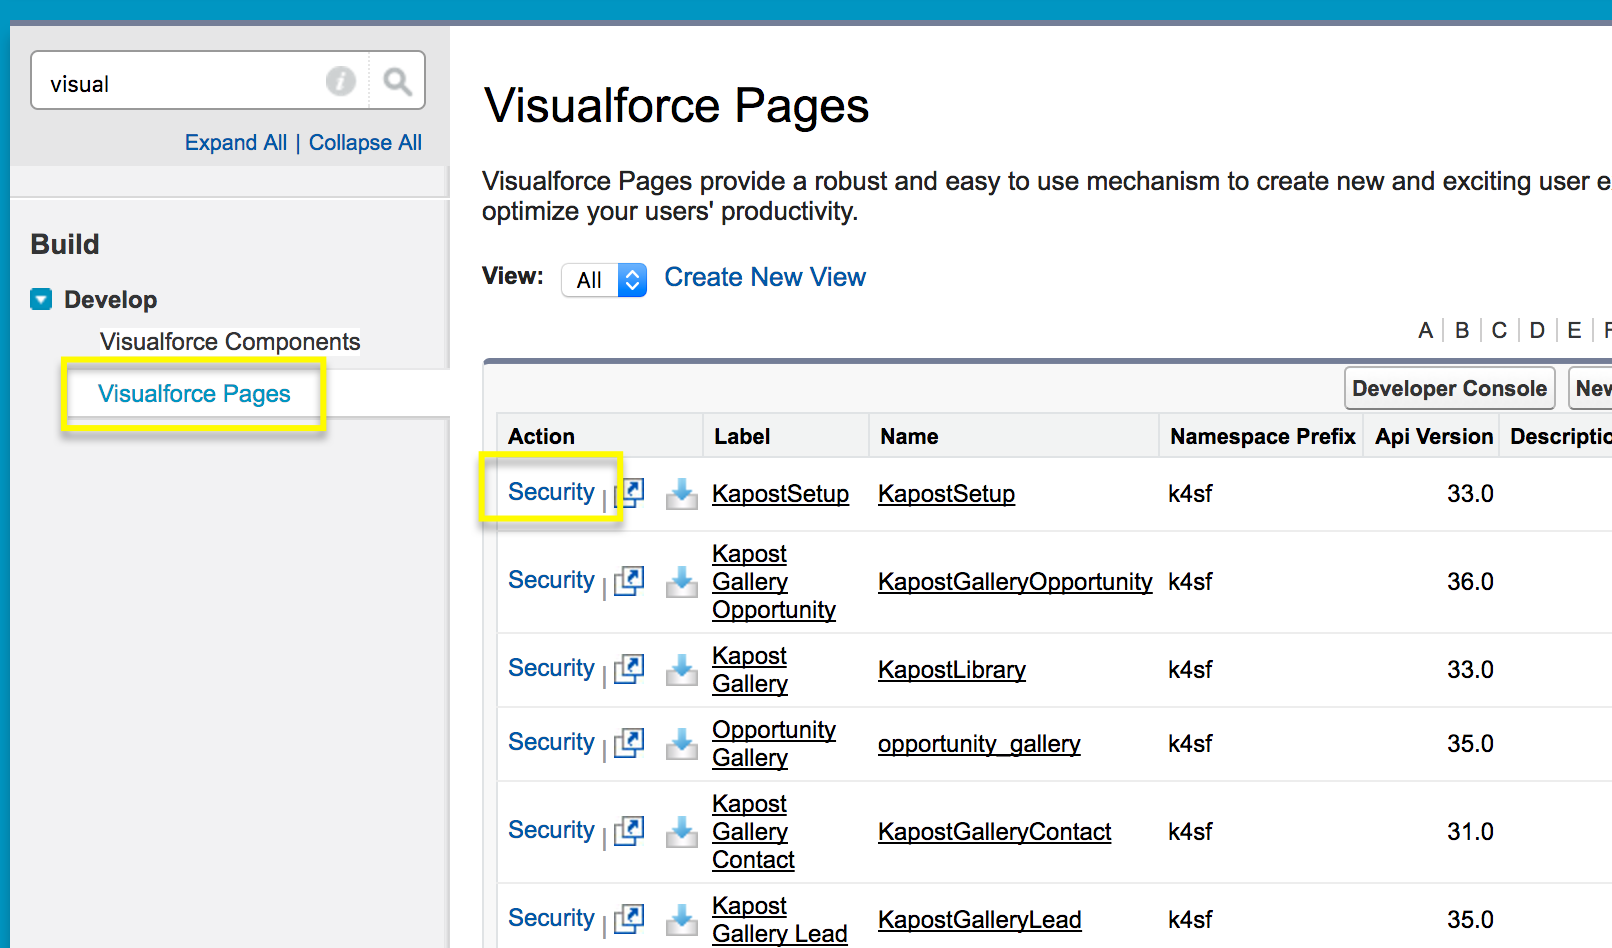
Navigate to VisualForce Page Settings by searching for "visualforce".
For each Kapost VisualForce page, click Security and enable the profiles that should have access to the page, then click Save.
Collection Group Associated with Salesforce Gallery App
-
Obtain the URL for the Kapost Gallery Collection Group.
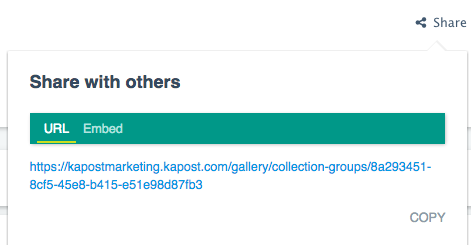
Log into Kapost. Go to the Gallery, click Manage Content to get to the Settings page. Scroll down to the Collection Group on the left side and select it. Click the share button in the top right corner and click copy for the URL.

-
Back in Salesforce, in the top navigation menu select the + menu option to display more tabs.
-
Select Kapost Setup from the tab listing.
-
Paste the URL for the Kapost Gallery Collection Group (from Step 1) and click Save.

Next Steps:
Once all installation and permissioning is complete, please see:
- Setup Within An SFDC Contact, Lead, Or Opportunity
- Add The Kapost Gallery As A Personal Tab in SFDC
Also review these Setup Content Recommendations.
To see the Gallery App from an end user perspective see Understand and Navigate The SFDC Gallery App As An End User (With Content Recommendations Setup).
Troubleshooting:
- If in step 8 you do not see the "manage profile" button, check the permission setting in step 5. If Permitted Users is set to anything other than the option: "Permitted Users," the "manage profile" button will not show up.
