Cleaned profiles
Upon enabling the "Cleaned Profiles" feature, the system will automatically begin identifying, removing, and marking profiles as "cleaned" when your messages are undeliverable. The cleaned profiles will be excluded from the future broadcasts. You can efficiently manage, and retrieve removed profiles from the new “Cleaned Profiles” section under the Home menu.
Enabling Profile Cleaning
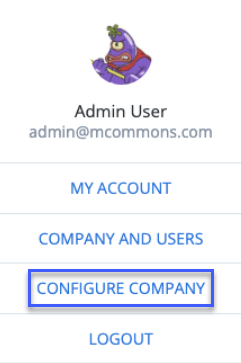
As an administrator or a user, you can activate the "Enable Profile Cleaning" option through the "Configure Company" page.
To enable the profile cleaning:
1. Navigate to your Admin Profile or User Profile>Configure Company.
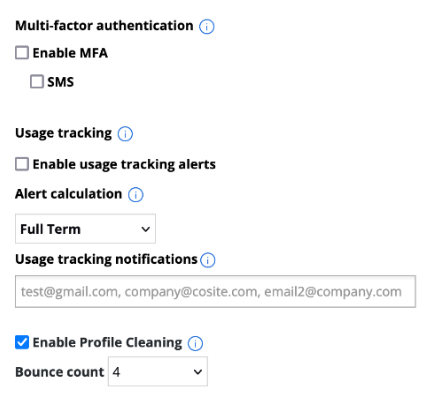
2. Select the checkbox for Enable Profile Cleaning.
3. Configure the Bounce Count that signifies number of consecutive soft bounce count. The acceptable range for this setting is limited to numerical values between 3 and 8. The default number of soft bounce is 4.
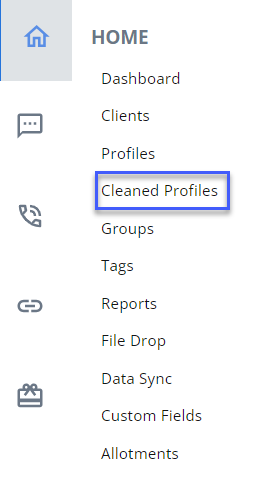
Accessing Cleaned Profiles: Select Home in the left pane, and then select Cleaned Profiles. After activating this feature, cleaned profiles will appear under the "Cleaned Profiles" section, while the remaining profiles will remain visible under the "Profiles" section.
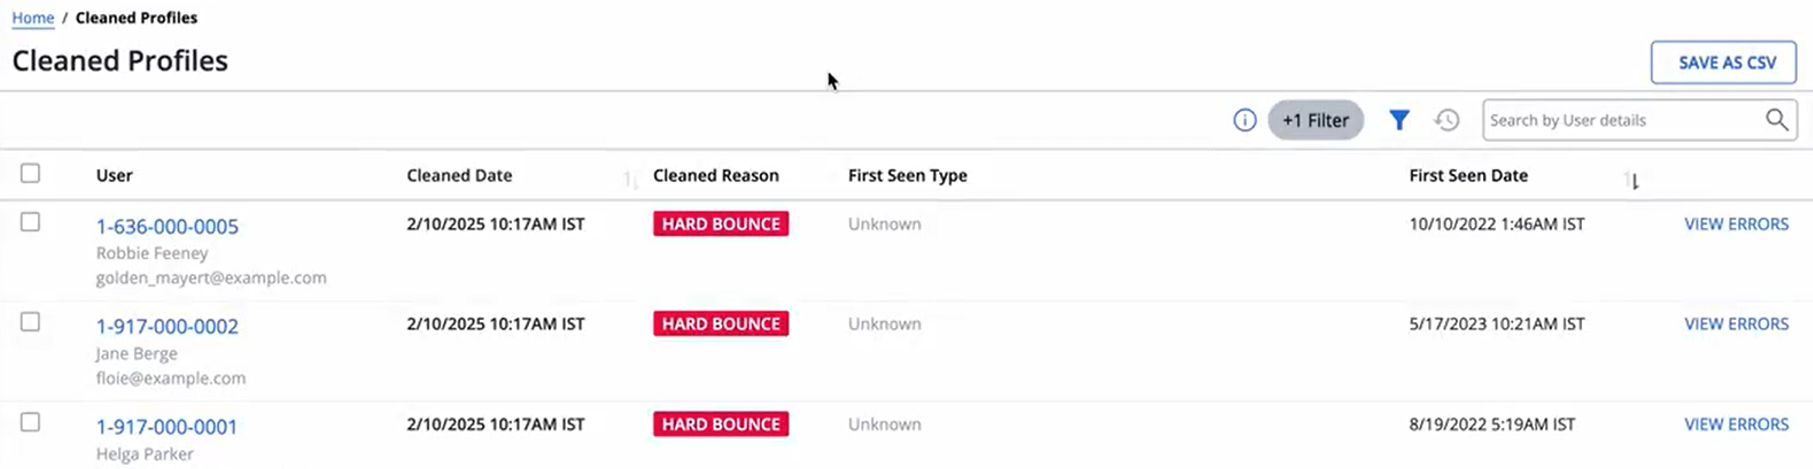
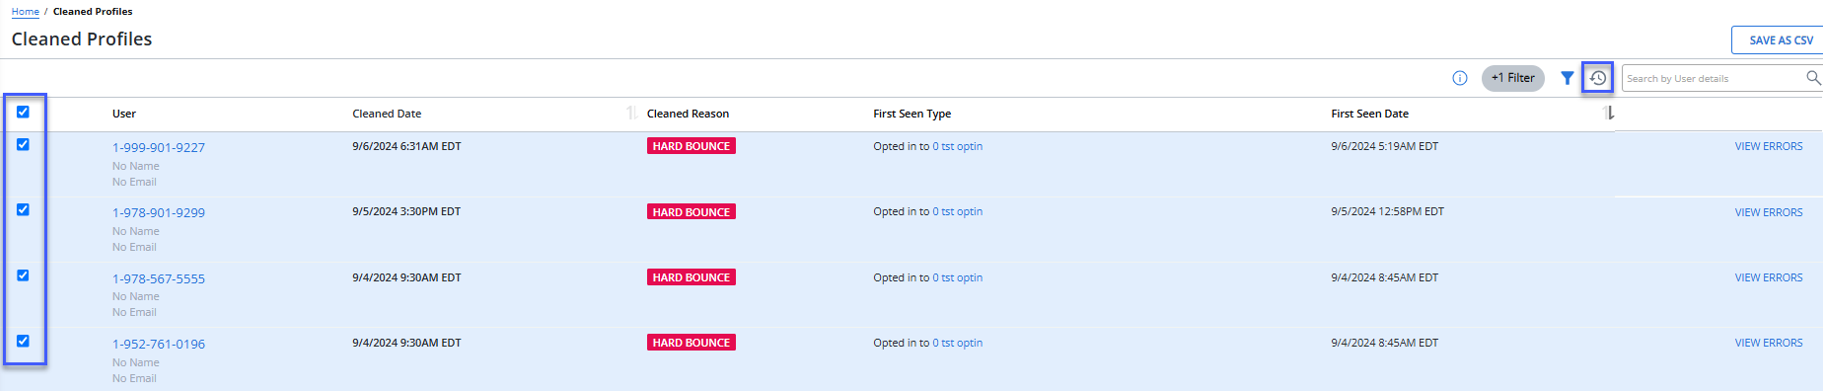
The cleaned profiles page opens with the following information:
• User: Shows user details such as phone number, profile name, and email address.
• Cleaned Date: Date and time when the profile is marked as cleaned.
• Cleaned Reason: Soft bounce or hard bounce.
• First Seen Type: The method by which the profile information was added to Mobile Commons. See First seen type for a list. Clicking on the link redirects to specific mConnect.
• First Seen Date: Date and time when the user profile was first seen in Mobile Commons.
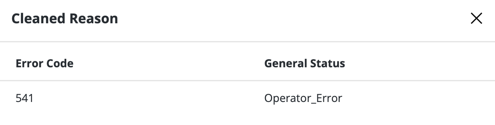
• View Errors: Shows a "Cleaned Reason" pop-up with the error code and general status.
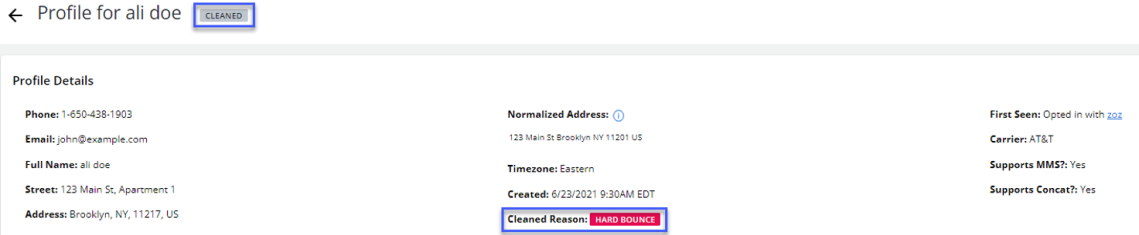
When a profile is cleaned, a cleaned reason and cleaned tag appears on a user’s profile in the profile details.
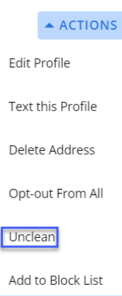
You can unclean a cleaned profile by selecting “Unclean” from the Actions drop-down menu. Once uncleaned, the profile will be accessible in the “Profiles” section and will no longer appear in the “Cleaned Profiles” section.
To unclean multiple cleaned profiles at once, use the Unclean option on the Cleaned Profiles page. Select the checkboxes next to the profiles you want to unclean, then click Unclean. To select all profiles on the current page, use the checkbox next to "User" at the top of the list. You can select and unclean up to 45 profiles per page.
Note: The Unclean option enables when at least one profile is selected to be uncleaned.
A confirmation message appears to confirm restoring the profiles. Select YES, RESTORE to restore the profiles.
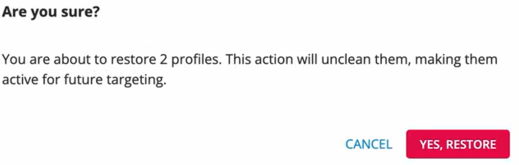
Once restored, a flash message appears to confirm the profiles are successfully restored.

When restoring a single profile, the flash message displays: "(Profile Name) successfully restored." If multiple profiles are restored, the message displays: "(Number of) profiles successfully restored."
Exporting Data: Click Save As CSV to export the cleaned profiles data.
Search and Filter Functionality:
• Use the search field to locate specific user details. Enter a search term in the Search box, and then select  Search.
• Click on the  filter icon to filter user data based on "Cleaned Reason" and "First Seen Type."
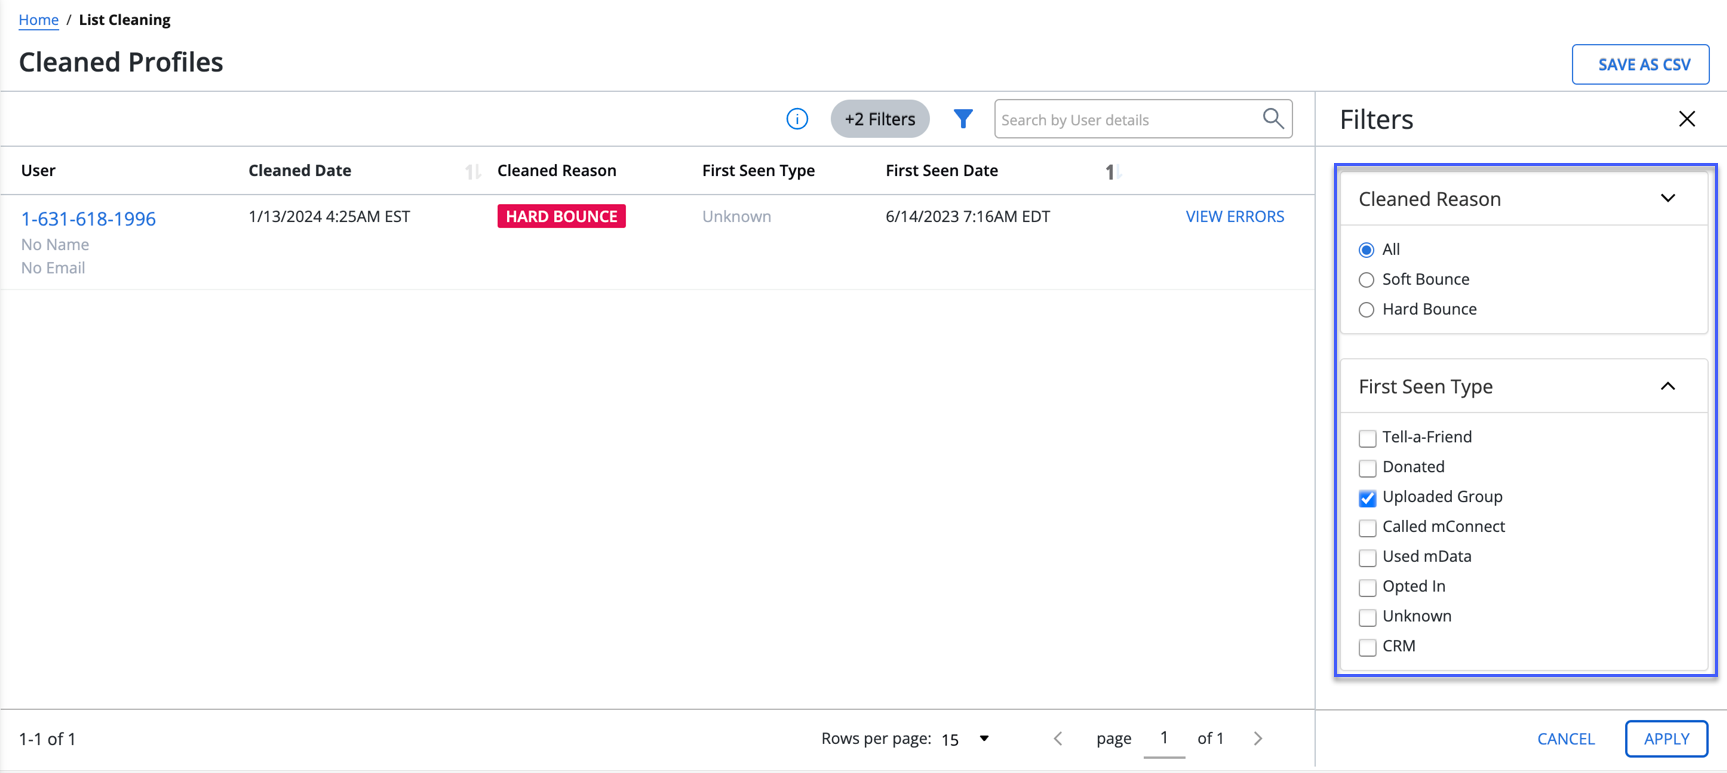
Filter Options:
• Cleaned Reason: All, Soft Bounce, Hard Bounce.
-
Soft Bounce: Soft bounces occur when a device cannot temporarily receive messages, for example, when it is turned off for several days or out of the cell tower's range. If a profile reaches the allowable number of consecutive soft bounces set on the account, it will be marked as “cleaned."
-
Hard Bounce: Hard bounces occur when a device is permanently unable to receive messages, for example, when a landline is provided as a mobile phone number. Hard bounces result in the profile being marked as “cleaned.”
• First Seen Type: Donated, Uploaded Group, Called mConnect, Used mData, CRM, Opted In, Unknown, CRM.
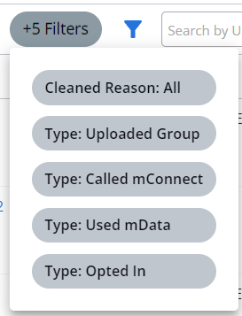
Click Apply to activate selected filters; click Cancel to discard changes. The  filter indicator above the table displays the number of filters that have been applied.
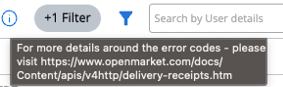
Error Code Details: Click on the "i" icon to access more details about error codes.
Row Display Settings: Set the number of rows to be displayed per page (for example, 15, 30, or 45 rows).
Sorting Options: Select  Ascending or
  Descending order available on the "Cleaned Date" and "First Seen Date" columns to sort the data in the ascending or descending order.