Creating and managing liquid templates
With Liquid Templates, you can efficiently create new templates, streamline your messaging process, and enhance engagement with your audience. You can easily access, review, and manage all your liquid templates on the dedicated Liquid Templates page available under  Text Messaging menu. This allows you to quickly create, test, and implement dynamic SMS responses.
To create a new liquid template:
-
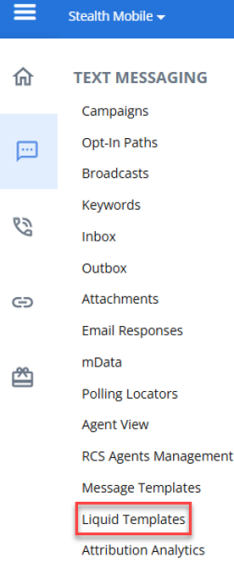
Navigate to
Text Messaging > Liquid Templates.
-
Click + NEW LIQUID TEMPLATE on the "Liquid Templates" page. This opens the New Liquid Template modal.

The Liquid Templates table has the following columns:
-
Name: Displays the title or name of the liquid template.
-
Description: A short, clear text summarizing the liquid template’s purpose.
-
Updated: Shows date and time when the liquid template was last updated.
-
Created: Shows date and time when the liquid template was initially created.
-
Search: Allows you to search for liquid templates by name. The search supports partial matches, allowing you to find liquid templates even if you only remember part of the template name. This allows you to quickly find the liquid templates you need.
 Ascending or
  Descending to the right of the column header.
-
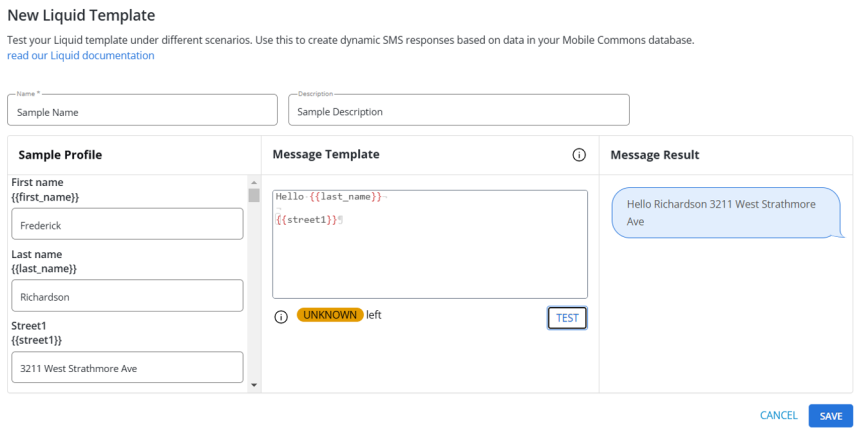
Enter the information for the following fields:
-
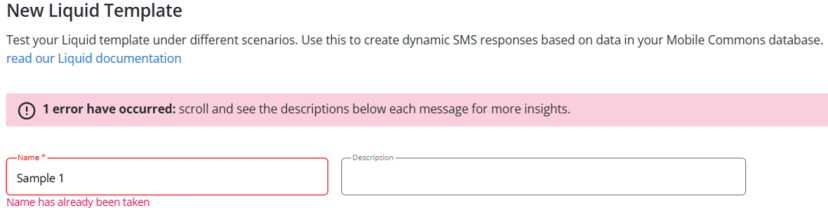
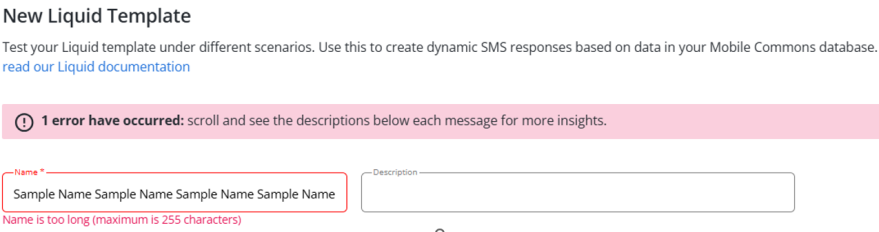
Name: Enter a unique name for the new liquid template. A mandatory field where you must enter a unique name (max 255 characters) for the template to identify it. Entering a name that has already been taken will result in an error.
-
Description: An optional field where you can add context or details (max 255 characters) about the liquid template.
-
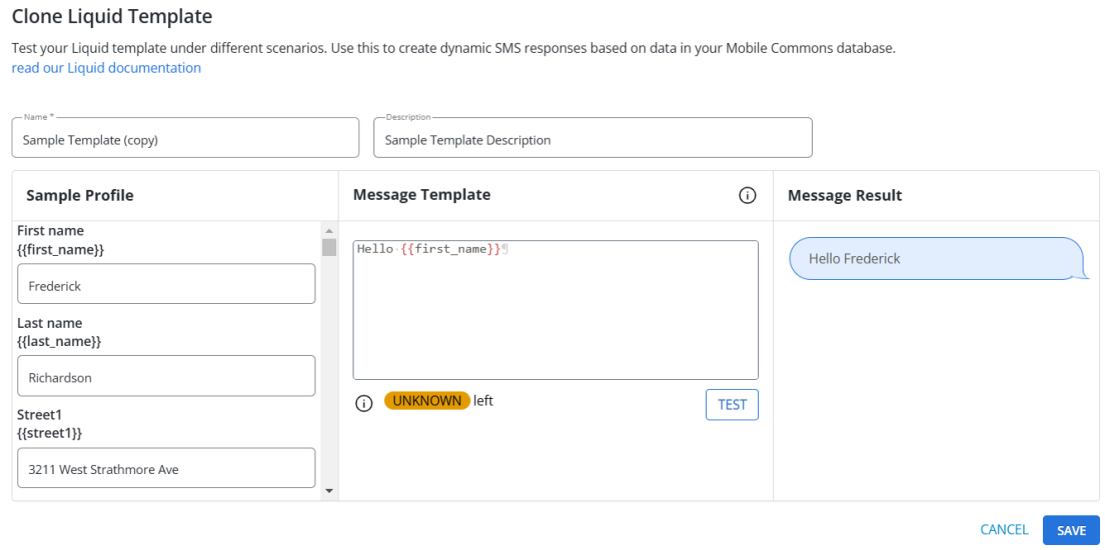
Define template sections. Below the input fields, the following sections are displayed:
-
Sample Profile: Define sample data for the template.
-
Message Template: Input or modify the message template, including dynamic fields.
-
Message Result: Preview the message output based on the entered data and dynamic fields.
-
Click SAVE to save the liquid template. Click CANCEL to close the modal without saving any changes and return to the "Liquid Templates" page.
After saving, the New Liquid Template modal closes, and returns to the "Liquid Templates" page, where the new template will appear.
Editing a Liquid Template
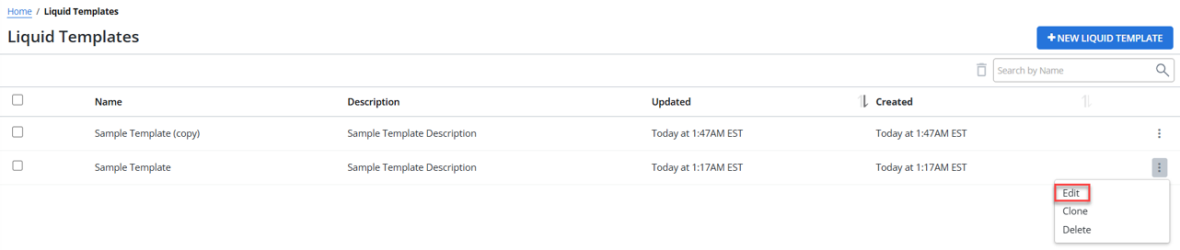
You can edit a liquid template through a dedicated modal, enabling easy editing of a liquid template. Click  Actions menu for a liquid template and select Edit option.
The Edit Liquid Template modal appears, displaying the details of the selected template. You can make the required changes in the template.

After making the required changes, click SAVE to save the changes. Click CANCEL to discard any changes and close the Edit Liquid Template modal.
Cloning a Liquid Template
You can clone an existing liquid template through a dedicated modal, enabling easy creation of duplicates for modification or reuse. Click Actions menu for a liquid template and select Clone option.

The Clone Liquid Template modal appears, displaying the details of the selected template. You can make the required changes in the cloned template and update the template name, which defaults to the existing template name with an appended identifier (for example, Template Name (Copy)).
After making the required changes, click SAVE to save the changes. Click CANCEL to discard any changes and close the Clone Liquid Template modal.
Once cloned, the cloned template is immediately available for use on the "Liquid Templates" page.

Deleting a Liquid Template
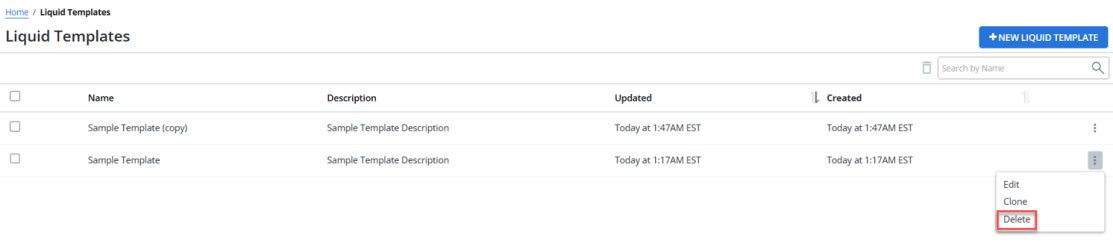
You can delete an existing liquid template. Click Actions menu for a liquid template and select Delete option.
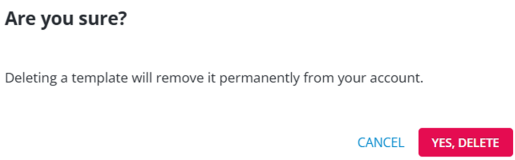
You will receive a confirmation message when deleting a liquid template, select YES, DELETE to delete. A flash message appears to confirm the successful deletion after deleting the template.
The selected template will be permanently deleted and will no longer appear on the "Liquid Templates" page.
You can also bulk delete the liquid templates. Each row includes a checkbox next to the Name column. Check the boxes for the liquid templates you wish to delete. To select all liquid templates on the page, click the checkbox available next to the Name column header. To deselect all, click the same checkbox again.
After selecting the templates, click the  Delete icon.

A confirmation modal will appear, prompting you to confirm the deletion. Click YES, DELETE to proceed with the deletion. Upon confirmation, the selected templates will be permanently deleted from the Liquid Templates page.

Delete icon will activate, signaling that bulk deletion can be performed.A flash message appears to confirm the successful deletion after deleting the templates.

To choose how many rows (liquid templates) to see per page, select the options such as 15, 30, or 45 from the Rows per page available at the bottom of the "Liquid Templates" page.
